Apparel photo retouching
AI Clothes Wrinkle Remover
Remove wrinkles from clothes in product photos without re-steaming and reshooting. Brush over the creased fabric, describe the result, and keep the garment's shape, weave, and print as they are.
Remove wrinkles from a photo →
Before and after examples
Illustrative examples made with GPT Image models; your result will vary with the source photo.
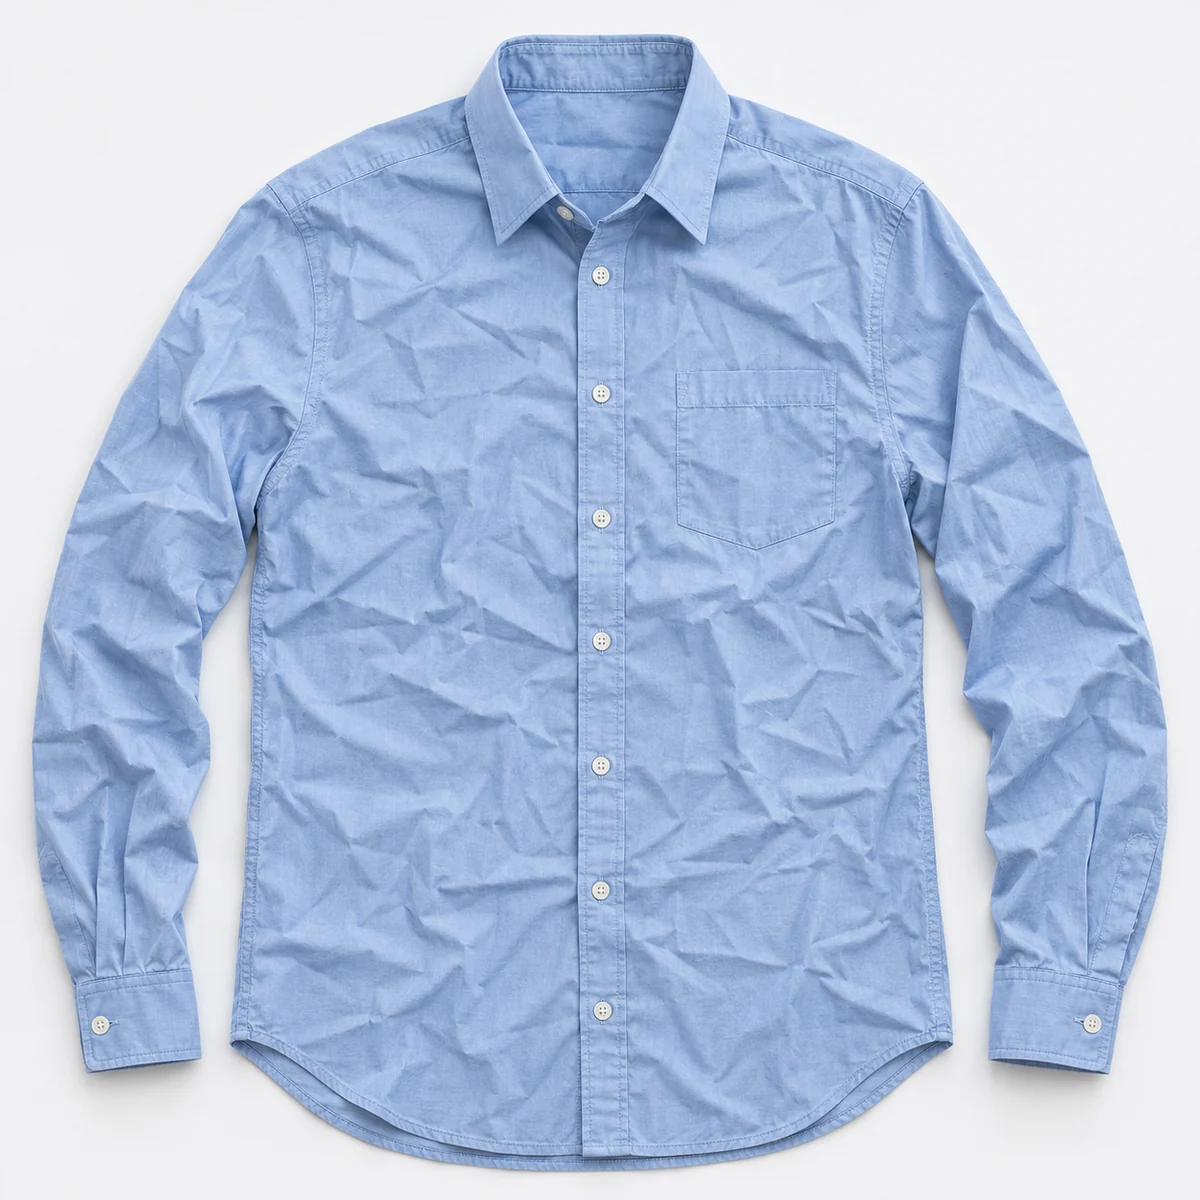
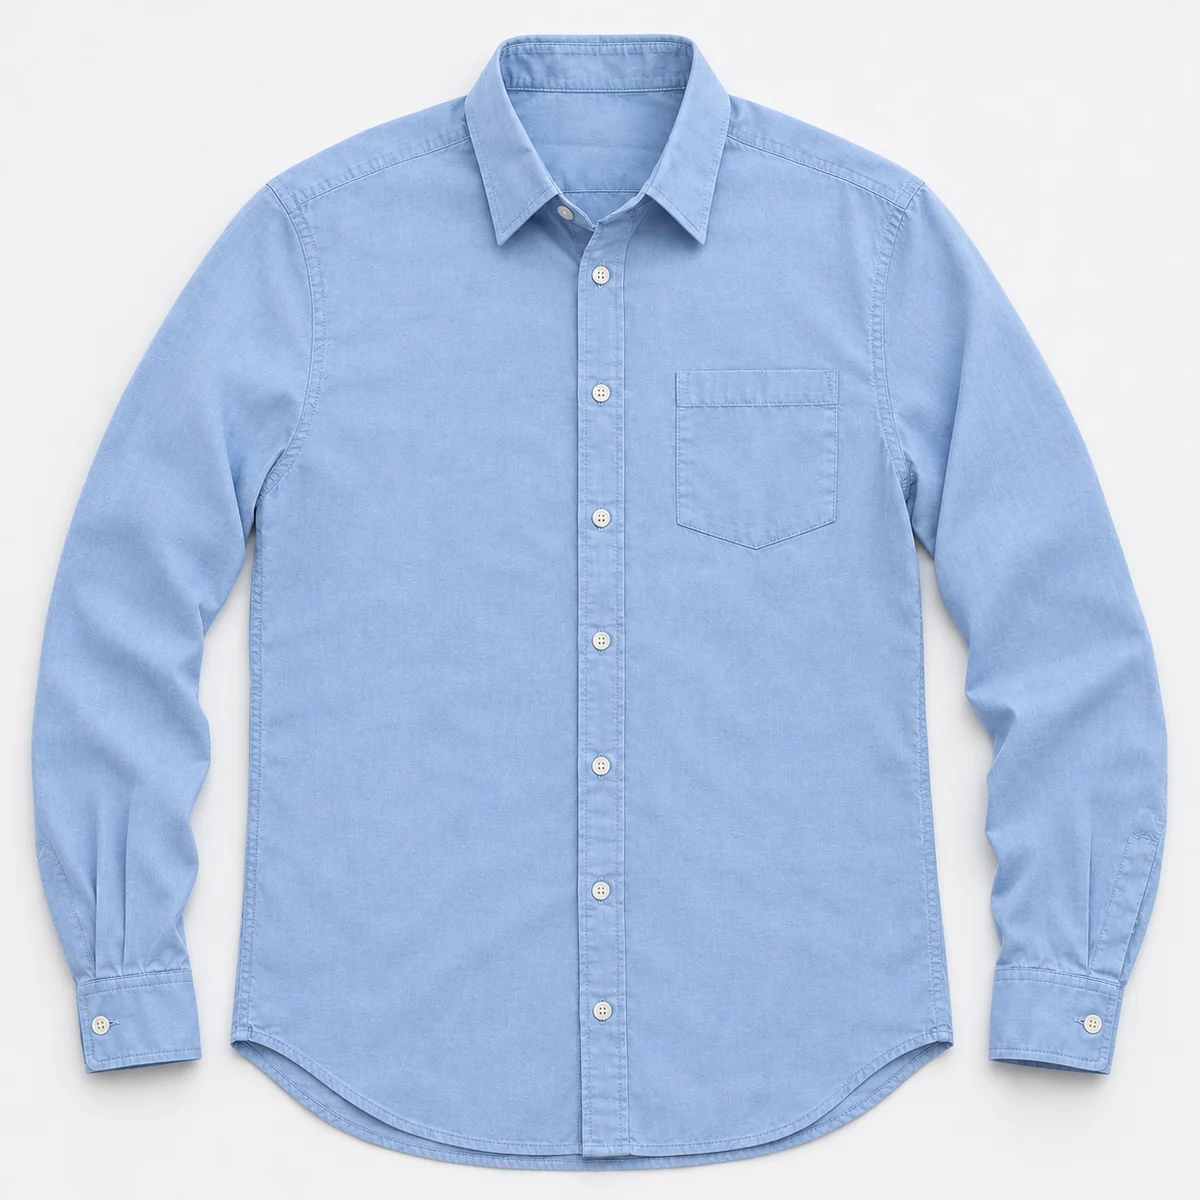
How to remove wrinkles from clothes in a photo
- Upload the clothing photo and open Mask Edit
- Brush over the wrinkled fabric, leaving seams, pleats, and prints outside the mask where you can
- Ask for the creases to be smoothed while keeping the fabric texture, then compare with the original
Fix shipping creases without a reshoot
Clothes come out of a parcel creased, and the creases show in every flat lay and hanger shot. The wrinkle remover uses Mask Edit on the fabric only: you brush over the creased area and ask for it to be smoothed, and the rest of the photo is left alone. Structural lines such as seams, pleats, darts, and intentional gathers should stay, so keep the brush off them or say so in the instruction.
Describe the fabric as well as the fix, for example: 'smooth the shipping creases, keep the cotton weave, seams, buttons and print unchanged'. Naming the fabric helps linen stay textured and satin stay glossy instead of everything turning flat.
What you upload
- Photo of the garment (flat lay, hanger, mannequin, or on a model)
- Brush mask over the creased fabric
- Short instruction naming the fabric and what must not change
What you get
- The same photo with the creases reduced
- A result to compare with the original for fit, texture, and print accuracy
Where sellers use the wrinkle remover
- Flat lays of shirts and tees that were photographed straight out of the parcel
- Hanger and mannequin shots with fold lines across the skirt or sleeves
- On-model photos where the fabric bunched at the waist or elbow
- Bedding, curtains, and table linen with packaging creases
- Resale and vintage listings where steaming every item is not practical
- Cleaning up a sample photo before the production run arrives
Frequently asked questions
How do I remove wrinkles from clothes in a photo?
Upload the photo, brush a mask over the creased fabric, and describe the result, for example 'smooth the wrinkles and keep the cotton weave, seams and color unchanged'. The edit is limited to the area you brushed, so the background, hanger, and the rest of the garment stay as they were. Work on one area at a time if the garment is heavily creased.
Will it change the fit or shape of the garment?
It should not, but check. The goal is to remove temporary creases, not to reshape the garment. Compare the outline, hem length, sleeve width, and collar with the original before publishing. If the silhouette moved, use a tighter mask that stays inside the garment edge and run it again.
Does it keep fabric texture, patterns, and prints?
Plain weaves and solid colors are the easiest. Stripes, checks, small prints, and textured fabrics such as linen or knits need a closer look, because a pattern can bend or blur where a crease used to be. Name the fabric and pattern in the instruction, and reject results where the pattern no longer lines up.
Which wrinkles should I leave in?
Leave anything that is part of the design or shows how the garment drapes: pleats, gathers, ruching, darts, and natural folds at the elbow or waist on a model. Removing them makes the fabric look stiff and can misrepresent the product. Remove only creases from packing, folding, or storage.
Is it acceptable to remove wrinkles from listing photos?
Removing temporary creases is ordinary retouching, the same as steaming the garment before the shoot. The photo still has to show the real item accurately, so do not use it to hide damage, change the fit, or alter the fabric. Marketplaces set their own image rules, so check the one you sell on.
Is the AI Clothes Wrinkle Remover free to use?
You can try the AI Clothes Wrinkle Remover on KrafLayer's free plan, which includes a recurring credit refill. Each run uses credits, and the editor shows the cost before you start. You need a free account to upload images and run edits. Current plan credits and edit costs are listed on the pricing page.
Use this tool inside a complete product-photo workflow
- Product photo editor
Clean, repair, upscale, and locally edit ecommerce product photos. - Product image sets
Generate listing images, detail images, and product image sets. - Product-on-model photos
Create model-context ecommerce photos from product references. - Lifestyle product photos
Stage products in rooms and on surfaces without a photoshoot. - White background product photos
Turn any product picture into a clean white-background main image. - Reference-style product images
Use competitor, brand, or campaign references to guide new product images. - Amazon product photos
Prepare Amazon main images, detail images, and listing checks. - Shopify product images
Prepare product page, collection, and campaign images for Shopify. - Etsy product photos
Prepare handmade listing thumbnails, detail shots, and lifestyle context.
More AI tools for product photos
- AI Background Remover
Cut out image backgrounds - AI Object Eraser
Remove selected image areas - AI Image Upscaler
Improve image resolution - AI Image Restoration
Renew noisy or degraded images - AI Background Replacer
Generate a new background from a prompt - AI Mask Edit
Edit a selected image region - AI Reference Image Editor
Edit with cropped image references - AI Scene Compose
Place products into a base scene - AI Product Video Generator
Turn product images into short videos