Image generation
AI Fashion Product Photography: Flats, Models and Details
TL;DR
Build AI fashion product photography from a garment evidence pack, then create flat lays, model images, detail views, and lifestyle assets without inventing fit.
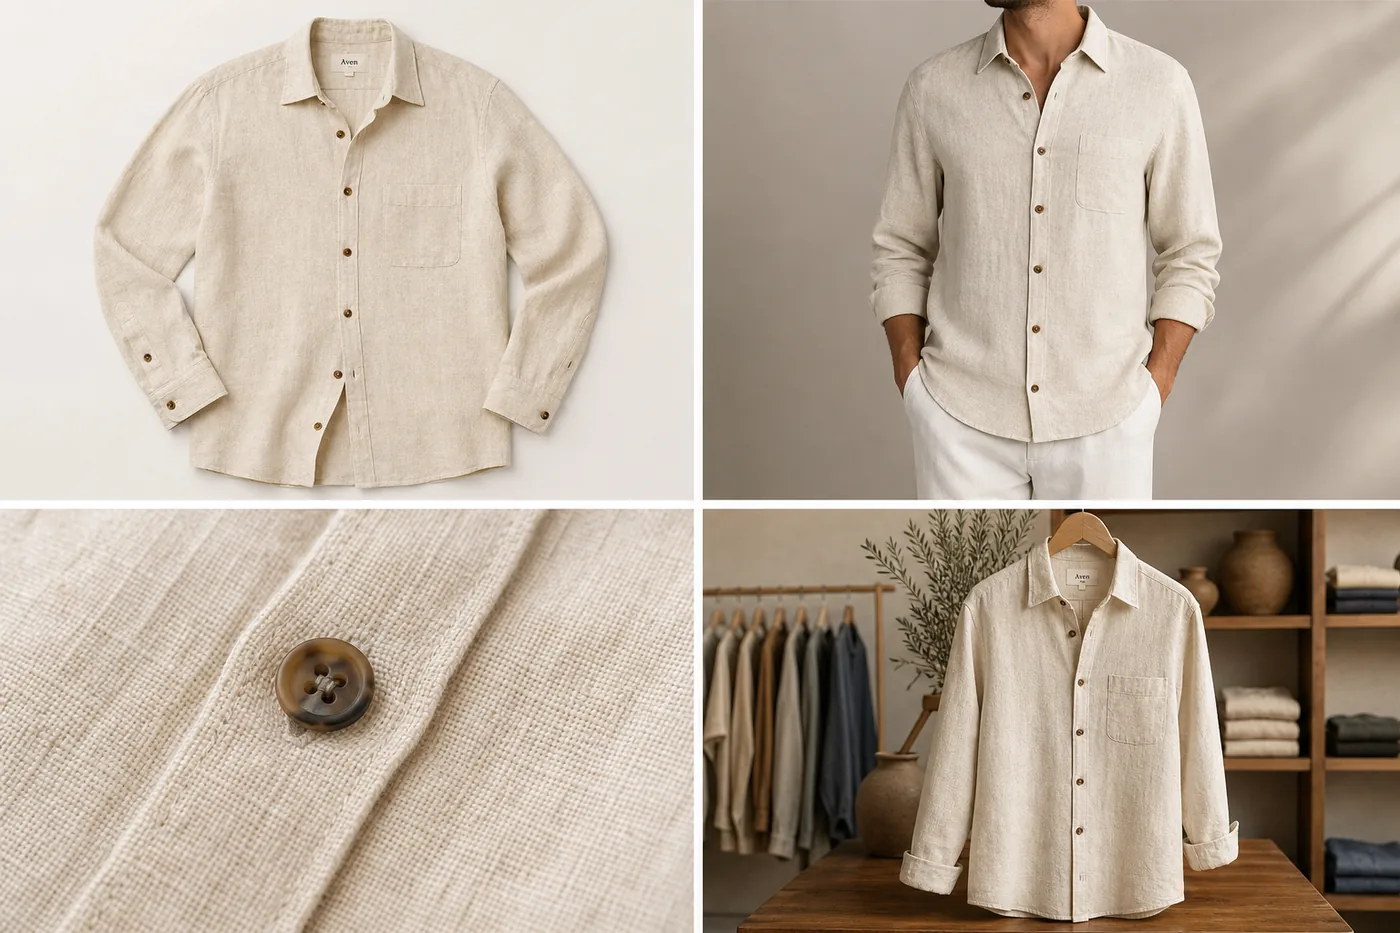
AI fashion product photography works only when the garment remains more trustworthy than the scene around it. Build a garment evidence pack first, then create flat lays, model context, construction details, and lifestyle images one role at a time.
Quick Summary
Protect garment construction, color, fabric, print, and real measurements. Treat generated model photos as styling context unless fit is verified, and photograph any product fact missing from the source set.
# AI Product Photography for Fashion Products: Flats, Models, and Detail Shots
AI product photography for fashion works best when it starts from a clear product reference and produces a small image set, not one isolated pretty shot. For apparel, the useful set usually includes a flat lay, an on-model view, one or two product detail shots, and a lifestyle image that still keeps the garment dominant.
The phrase ai product photography for fashion sounds broad, but the real job is specific: create AI clothing product photos, model views, and product detail shots for apparel without changing the garment buyers will receive.
In KrafLayer, this workflow is about turning a fashion reference into ecommerce-ready visuals while protecting the facts a buyer depends on: fit, fabric texture, seam placement, color, buttons, pockets, length, drape, and scale. Treat every AI output as a draft until those details match the real garment.
The practical rule for AI product photography for fashion
Fashion product images should answer four buyer questions:
- What is the garment?
- How does it sit on a body or surface?
- What fabric, closure, trim, or construction detail should the buyer trust?
- Where could this piece fit in a real outfit or store page?
That is why AI clothing product photos should be planned as roles. A flat lay is good for shape and color. A model image is good for proportion and styling. A detail crop is good for material proof. A lifestyle or store scene is good for context, but only if the garment remains the subject.
Do not use AI product photography for fashion to invent missing product facts. If the reference image does not show the back, lining, exact sleeve finish, or hidden closure, the output should not present those as confirmed details.
Start with a product-truth reference
Before generating fashion product photography AI assets, prepare a reference that shows the item clearly. A simple flat lay or clean hanger shot is often better than a busy editorial image because the model can read the garment construction.
Use a reference checklist:
- True garment color under neutral light
- Collar, neckline, hem, pocket, button, zipper, or strap details visible
- Fabric texture visible enough to guide the output
- Full silhouette visible, including sleeve or leg shape
- Minimal overlapping props, hands, labels, or shadows
- One product only unless the set is sold together
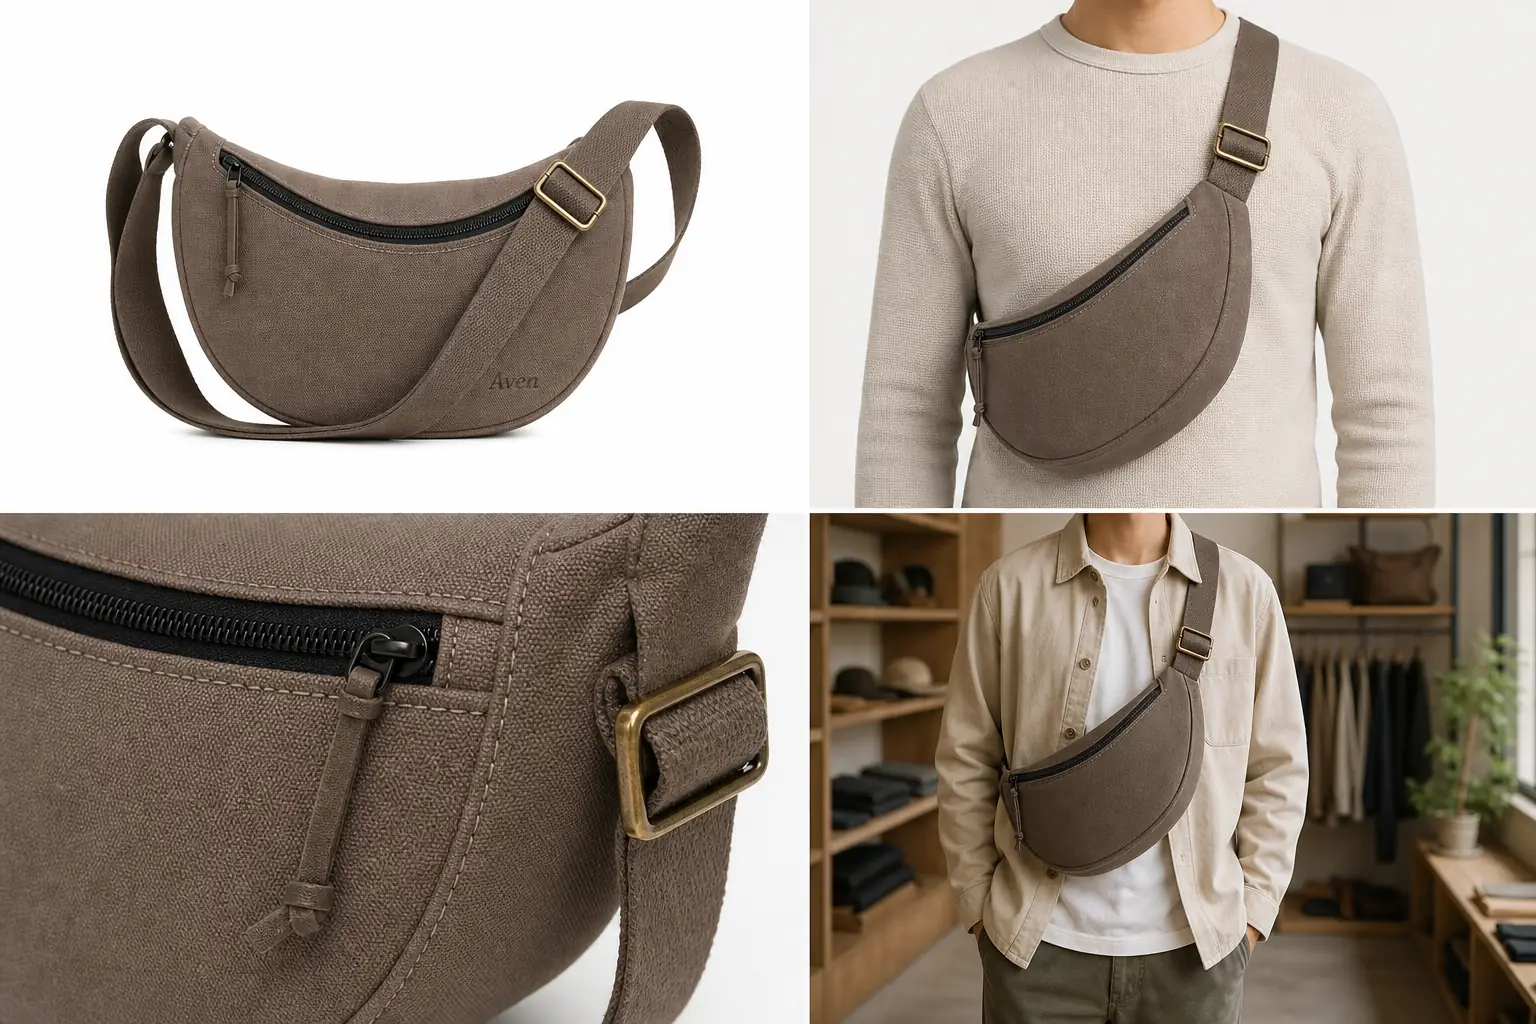
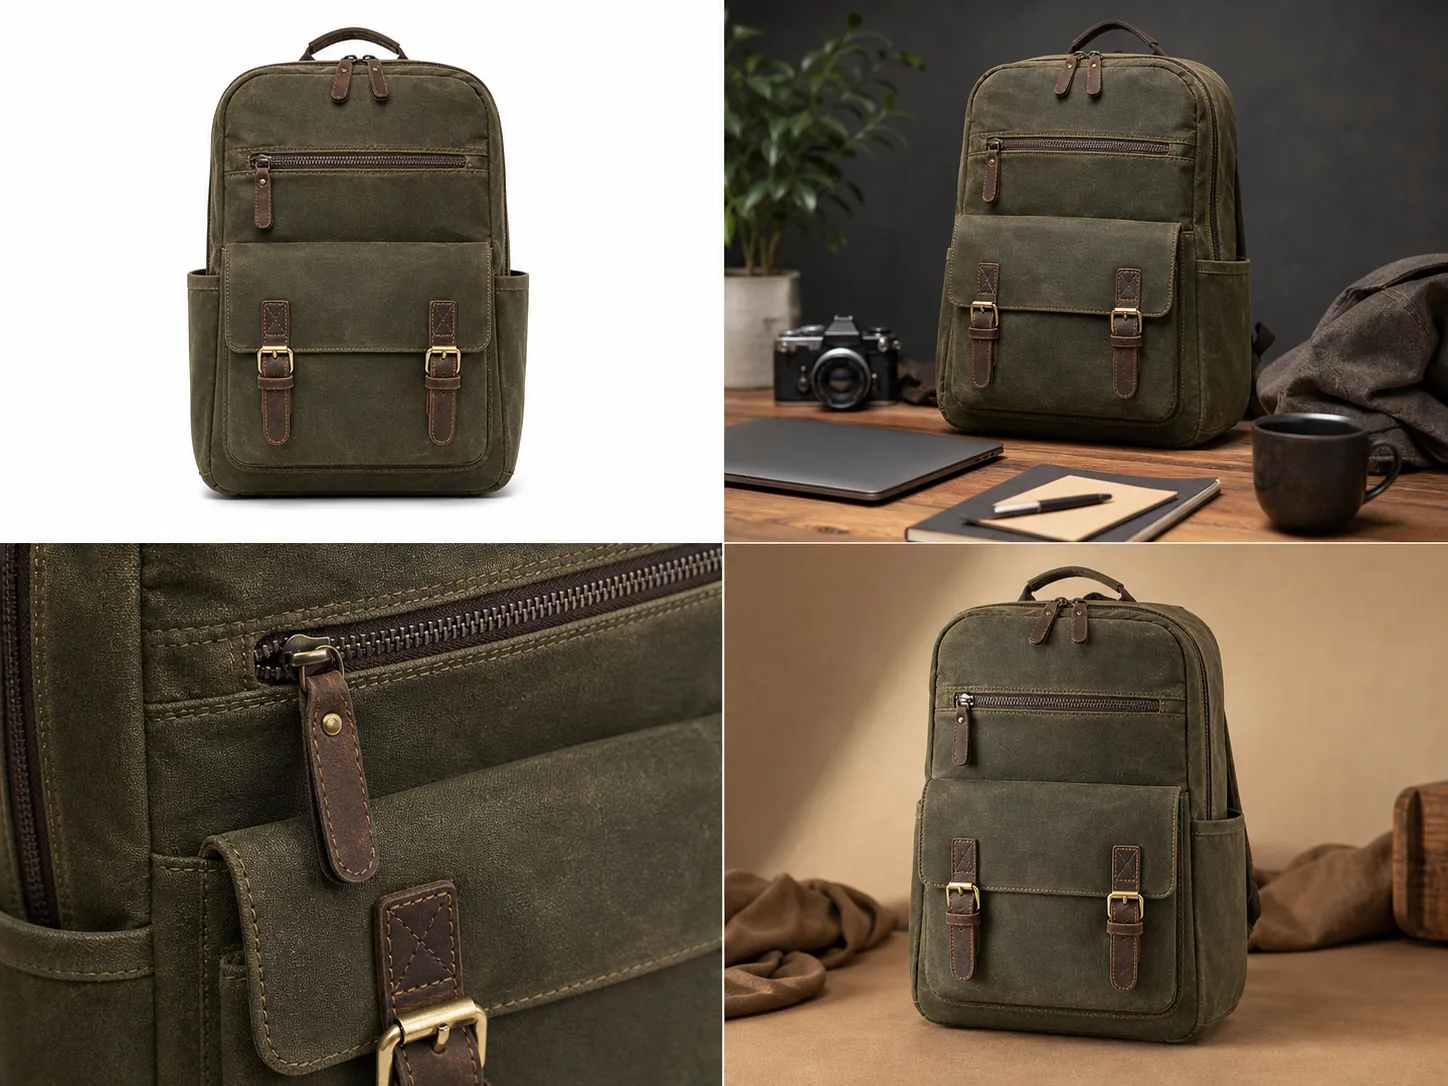
For a linen shirt, that means checking weave, placket, collar shape, button spacing, cuff position, pocket placement, and hem curve. For a dress, it may mean neckline, waist seam, length, drape, and fabric transparency. For a bag or accessory, it means strap anchors, hardware, stitching, scale, and closure.
Build the image set by role
A good AI fashion product photography workflow creates separate assets for separate jobs.
Flat lay or clean product view
The flat lay is the anchor image. It should be plain enough for buyers to inspect the product and consistent enough for catalog grids. Keep shadows soft, crop the whole item, and avoid styling that hides the shape.
Use this when you need:
- A clean PDP image
- A catalog thumbnail
- A comparison image across colorways
- A reference for future AI generations
On-model product image
AI model product photography can help show scale, drape, and styling, but it needs the strictest review. The garment should not become tighter, longer, shorter, shinier, thicker, or more structured unless that is true to the product.
Check the on-model view for:
- Same collar, sleeve, button, pocket, strap, or hem layout
- Plausible garment length and fit
- No invented logos, labels, embroidery, or hardware
- No impossible folds that hide construction
- Product remains the hero, not the model or background
Avoid promising perfect try-on accuracy. For ecommerce, the on-model image is a selling context and scale cue, not a replacement for measured size charts, fit notes, or approved production photography.
Detail shots for fabric and construction
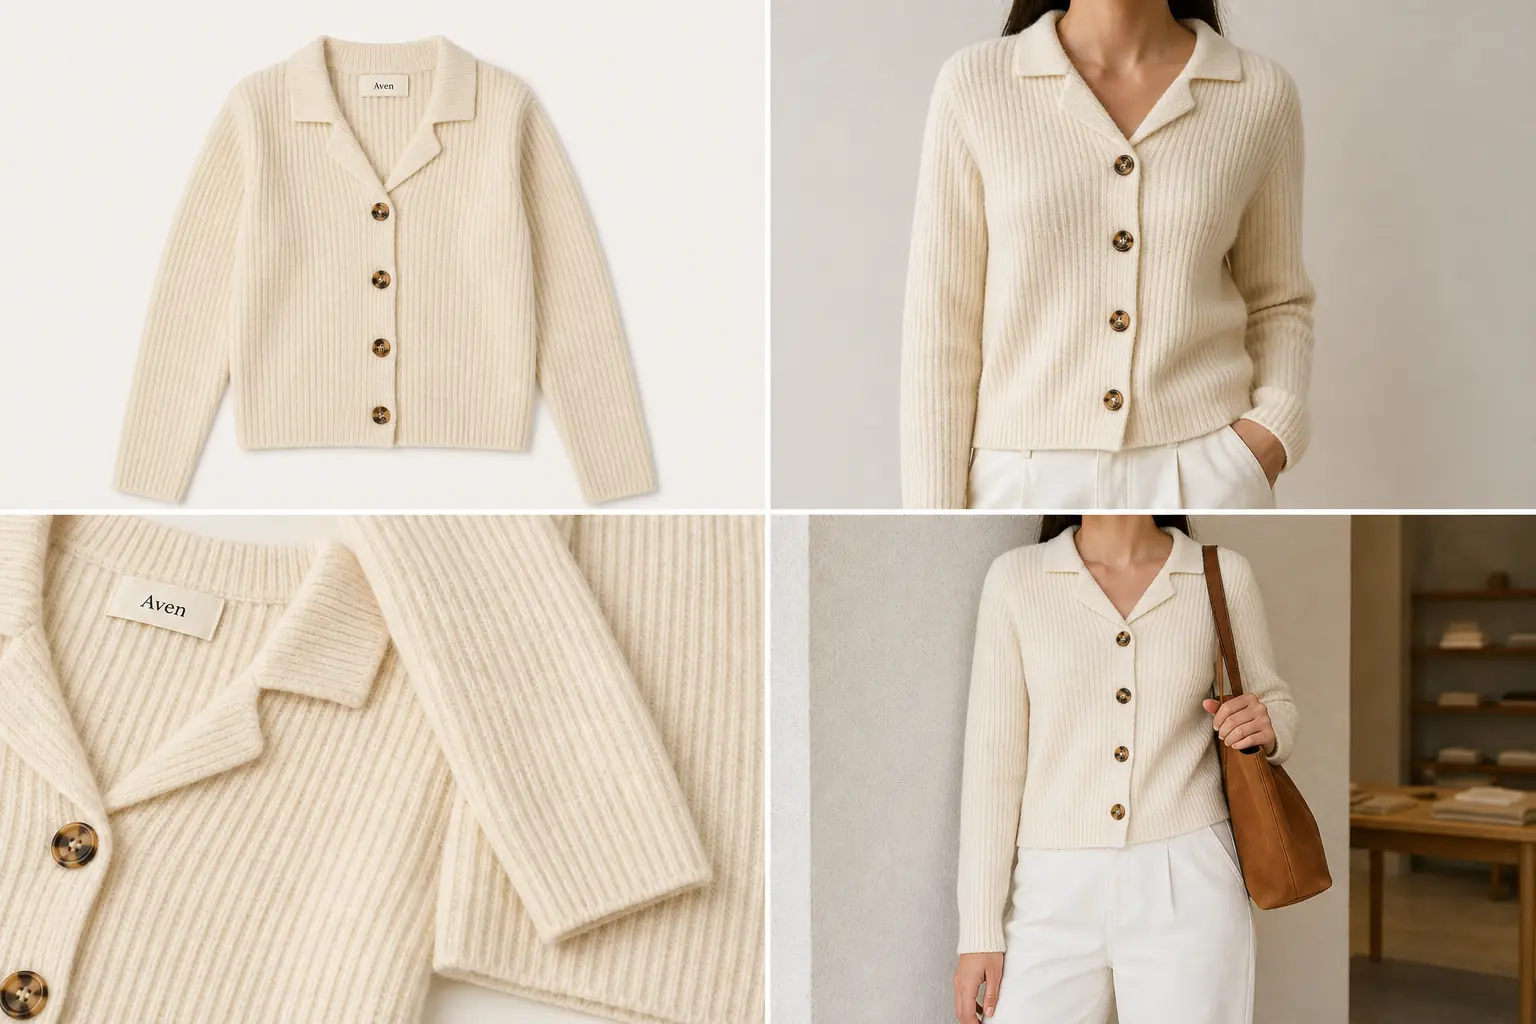
Product detail shots for apparel should prove one concrete point. A useful detail crop can show linen weave, knit ribbing, denim stitching, zipper teeth, leather grain, lining, buttons, or waterproof texture.
Keep detail shots close enough to inspect, but tied to the same product. If a macro texture looks more premium than the actual garment, the image can mislead buyers even if it looks beautiful.
Lifestyle or store-scene image
Lifestyle fashion images work when the scene supports the product. A shirt can hang in a quiet retail setting, sit on a styled model, or appear in a capsule wardrobe layout. The risk is that AI turns the piece into generic fashion mood content.
Use a simple rule: if the buyer cannot immediately identify the exact item being sold, the lifestyle scene is too decorative.
Prompt template for fashion product image sets
Use a prompt that names the image roles and protects product facts:
Create ecommerce fashion product photography for one [product type] using the uploaded reference as the source of truth. Generate a clean image set with a flat lay, an on-model crop, a fabric or construction detail crop, and a simple lifestyle/store scene. Preserve the garment color, silhouette, fabric texture, seam placement, buttons, pockets, hem, collar, sleeve shape, scale, and brand label. Keep the product dominant. Do not add real logos, marketplace UI, badges, unsupported claims, or extra garments that could confuse the SKU.
For KrafLayer, start with the [AI product photography](/ai-product-photography) workflow when you want an image set from a reference. Use the [AI product image generator](/ai-product-image-generator) when the goal is a fresh product asset pack, then use the [product photo editor](/product-photo-editor) for cleanup, retouching, or background adjustments after review.
Review checklist before publishing
Run the same review on every AI clothing product photo before it goes live:
- Product color matches the real item closely enough for buyers
- Fabric texture is believable and not upgraded beyond the SKU
- Fit is presented as a visual cue, not a guarantee
- Buttons, zippers, pockets, seams, straps, and hems match the reference
- No invented badges, logos, certification marks, or marketplace UI
- No body, pose, or crop hides important garment details
- Detail crops show real construction, not invented premium features
- Lifestyle shots still make the product the first thing a buyer sees
- Internal product naming and alt text match the actual item
This is also where [ecommerce product photography](/ecommerce-product-photography) basics still matter. AI can speed up production, but the image still has to help the buyer understand the product quickly and honestly.
Where KrafLayer fits in a fashion workflow
Use KrafLayer when you need more than one fashion image from the same product reference. A common workflow is:
- Upload the garment reference.
- Generate a flat lay or clean product image first.
- Generate an on-model crop only after the product facts are locked.
- Create fabric, closure, or construction detail images.
- Build one lifestyle or store-scene image for merchandising.
- Review the set against the original garment before publishing.
For apparel teams, the advantage is not skipping review. The advantage is producing a stronger first draft set for PDPs, ads, lookbooks, and store refreshes without reshooting every garment angle manually.
Build a garment evidence pack before generating model photos
Google's try-on guidance asks for images at least 512 × 512 pixels, ideally 1024 pixels or higher, with the entire garment visible. Flat-lay garments should avoid excessive folds, and model sources should keep hands, bags, and accessories from covering garment details ([Google virtual try-on](https://support.google.com/merchants/answer/16159685?hl=en-GB), 2026).
For each garment, collect:
- clean front and back views;
- side or three-quarter construction where shape depends on it;
- collar, cuff, closure, hem, pocket, seam, and trim details;
- a neutral color reference;
- fabric macro showing weave, pile, knit, sheen, or transparency;
- real dimensions and the size represented in the source;
- any print, embroidery, label, or hardware that must remain exact.
One front flat lay cannot prove back construction, drape, lining, or fit. If a generated image needs one of those facts, add the source view or photograph it. Do not ask a prompt to fill the gap.
Separate fit claims from styling
Google recommends showing apparel on models and keeping the garment as the focus. That does not make an AI model image proof of fit. Unless the image uses verified garment measurements and a controlled model reference, treat it as styling context rather than a measurement claim ([Google clothing and accessories guidance](https://support.google.com/merchants/answer/7348545?hl=en), 2026).
Avoid unsupported language such as “true to size,” “waist-cinching,” or “relaxed fit” based only on a generated frame. Put exact measurements, size chart data, and photographed fit notes in the listing copy. Use the visual to show a plausible silhouette while preserving construction.
Review stress points where AI often changes clothing:
| Area | Common drift | Required source |
|---|---|---|
| Neckline and collar | New shape, missing button, changed ribbing | Front detail |
| Sleeves and cuffs | Wrong length, added seam, rolled cuff | Front/back and cuff detail |
| Waist and hem | False taper, changed length, invented split | Full garment view |
| Print or embroidery | Warped repeat, mirrored mark, new letters | Sharp artwork reference |
| Fabric | Plastic sheen, lost knit, false transparency | Material macro |
Plan the fashion gallery around buying questions
Google supports up to 10 additional images for free listings. A fashion gallery should spend those slots on evidence before decorative repetition ([Google free listings](https://support.google.com/merchants/answer/13889434?hl=en), 2026).
Start with a factual main image, then show back construction, on-model scale, material detail, a key feature, verified color variants, and one lifestyle context. Add a short movement clip when drape matters. For shoes and accessories, keep the item alone in the main image and use model context as an additional image.
KrafLayer's reference-image workflow is most useful after the evidence pack is ready. Give product references identity authority, use model or scene references only for presentation, and generate one gallery role at a time. That keeps a failed lifestyle idea from contaminating the factual product master.
FAQ
Can AI product photography for fashion replace a studio shoot?
It can replace some supporting image production, especially flat lays, lifestyle drafts, detail concepts, and campaign variations. It should not replace product truth checks, size charts, fit notes, or final review. For fashion, buyers rely on fabric, drape, color, and proportion, so every AI image needs comparison against the real item.
What fashion products work best with AI product photography?
Simple garments and accessories with clear references tend to work best: shirts, jackets, bags, shoes, scarves, belts, and clean apparel basics. Complicated sheer fabrics, exact tailoring, technical sportswear, jewelry-scale accessories, and heavily textured items need closer review because small changes can alter buyer expectations.
How do I keep fit accurate in AI model product photography?
Use the model view as a scale and styling cue, not a fit guarantee. Compare sleeve length, shoulder position, garment length, drape, closure spacing, and fabric tension against the reference. If the output quietly changes the cut or makes the item look tailored differently, reject it or regenerate with stricter product-preservation instructions.
Should fashion product pages use flat lays or model images?
Most fashion pages benefit from both. A flat lay or clean product view helps buyers inspect the item, while a model image helps them understand scale and styling. Detail shots then prove fabric and construction. The safest set combines these roles instead of relying on one image type for every buyer question.
Can KrafLayer create both fashion main images and detail images?
Yes. KrafLayer can help turn one product reference into main images, on-model concepts, product detail shots, and lifestyle visuals. The important step is reviewing each output for garment truth before publishing, especially color, fabric, fit, seams, closures, and scale.
Conclusion
AI product photography for fashion is useful when it creates a clear image set: flat lay, model view, detail proof, and lifestyle context. KrafLayer helps fashion sellers turn one product reference into AI clothing product photos and ecommerce fashion visuals while keeping the review focused on garment truth. For apparel teams, the practical advantage is faster visual production for PDPs, campaigns, and store refreshes without losing sight of fit, fabric, color, and product accuracy.
Keep exploring
Continue the story
More practical guidance on product accuracy, composition, and conversion-ready visuals.
Put it into practice
Take the next step in KrafLayer
Choose a generation or editing workflow that matches what you just learned.