Platforms
Amazon Product Photo Editing: A Compliance Checklist
TL;DR
Edit Amazon product photos with separate main and additional image roles, a safe-edit map, edge review, source evidence, and a pre-upload checklist.
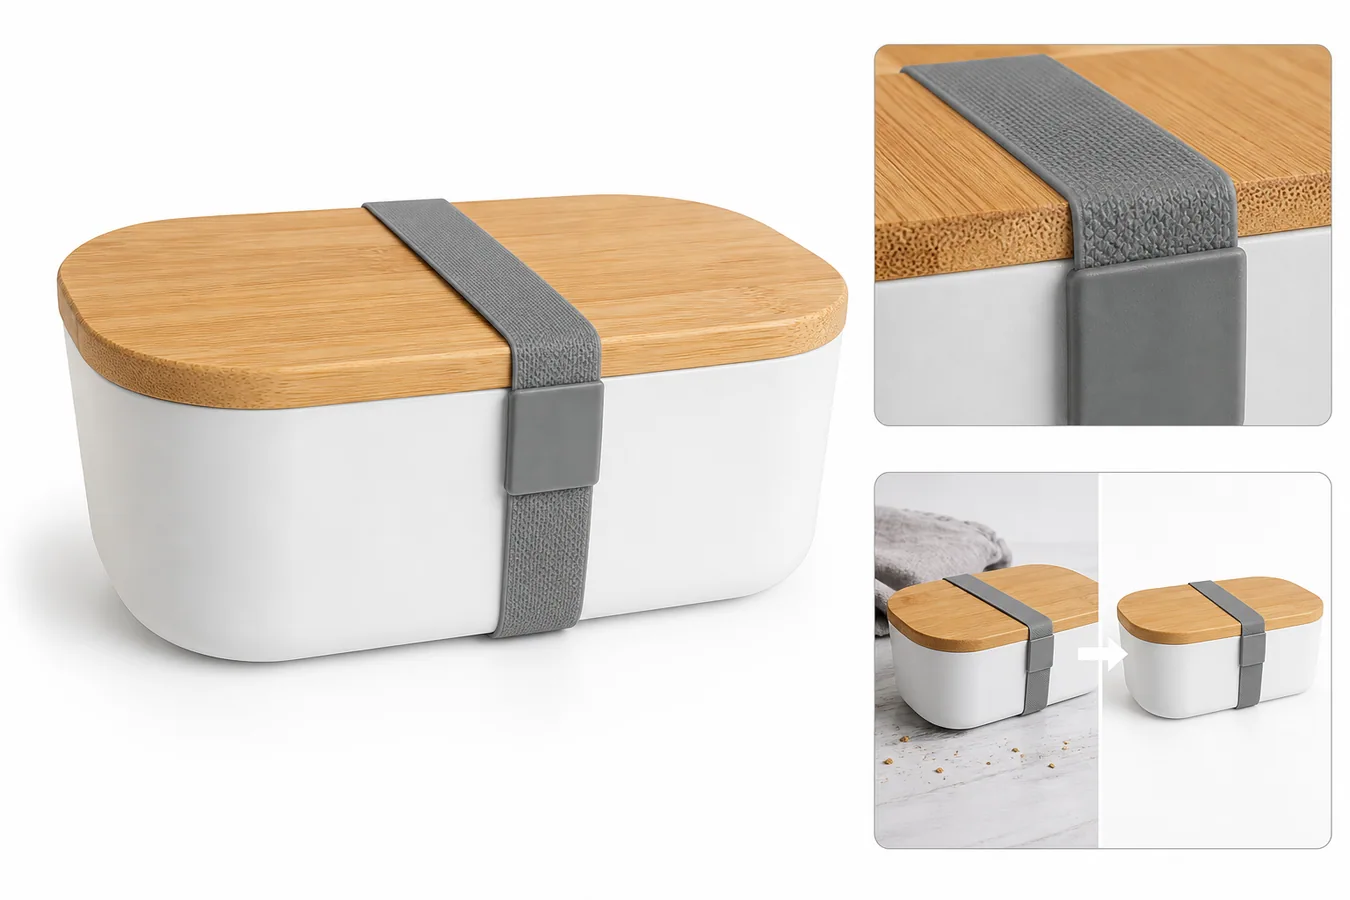
Amazon product photo editing should improve clarity without changing what the customer receives. Treat the main image and additional images as different roles, preserve the photographed SKU, and check the current category and marketplace rules before upload.
You can edit product photos for Amazon by removing shoot-side problems, improving clarity, and building the right image roles without changing what the buyer will receive. The safest rule is simple: edit the photography, not the product. Clean the background, remove temporary props or dust, improve resolution, and make detail images easier to inspect. Do not add fake badges, unsupported claims, extra accessories, altered packaging, or product features that are not part of the item.
KrafLayer fits this workflow when your product is real but the photos are not listing-ready. Use it to clean backgrounds, erase distractions, upscale soft files, and make product-forward images that still match the real SKU.
Quick Answer: What To Edit First
For Amazon product photos, edit in this order:
1. make the main product image clear and uncluttered 2. remove temporary shoot artifacts such as dust, props, hands, tape, or background mess 3. improve sharpness only when product texture, labels, and edges remain believable 4. create detail images that prove material, scale, package contents, or function 5. review every image against the real product before upload
Practical rule: a good Amazon image edit makes the product easier to inspect, not easier to misunderstand.
Separate Safe Edits From Risky Edits
The difference between a useful edit and a risky edit is whether the buyer still sees the real product.
| Edit type | Usually useful | Review carefully |
|---|---|---|
| Background cleanup | Removing clutter, color cast, dirty paper, or distracting props | Do not erase product edges, shadows, or package contents |
| Object removal | Removing hands, dust, loose tags, temporary stickers, or shoot tools | Do not remove buyer-relevant labels, defects, included parts, or warnings |
| Upscaling | Making a soft but accurate photo easier to inspect | Do not accept invented texture, altered text, or redesigned details |
| Detail images | Showing material, hardware, packaging, or use | Do not add fake callouts, badges, or unsupported claims |
| Lifestyle images | Showing scale or real use context | Do not hide the product or imply included accessories that are not sold |
This matters because Amazon listing images carry buyer expectations. If the image changes the SKU, the edit has gone too far.
A Practical Amazon Photo Editing Workflow In KrafLayer
Use this workflow when you already have product photos and need cleaner listing assets.
1. Choose The Most Accurate Source Photo
Start with the photo that best represents the real item. It does not need perfect lighting, but it should show product shape, color, material, package contents, and important details.
For a lunch container, protect lid shape, silicone strap, material texture, container depth, edge curves, and contact shadow. For skincare, protect cap geometry, label placement, liquid color, and bottle proportions. For electronics, protect ports, seams, buttons, screen edges, and scale.
2. Clean The Main Image
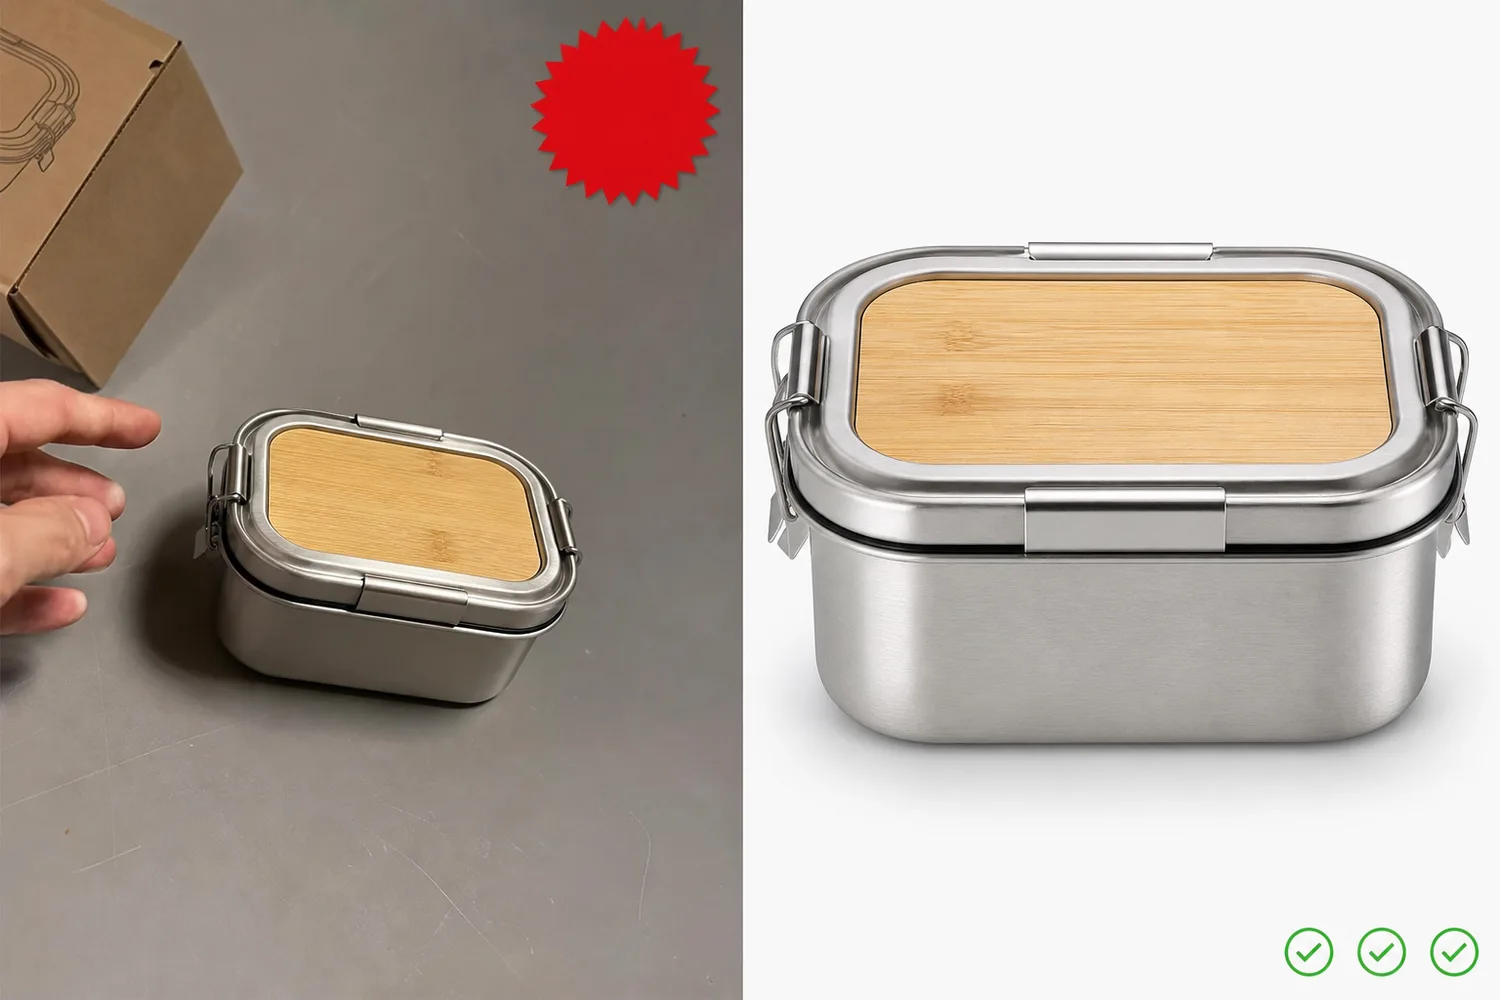
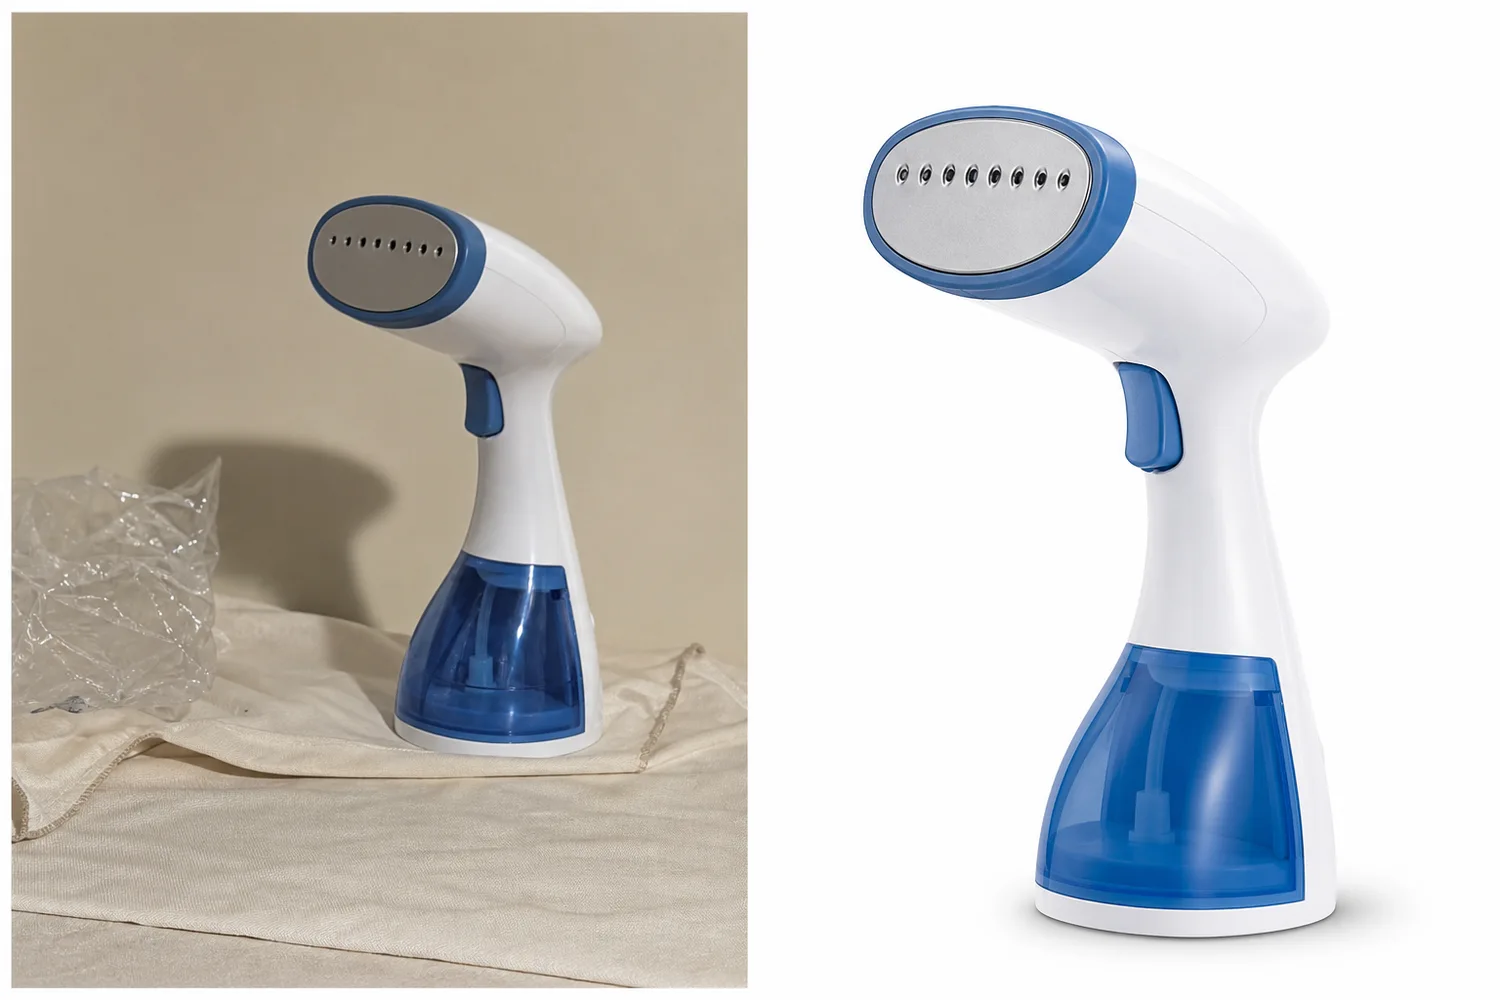
If the background is the problem, use the [AI background remover](/tools/ai-background-remover) to create a clean cutout or a simple product-forward image. If the issue is smaller, use the [AI product photo editor](/product-photo-editor) to remove dust, creases, temporary props, or distracting marks.
The main image should help the buyer answer: what is this product, and what exactly is included?
For the broader listing workflow, use the [Amazon product photos guide](/marketplace-product-images/amazon-product-photos) as the owner page, then treat this article as the editing checklist for turning source photos into safer listing assets.
3. Remove Only Temporary Distractions
Use the [AI object eraser](/tools/ai-object-eraser) for things that clearly came from the shoot, not from the product:
- lint, dust, crumbs, paper wrinkles, or tape
- a hand holding the product
- a temporary barcode or warehouse sticker
- a background prop that blocks the product
- a reflection that hides material or label detail
Do not erase permanent labels, safety markings, package information, real wear, included parts, or structural details. If a detail affects buyer understanding, keep it visible.
4. Build Detail Images That Prove Something
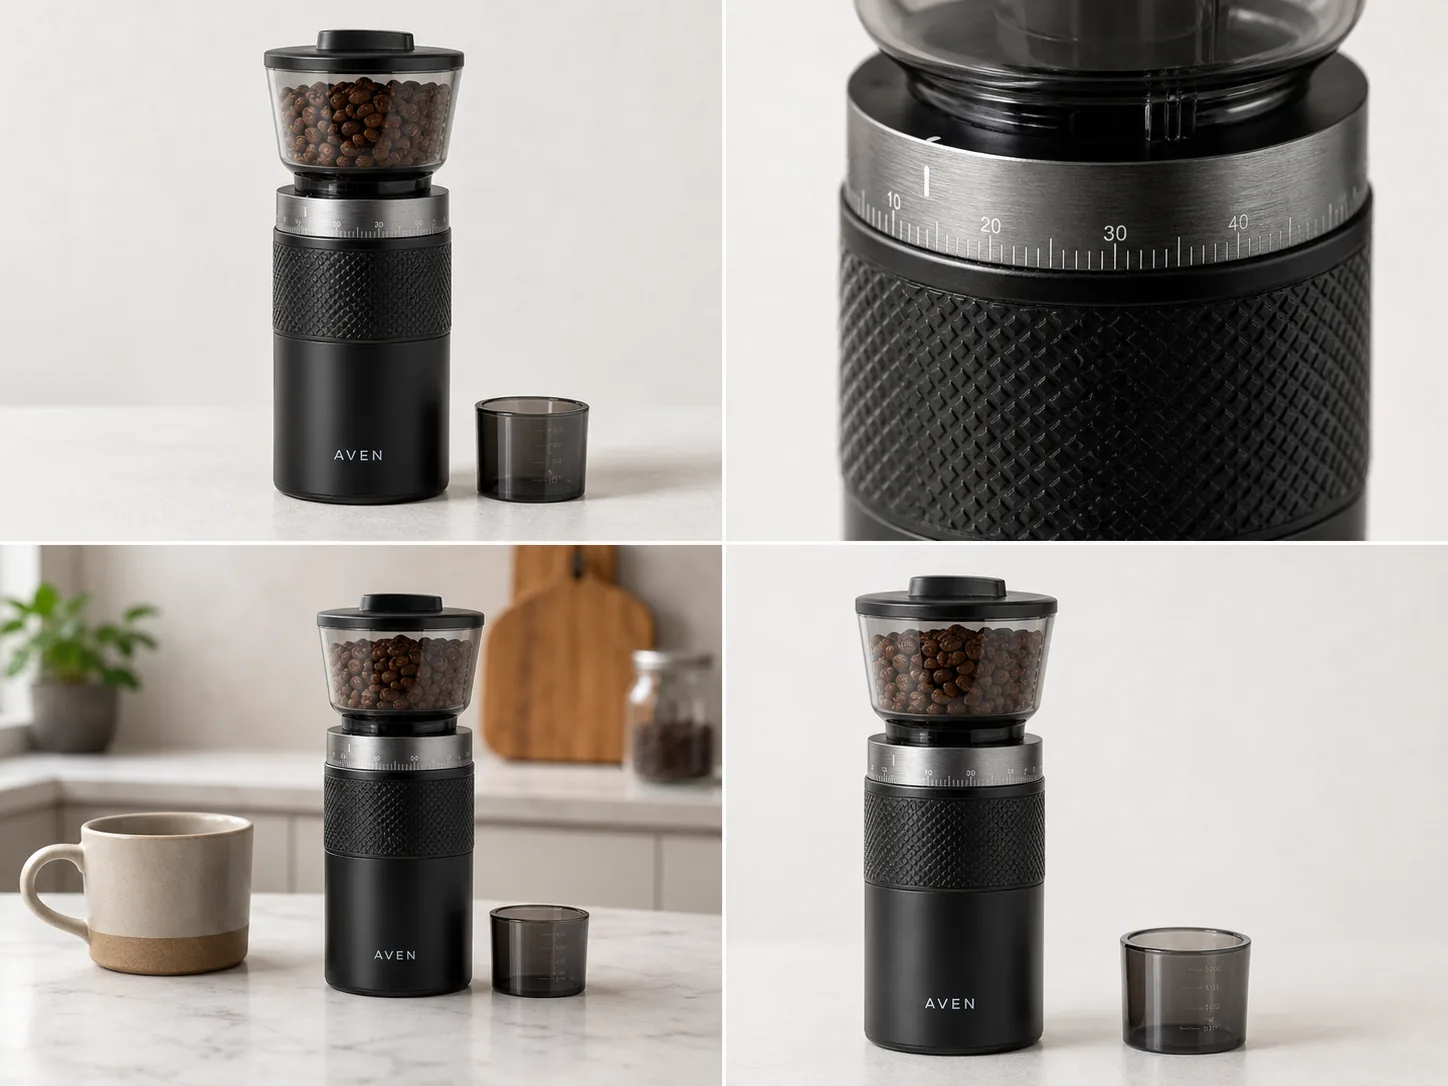
Amazon listing images should not all repeat the same hero shot. Use detail images to answer questions the main image cannot answer:
- What does the material look like close up?
- How does the cap, lid, clasp, zipper, or strap work?
- What is included in the package?
- How large does the product feel next to a believable scale cue?
- Which texture, edge, seam, or finish should the buyer trust?
The best detail image is not decorative. It gives the buyer a reason to believe the product description.
5. Review Before Upload
Before publishing, compare the edited image set with the real product:
- Product color still looks believable.
- Shape, size, edges, seams, caps, buttons, labels, and ports are unchanged.
- Background edits did not make the product float or lose edge detail.
- Detail images show real product features, not invented improvements.
- There are no fake badges, guarantee marks, certification icons, or unverified claims.
- The image does not imply accessories, bundles, or quantities that are not included.
- Any exact Amazon image requirement has been checked in current Seller Central or official Amazon guidance.
This article gives a production workflow, not legal or compliance advice. Amazon guidance can change, and sellers should verify current marketplace requirements before final upload.
Prompt Template For Amazon Listing Image Cleanup
Use a conservative instruction like this when a prompt-capable workflow is appropriate:
Edit this product photo for an Amazon listing. Keep the real product shape, color, material texture, label placement, package contents, scale, and natural shadow unchanged. Remove only temporary shoot clutter, dust, background mess, and distracting props. Do not add badges, fake text, new logos, extra accessories, certification marks, or product features that are not in the source.
The prompt works because it defines the editing boundary before asking for cleanup. For marketplace images, that boundary is more important than style.
When A Photo Should Not Be Edited
Some photos are too weak to rescue. Reshoot or create a better reference when:
- the product is out of focus beyond recovery
- the wrong variant is shown
- an important side, label, port, or included item is missing
- lighting hides true color or material
- the image would need major product reconstruction
- the edit would hide a real condition issue
AI can remove production friction, but it should not be used to cover product truth.
Separate the main image from additional images
Amazon's main image has the strictest role. Current Amazon seller guidance requires a professional image of the actual product on pure white RGB 255, 255, 255, with the product filling at least 85% of the frame. It excludes text, graphics, watermarks, and props that are not included. Amazon recommends at least 1000 pixels on the longest side for zoom ([Amazon product image requirements](https://sellercentral.amazon.com/seller-forums/discussions/t/13af96ea-6b07-4bf9-8dbe-a13292c2e3b1), 2026).
Use additional images for lifestyle context, detail evidence, scale, and instructions. Do not transfer the creative freedom of an additional image into the main slot. Also check the live Seller Central rule for your product category and marketplace before upload, because category-specific requirements can differ.
Use a compliance-safe edit map
Classify each planned change before opening the editor:
| Edit | Main image | Additional image | Review question |
|---|---|---|---|
| Remove dust or temporary background debris | Usually safe | Safe | Is the product unchanged? |
| Replace background with pure white | Expected for most categories | Optional | Are edges and transparent parts accurate? |
| Add promotional text or badge | No | Review current rules | Is the claim allowed and supported? |
| Add a lifestyle setting | No | Common use | Does it imply included accessories? |
| Repair a missing product detail | No | No | Why is the source inaccurate? |
| Adjust crop and product fill | Safe if complete product remains visible | Safe | Is scale still honest? |
Never use generative editing to add a component, fix packaging text, change color, remove a condition issue, or make an accessory appear included. Photograph the correct item instead.
Inspect white-on-white and transparent products carefully
A pure white background can erase the edge of a white, clear, or reflective product. Preserve the real boundary with lighting and tonal separation in the source. Do not add a gray outline around the whole item just to make the cutout visible.
Check glass, plastic, polished metal, fine straps, cables, and soft fabric on both white and gray review backgrounds. The final main image can be white, but the review background helps reveal clipped transparency and halos.
Create a pre-upload evidence record
Keep the untouched source, final export, ASIN or product identifier, image-slot name, editor, date, and a short list of edits. Use stable filenames that follow the current Seller Central upload workflow. This record makes a rejected image easier to diagnose and protects the team from editing the wrong variant.
Before upload, verify:
- the photographed product matches the listing and selected variant;
- only included items appear in the main image;
- the background and overlays meet the slot's current rules;
- the full product is sharp and the crop is intentional;
- color, material, labels, ports, hardware, and packaging remain accurate;
- the exported dimensions and format meet the current marketplace requirement.
Compliance is an upload gate, not a one-time template. Recheck the official rule when Amazon changes the listing experience or when you enter a new category or country marketplace.
FAQ
Can I use AI-edited images on Amazon?
AI-edited images can be useful for cleaning product photos, but the seller is still responsible for making sure the final image represents the real product and follows current Amazon guidance. Use AI for background cleanup, object removal, sharpness, and detail preparation, then review the final image against the item being sold.
What should I avoid when editing Amazon product photos?
Avoid edits that change the product, add fake certifications, invent included accessories, alter labels, remove buyer-relevant information, or make the item look like a different SKU. Also avoid lifestyle scenes that hide the product or imply a bundle the buyer will not receive.
Is background removal enough for Amazon product photos?
Background removal is often the first fix, not the whole workflow. You may also need sharper detail images, consistent variant crops, product-truth review, object cleanup, and secondary images that explain material, function, package contents, or scale.
How can I make Amazon product photos look more professional?
Start with product hierarchy. The product should be immediately readable, centered when appropriate, and free of shoot-side clutter. Then improve lighting, background, crop, detail images, and file clarity. Professional does not mean over-styled; it means easy to inspect and hard to misunderstand.
How does KrafLayer help edit product photos for Amazon?
KrafLayer helps sellers clean existing product photos with background removal, object erasing, upscaling, and product-photo editing. It is useful when you need listing-ready main images and detail images while keeping the real product facts intact.
Conclusion
KrafLayer helps edit product photos for Amazon by making cleanup, background removal, object erasing, and detail-image preparation easier without forcing sellers into a full reshoot. The right workflow is conservative: improve the photo, preserve the SKU, review every output against the real product, and check current Amazon guidance before uploading final listing images.
Keep exploring
Continue the story
More practical guidance on product accuracy, composition, and conversion-ready visuals.

Put it into practice
Take the next step in KrafLayer
Choose a generation or editing workflow that matches what you just learned.