Edit tools
Remove Product Photo Backgrounds: Edge and Shadow Checks
TL;DR
Remove product photo backgrounds with a material-aware edge map, separate shadow decision, destination-specific export, and six-point acceptance test.
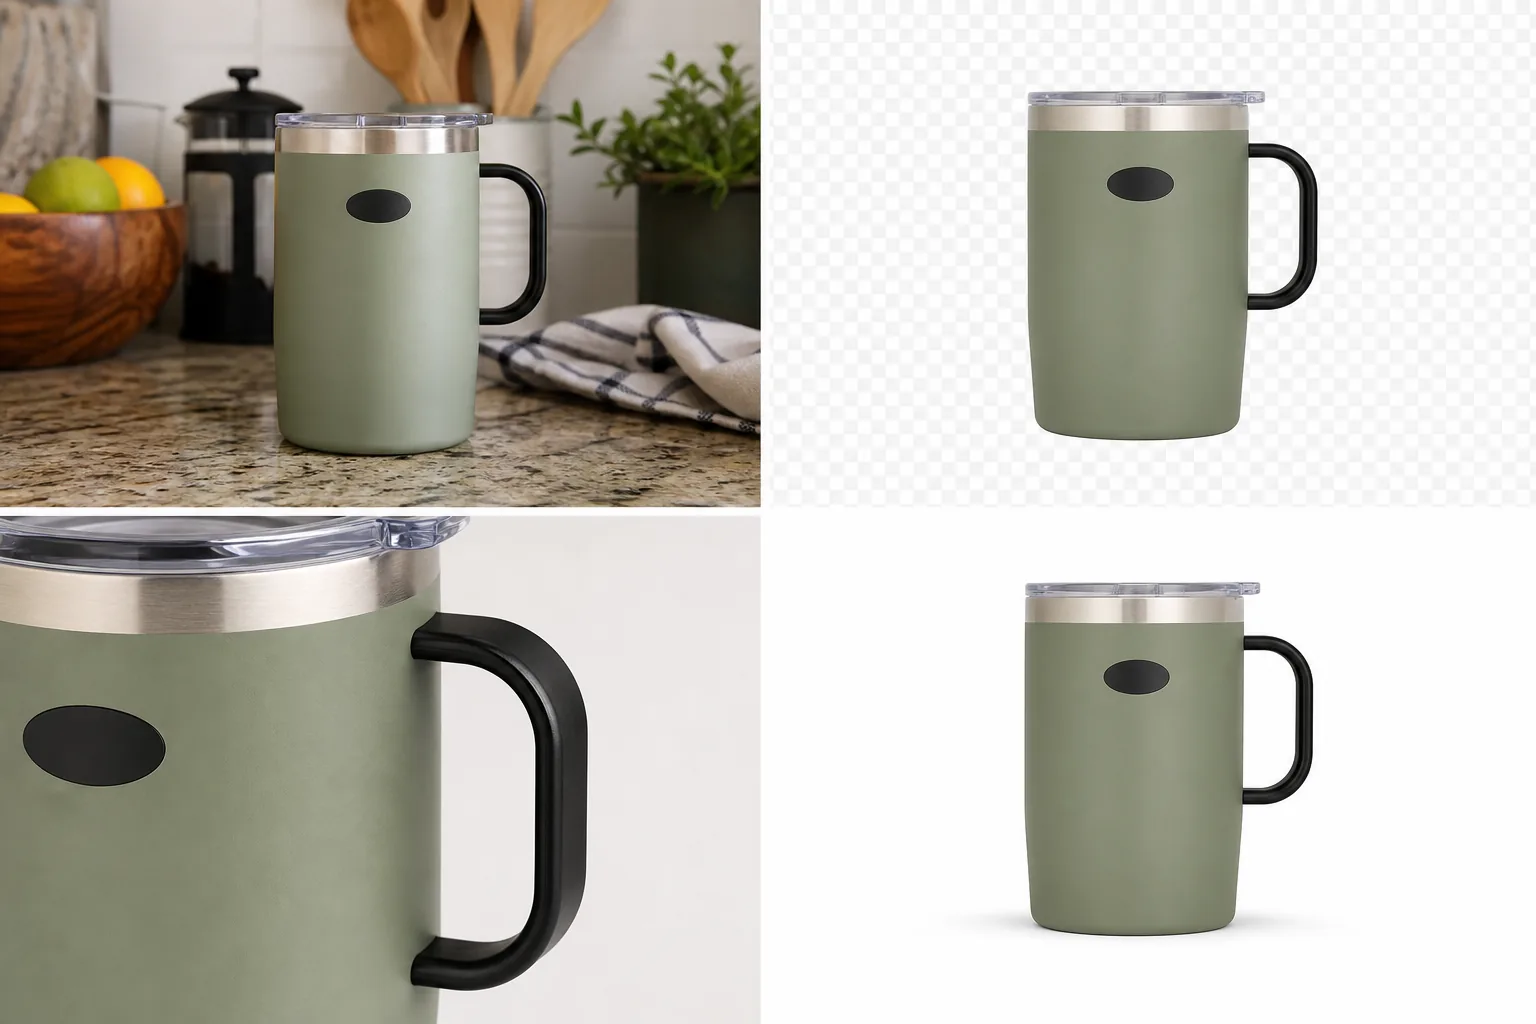
A publishable product cutout needs more than an empty background. Preserve the complete silhouette and material edge, remove old-background halos, handle transparency correctly, and decide the contact shadow separately.
To remove background from product photo files safely, do not start by chasing a perfect white canvas. Start by protecting the product. A useful AI background-removal workflow isolates the item, keeps the real edge and material detail, returns a transparent PNG product photo, and gives you a clean cutout you can place on white, in a Shopify gallery, or inside an ad layout.
In KrafLayer, the [AI background remover](/tools/ai-background-remover) is a one-click Remove BG tool. It does not need a prompt or a painted mask. The seller's job is the quality check after the cutout: make sure the product still looks like the same SKU before reusing it anywhere.
Remove Background From Product Photo: The Practical Rule
Use background removal when the product is right and the background is wrong. If the source photo already shows the correct shape, color, handle, lid, label area, material, and scale, a product background remover can turn that one image into a reusable ecommerce asset.
Do not use background removal to fix a product that is already inaccurate. If the mug is the wrong color, the handle changed shape, the lid is missing, or the material looks different, remove the background only after fixing the source image.
For the Aven sage travel mug example, the facts to preserve are:
- sage matte body
- clear plastic lid
- brushed metal rim
- black loop handle
- blank oval logo area
- rounded lower edge
- subtle product shadow
- same front-facing angle
If those change, the cutout is not publish-ready even if the background is gone.
Use Remove BG For Isolation, Not Redesign
A background remover has one main job: separate the product from the scene behind it. That makes it different from object erasing, background replacement, or full product generation.
Use Remove BG when the original photo has:
- kitchen counter clutter
- supplier-photo props
- a busy desk or warehouse floor
- fabric wrinkles behind the item
- inconsistent store-gallery backgrounds
- a usable product with a weak setting
Use another workflow when the issue is not the background. The [product photo editor](/product-photo-editor) is better for small local cleanup. Background replacement is better when you need a new lifestyle scene. Upscaling is better when the image is too small but the background is already acceptable.
The Four Checks Before You Publish
After you remove background from product image files, inspect the result in this order.
1. Product Cutout Edge Check
Zoom in around the hardest outlines first: handles, straps, glass, cords, feet, rims, fur, fabric, lace, clear plastic, and metal highlights. A good product cutout should not leave a colored halo from the old background, but it also should not trim away real product material.
In the mug example, the black handle and clear lid are the risk areas. If the handle edge is jagged or the lid loses its transparent lip, the product will look cheaper in a listing grid.
2. Material Check
The product should still feel like the same material. Matte ceramic should not turn glossy. Leather should keep grain. Glass should keep thickness and highlight edges. Fabric should keep weave and seams.
This is where background removal can quietly weaken buyer trust. A white background product photo is clean only if the product itself still carries enough visual information.
3. Shadow Check
A transparent PNG product photo is useful because it can be placed into different layouts. But when you place it on white, do not let it float. Keep or rebuild a soft contact shadow when the product sits on a surface.
The rule is simple: remove the old background, not the product's weight.
4. Channel Check
Before upload, check the final image against the channel where it will be used. For [Amazon product photos](/marketplace-product-images/amazon-product-photos), treat background removal as preparation, not as a marketplace approval guarantee. For [Shopify product images](/marketplace-product-images/shopify-product-images), check gallery ratio, thumbnail readability, and consistency across the collection.
Avoid platform logos, fake badges, review stars, certification marks, QR codes, barcodes, discount stickers, or unsupported claims unless they are real, allowed, and part of your approved channel plan.
Steps In KrafLayer
Use this workflow for a single product photo:
- Upload the source product photo.
- Choose Remove BG in KrafLayer.
- Let the one-click AI background remover create the transparent cutout.
- Review the edge against a light and dark preview if the product has pale or transparent parts.
- Place the approved cutout on white for a main image, or keep the transparent PNG product photo as a reusable master.
- Use focused editing only for leftover edge marks, dust, or crop issues.
- Export the final image only after the product facts still match the source.
Do not add a prompt for Remove BG. Prompting belongs to background replacement, masked edits, reference editing, or scene composition. For this task, the most reliable instruction is the original image plus a strict review checklist.
When To Rerun Instead Of Repair
Rerun the background removal when the cutout fails around the product boundary. Repair only when the issue is small and local.
Rerun when:
- a handle hole is filled in
- clear plastic becomes cloudy
- fabric fringe is cut off
- product feet disappear
- glass or metal edges carry old background color
- the product silhouette changes
Repair when:
- one dust speck remains outside the item
- a tiny old-background mark is visible near an edge
- the crop needs more margin
- a shadow needs to be softer
- the final white image needs a slightly better thumbnail crop
That decision keeps the workflow fast without accepting a flawed product cutout.
Start with a source that can survive the cutout
Background removal cannot recover a silhouette hidden by blur, low contrast, glare, motion, or an object crossing the product. Shopify recommends clearly visible subjects, good contrast, clean edges, and simple compositions for better background-removal results ([Shopify media generation](https://help.shopify.com/en/manual/shopify-admin/productivity-tools/shopify-magic/media-generation), 2026).
Before editing, zoom in on hair, fur, transparent plastic, glass, reflective metal, lace, straps, cords, and soft fabric. If the source does not show where the product ends, photograph it again against a contrasting sweep. A clean source usually saves more time than repeated automatic cutouts.
Use an edge review map
Review the silhouette by material rather than dragging your eyes around the image once:
| Edge type | Common failure | What to preserve |
|---|---|---|
| Hard painted edge | Halo or clipped corner | Straight geometry and real bevel |
| Fabric or knit | Over-smoothed contour | Fibers, thickness, and natural irregularity |
| Hair or fur | Solid helmet edge | Fine strands without background contamination |
| Glass or clear plastic | Missing transparent area | Refraction, tint, and internal structure |
| Reflective metal | White fringe mistaken for background | Genuine highlight and surface boundary |
| Cord, chain, or strap | Broken segment | Continuous path and consistent width |
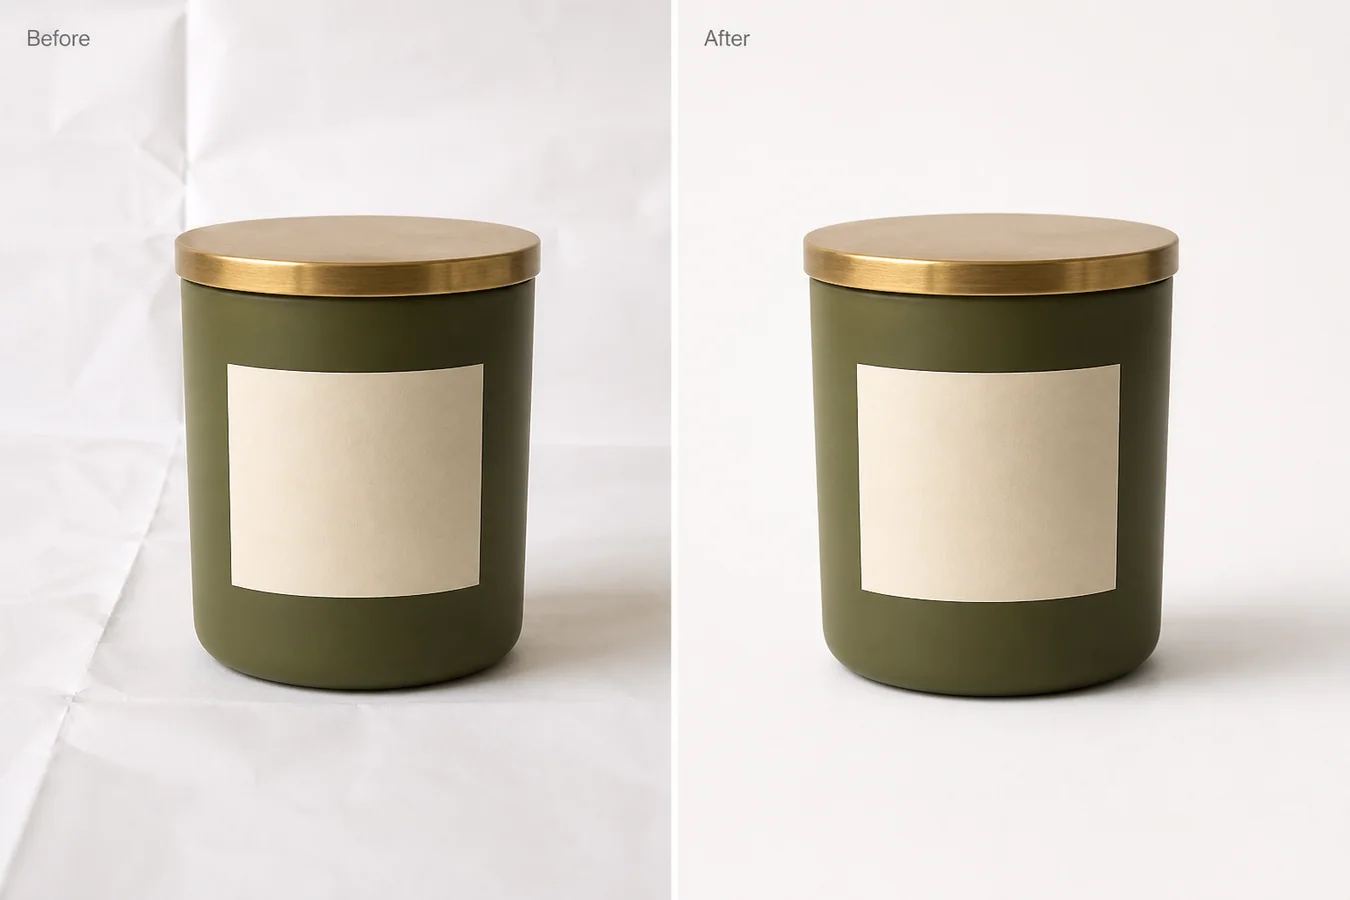
Inspect once on white, once on mid-gray, and once on a dark checkerboard. A halo can disappear on one background and become obvious on another.
Separate the cutout from the shadow decision
The original shadow often contains traces of the old background. Preserve it only when it can be isolated cleanly and still matches the new surface. Otherwise keep the product cutout accurate, then create a restrained contact shadow as a separate layer.
A credible shadow should touch the real support points, follow the original light direction, and become softer with distance. Reject floating shadows, identical oval shadows under every SKU, dark outlines around the whole product, and shadows that imply a different object height.
Choose the export by its next use
For a reusable transparent master, save PNG because Shopify specifically requires PNG to retain transparency in its editor workflow ([Shopify media generation](https://help.shopify.com/en/manual/shopify-admin/productivity-tools/shopify-magic/media-generation), 2026). For a final white-background storefront file, JPEG or WebP can be smaller, but inspect compression around fine edges.
Keep the transparent master, background layer, and shadow separate when possible. This prevents a later campaign from cutting out an already compressed white-background export.
Run a six-point acceptance test
Approve the asset only when:
1. the complete silhouette matches the source; 2. fine material edges still look like the real material; 3. no old-background fringe remains; 4. transparent and reflective areas retain structure; 5. the shadow supports the product without changing its scale; 6. the selected export format matches the destination.
When one test fails, repair the smallest region. Rerun the full removal only if the mask is broadly wrong.
FAQ
What is the fastest way to remove background from product photo files?
Use a one-click AI background remover when the product itself is already accurate. In KrafLayer, Remove BG isolates the product automatically and returns a transparent cutout, so you can review the edge and place the result on white or into another ecommerce layout.
Do I need a prompt to remove a product background?
No. KrafLayer Remove BG does not use a prompt or mask. Upload the product photo and run the automated background-removal tool. Use prompts only for workflows that create new content, such as background replacement, masked editing, or scene composition.
Should the final export be transparent PNG or WebP?
Keep a transparent PNG product photo when you need a reusable master cutout. For a published blog or store image, WebP is often better for page speed when transparency is not required. The key is to approve the cutout before converting formats.
How do I know if a product cutout is good enough?
Check the hardest edges, material texture, contact shadow, product scale, and thumbnail readability. If the cutout changes shape, trims real material, leaves colored halo, or removes useful shadow, it is not ready for a product page or marketplace draft.
Can a background remover guarantee marketplace compliance?
No. A clean background can help prepare a listing image, but each marketplace has current rules and review systems. Treat background removal as image preparation, not a compliance guarantee, and review crop, margin, text, logos, badges, and claims before upload.
Conclusion
To remove background from product photo files well, treat the cutout as a product-truth check, not just an editing shortcut. Start with the correct source image, use KrafLayer Remove BG for one-click isolation, inspect the transparent PNG edge, preserve natural shadow, and only publish when the product still looks like the same SKU. That gives you a reusable asset for white backgrounds, store galleries, marketplace drafts, and ad layouts without turning a simple edit into a product redesign.
Keep exploring
Continue the story
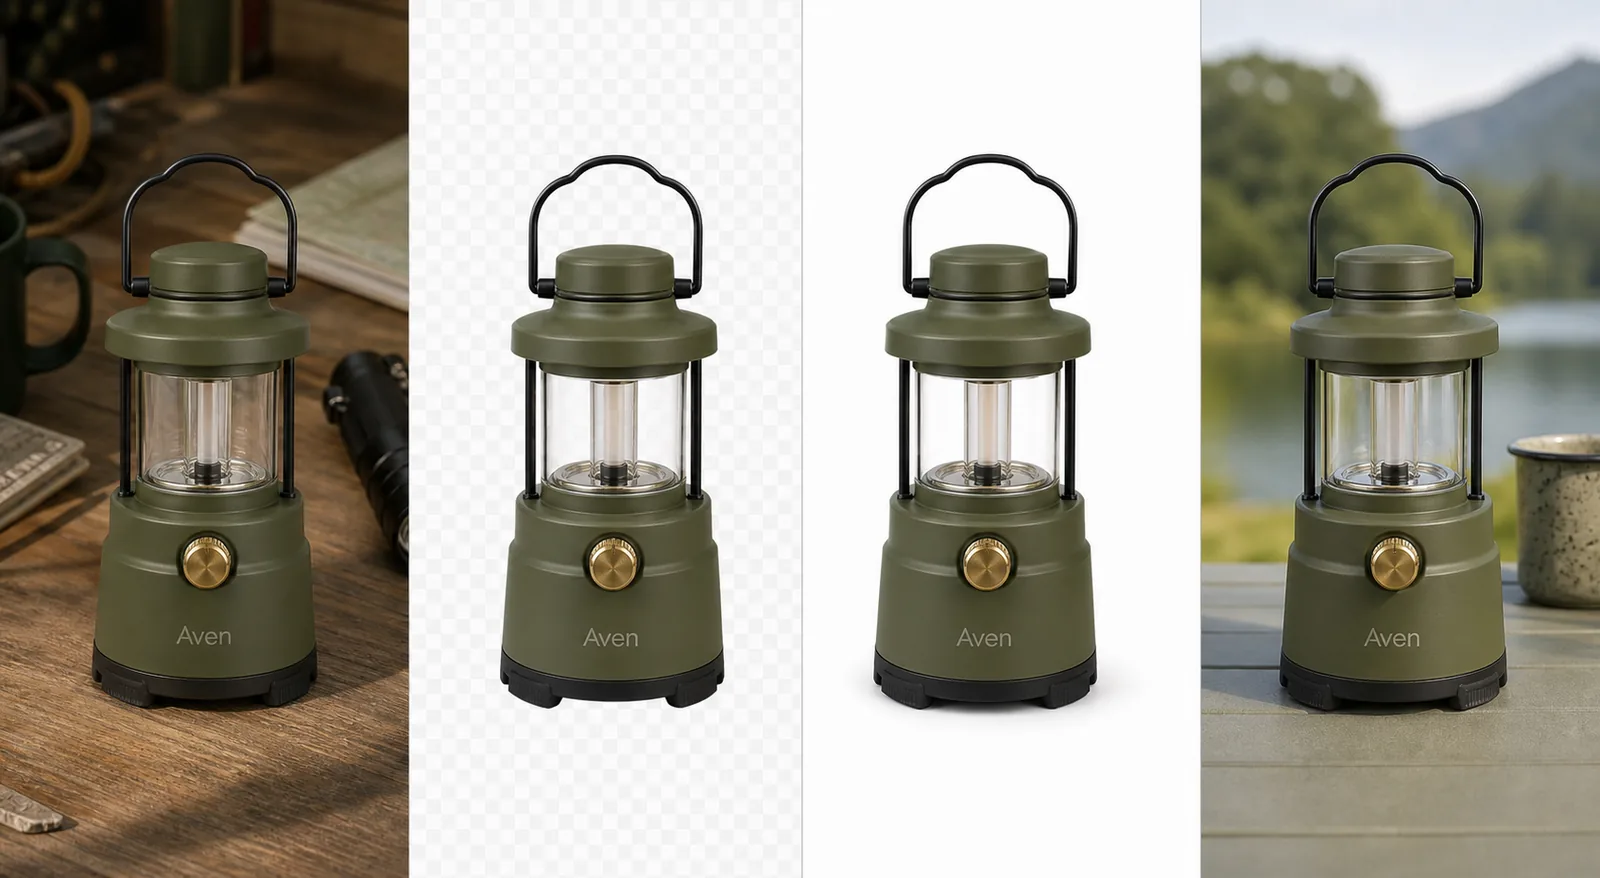
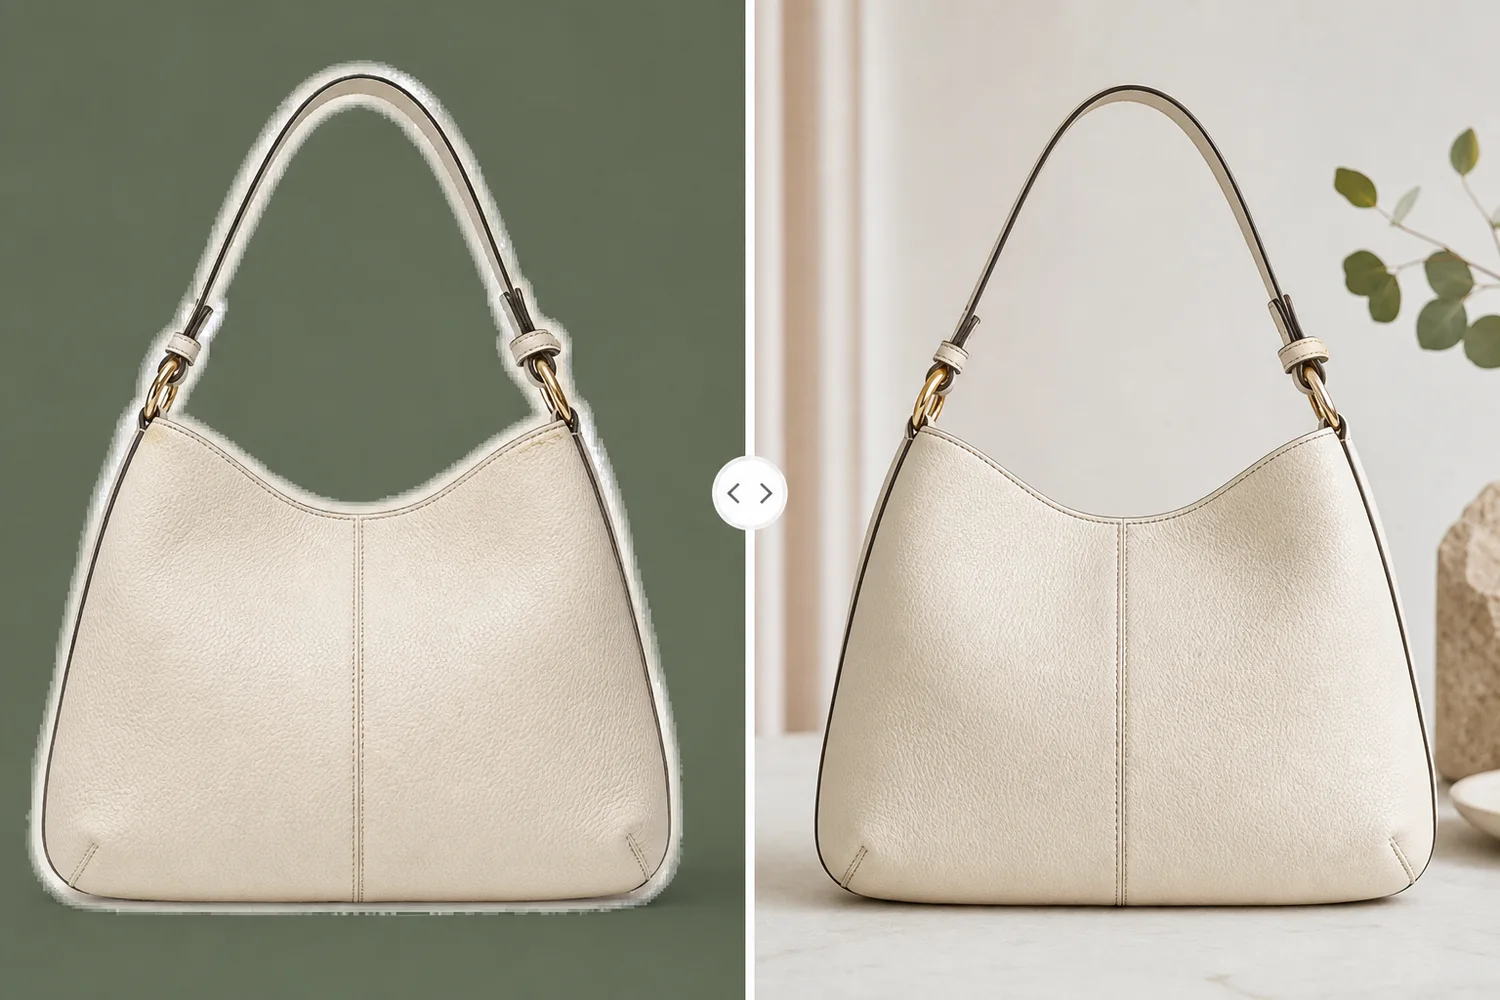
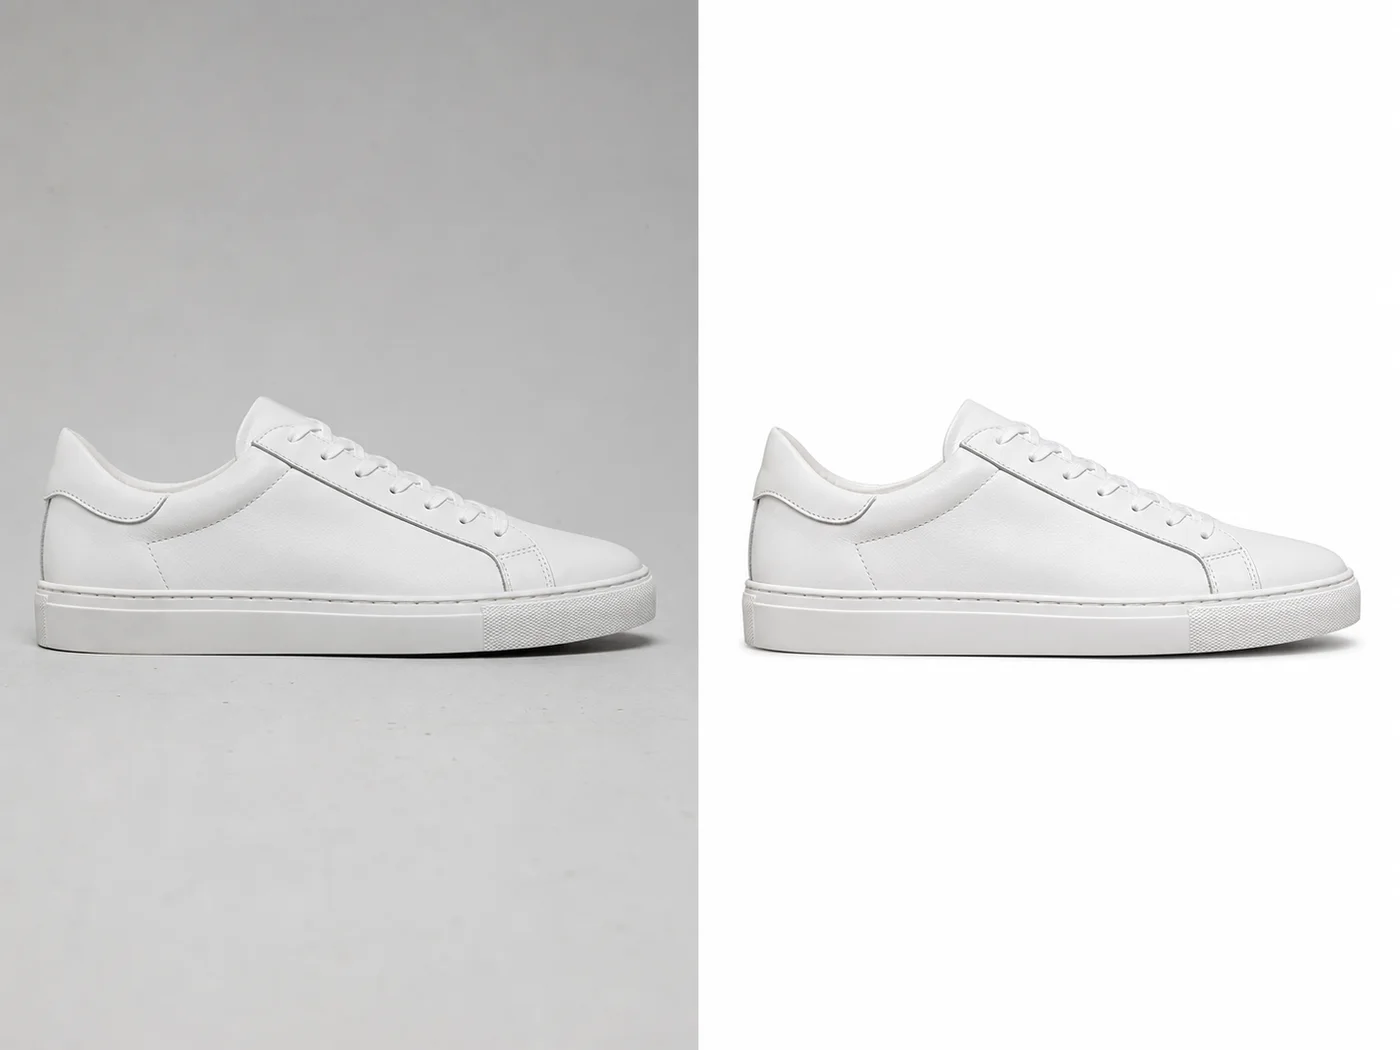
More practical guidance on product accuracy, composition, and conversion-ready visuals.

Put it into practice
Take the next step in KrafLayer
Choose a generation or editing workflow that matches what you just learned.