Edit tools
How to Use Object Removal to Save Product Listing Photos
TL;DR
A practical object-removal workflow for product listing photos: remove distractions, rebuild hidden surfaces, preserve product edges, and check whether the saved image is publishable. Includes how to do it in KrafLayer.
TL;DR
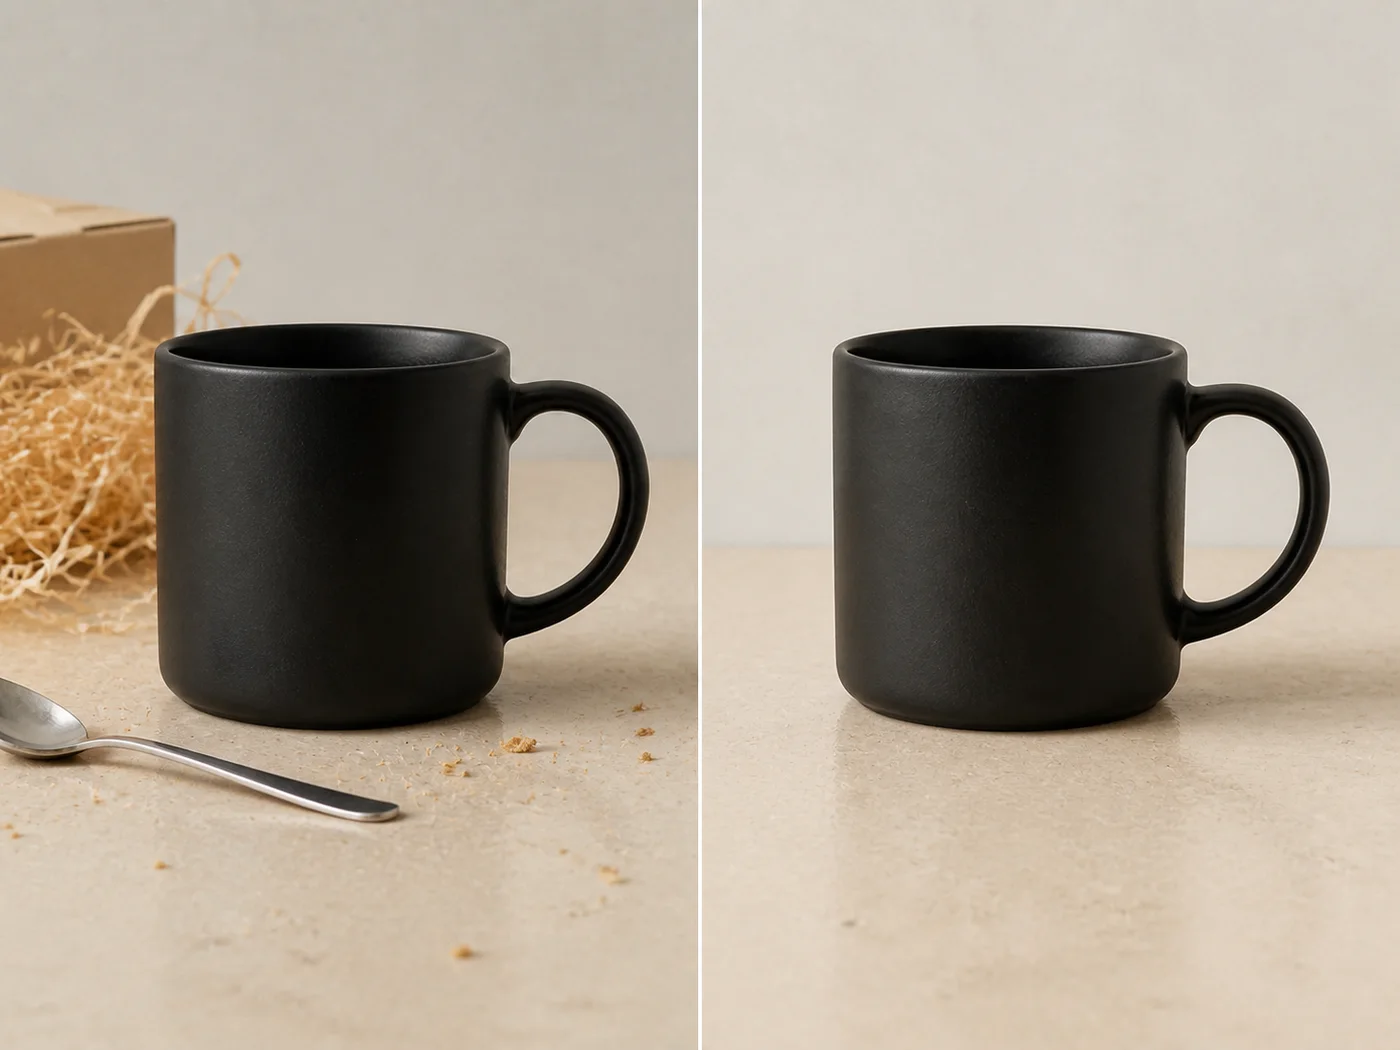
For Use Object Removal to Save Product Listing Photos, KrafLayer works best as a local cleanup tool: brush only the unwanted area in Erase and let the model fill from the surrounding pixels. Avoid regenerating the whole image; the result is only useful if shape, material, labels, color, scale, and accessories still match the source SKU.
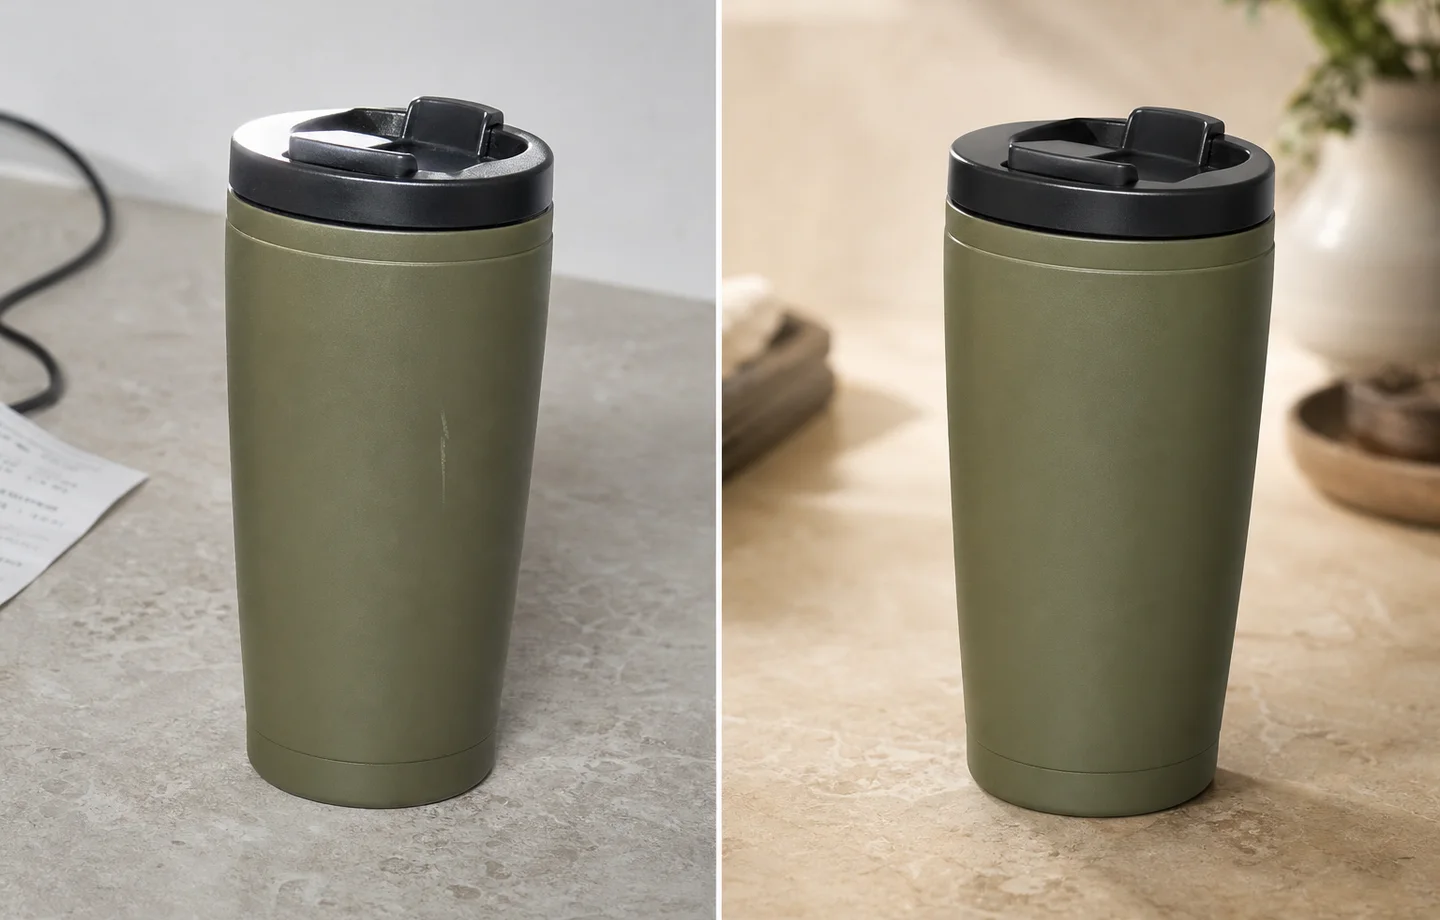
Object removal is useful when the product photo is almost usable, but one distracting thing makes it feel unprofessional: a hand, a cable, a barcode sticker, a prop, a dust tool, a reflection card, or a random object on the table.
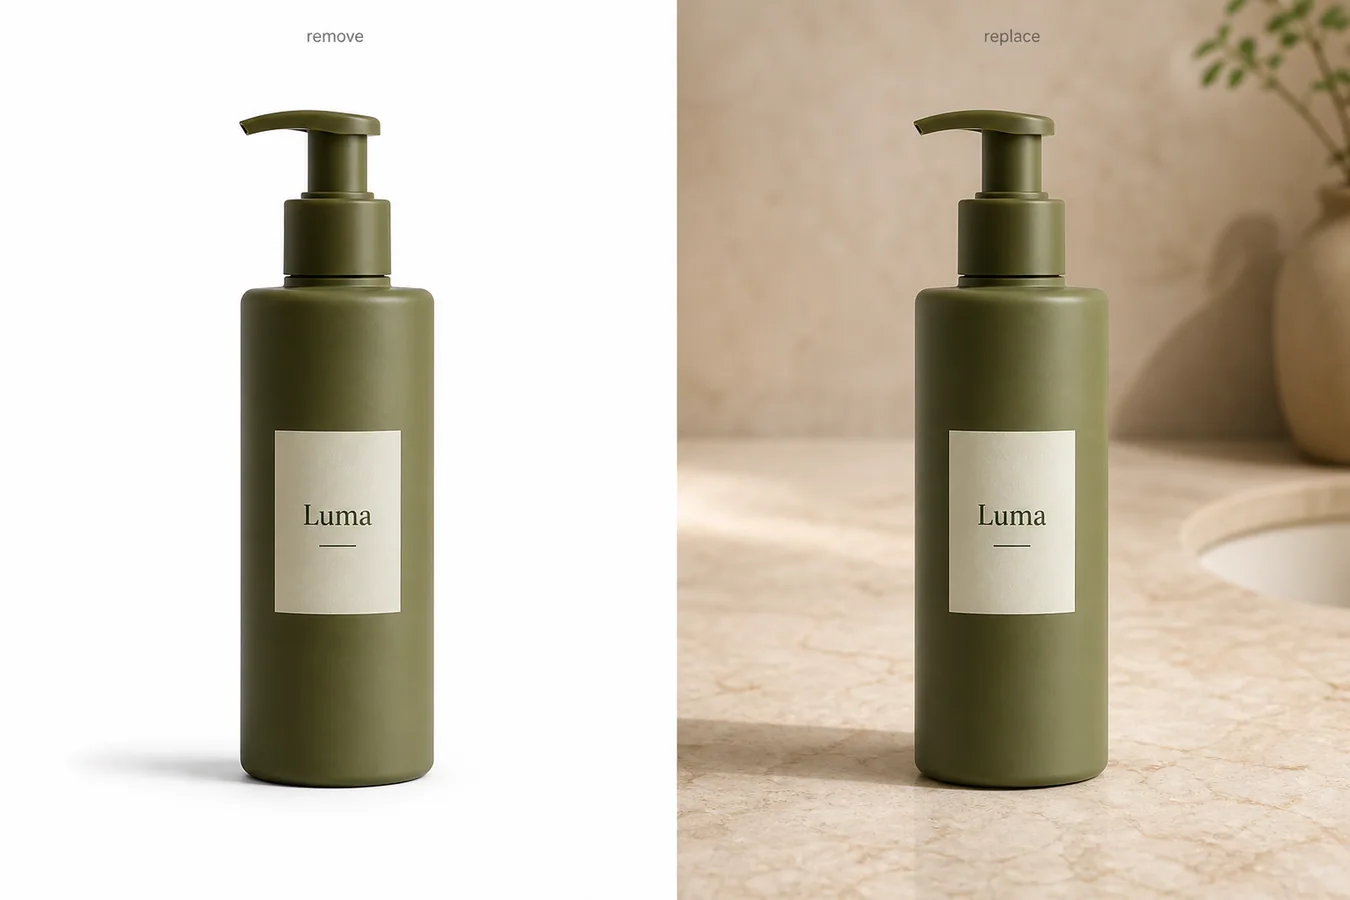
The goal is not to regenerate the whole picture. The best object-removal edit is narrow. Remove the distraction, rebuild the hidden surface or background, and leave the product alone.
When object removal is the right fix
Use object removal when the product itself is sharp, correctly shaped, and well lit. It is a strong option for listing photos where a small problem blocks publishing but a reshoot would slow the team down.
Do not use object removal when the unwanted object covers too much of the product. If a hand hides the handle of a mug or a sticker covers important label text, AI may have to invent missing product details. That can become risky for ecommerce accuracy.
A safer editing workflow
1. Mark the object to remove as tightly as possible. Avoid selecting product edges unless they truly need repair. 2. Tell the AI what should appear behind the removed object: table surface, paper sweep, product body, fabric, wall, or shadow. 3. Protect the product details around the edit area: edge shape, material, logo, label, handle, rim, texture, and shadow. 4. Generate a conservative repair first. Do not ask for a more beautiful image in the same pass. 5. Compare the edited area with nearby texture and light. The repair should disappear without making the image look airbrushed.
Where KrafLayer Fits
When you apply this Use Object Removal to Save Product Listing Photos workflow in KrafLayer, the tool choice matters: brush only the unwanted area in Erase and let the model fill from the surrounding pixels. After generation, judge the image by the channel it serves — listing images, detail pages, or ad assets — and check that shape, material, labels, color, scale, and accessories still match the source SKU.
Steps in KrafLayer
Use Erase with a brush mask: paint only the distracting object, sticker, hand, dust, or reflection area, then run the fill. There is no free-form prompt; mask accuracy controls the result.
1. Upload or choose the product image. 2. Run the tool according to its interaction model: one-click tools generate directly; Erase-style tools need a brush mask first. 3. Zoom in to check edges, text, material, shadow, and product scale before downloading or continuing the edit.
Summary
Object removal can save a product listing photo when the edit is local and disciplined. Remove the distraction, rebuild only what was hidden, and protect the product facts that buyers rely on.
FAQ
Can AI remove a hand from a product photo?
Yes, if the hand does not hide too much product information. If it covers a handle, label, strap, or edge, review the repair carefully because the AI may need to guess what was behind it.
Why does the repaired area look blurry?
The selected area may be too large, or the prompt may not describe what should replace the object. Use a tighter selection and name the background or surface that should continue through the repair.
Should I remove all props from product photos?
Not always. Remove props that distract from the product or violate marketplace rules. Keep props that explain scale, use, or brand story in supporting images and ads.
Keep exploring
Continue the story
More practical guidance on product accuracy, composition, and conversion-ready visuals.
Put it into practice
Take the next step in KrafLayer
Choose a generation or editing workflow that matches what you just learned.