Edit tools
How to Fix Edge Fringing After AI Background Removal
TL;DR
A practical edge repair workflow for product cutouts: remove transparent fringing, halos, jagged edges, and background color bleed without damaging product detail. Includes how to do it in KrafLayer.
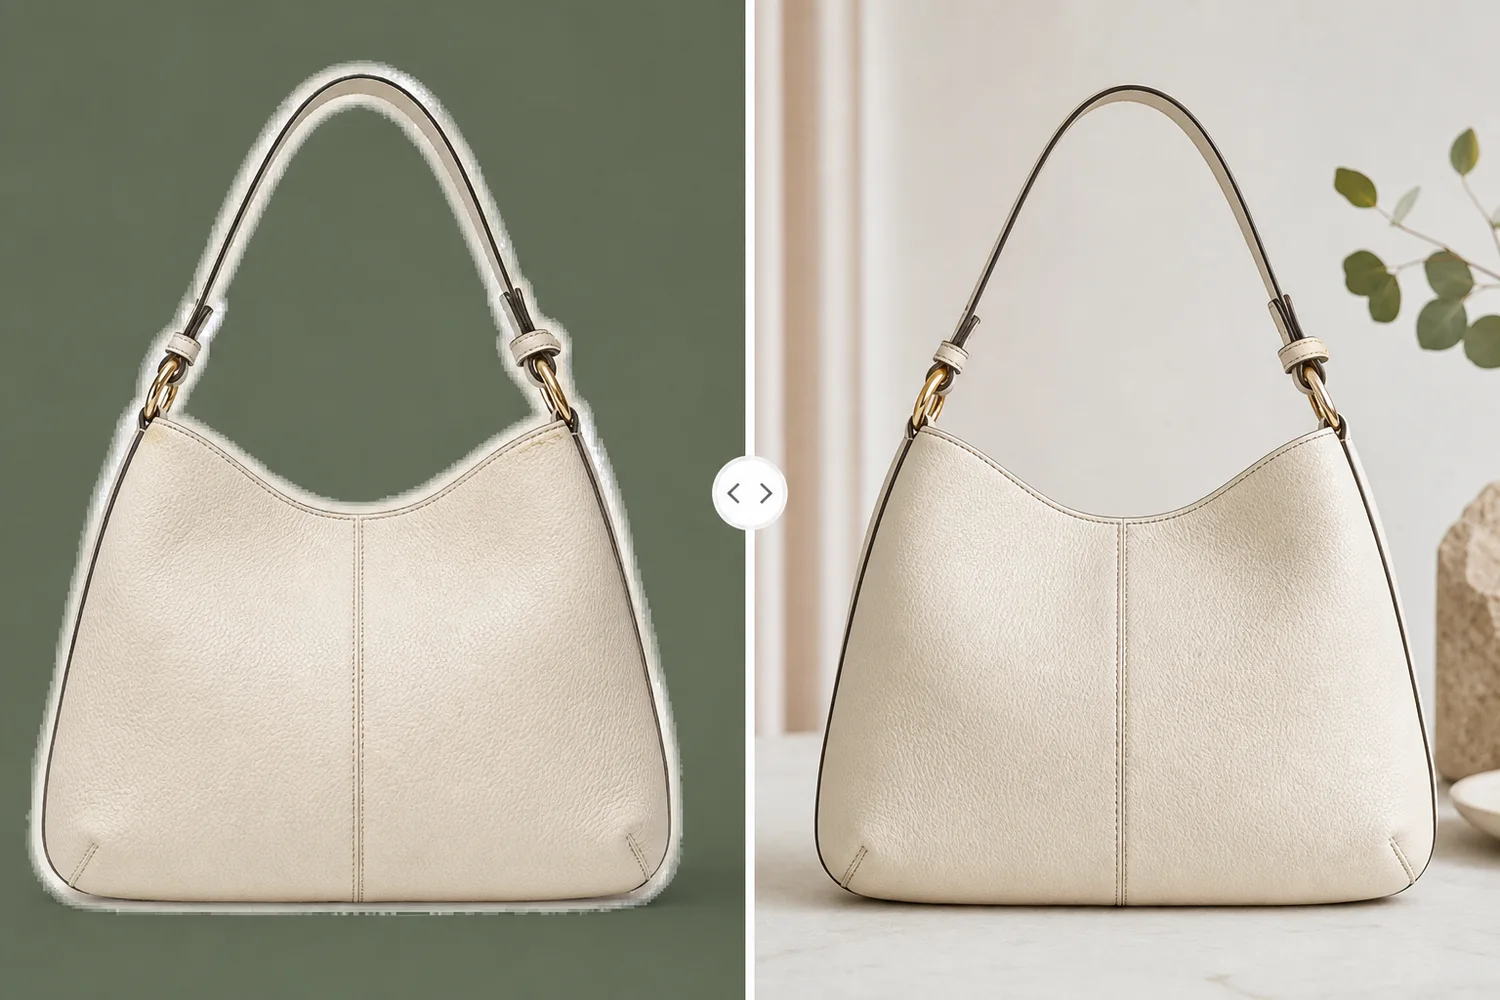
TL;DR
For Fix Edge Fringing After AI Background Removal, use KrafLayer as a fast pre-publishing edit step: upload the product photo, run Remove BG, and inspect the cutout edge and transparent areas. It is most useful for listing images, detail pages, or ad assets, as long as shape, material, labels, color, scale, and accessories still match the source SKU.
Edge fringing happens when the old background remains on the product boundary after background removal. It is most visible on glass, white products, fabric, hairlike fibers, straps, laces, and reflective edges.
What to fix
Look for white halos, dark outlines, semi-transparent dirt, jagged corners, missing holes, and color bleed from the old background. Fix the edge without shrinking the real product.
Workflow
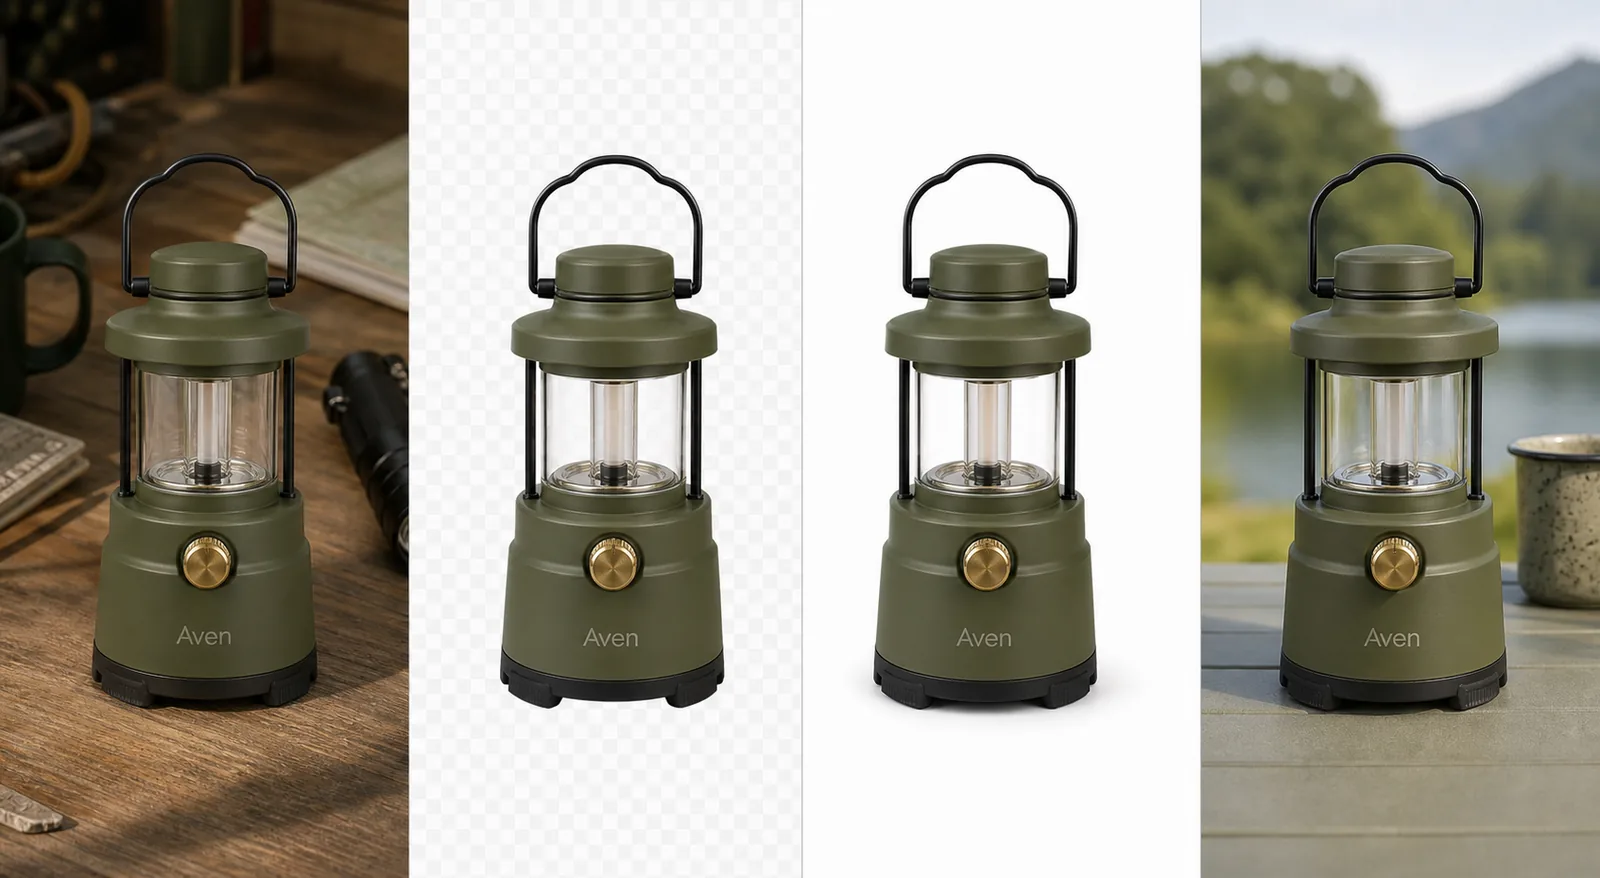
1. Test the cutout on white, black, and colored backgrounds. 2. Identify whether the problem is halo, jagged edge, or missing detail. 3. Ask for edge cleanup while preserving material and silhouette. 4. Keep soft edges soft; do not make fabric or fur look cut with scissors. 5. Export a new transparent PNG and listing version.
Where KrafLayer Fits
When you apply this Fix Edge Fringing After AI Background Removal workflow in KrafLayer, the tool choice matters: upload the product photo, run Remove BG, and inspect the cutout edge and transparent areas. After generation, judge the image by the channel it serves — listing images, detail pages, or ad assets — and check that shape, material, labels, color, scale, and accessories still match the source SKU.
Steps in KrafLayer
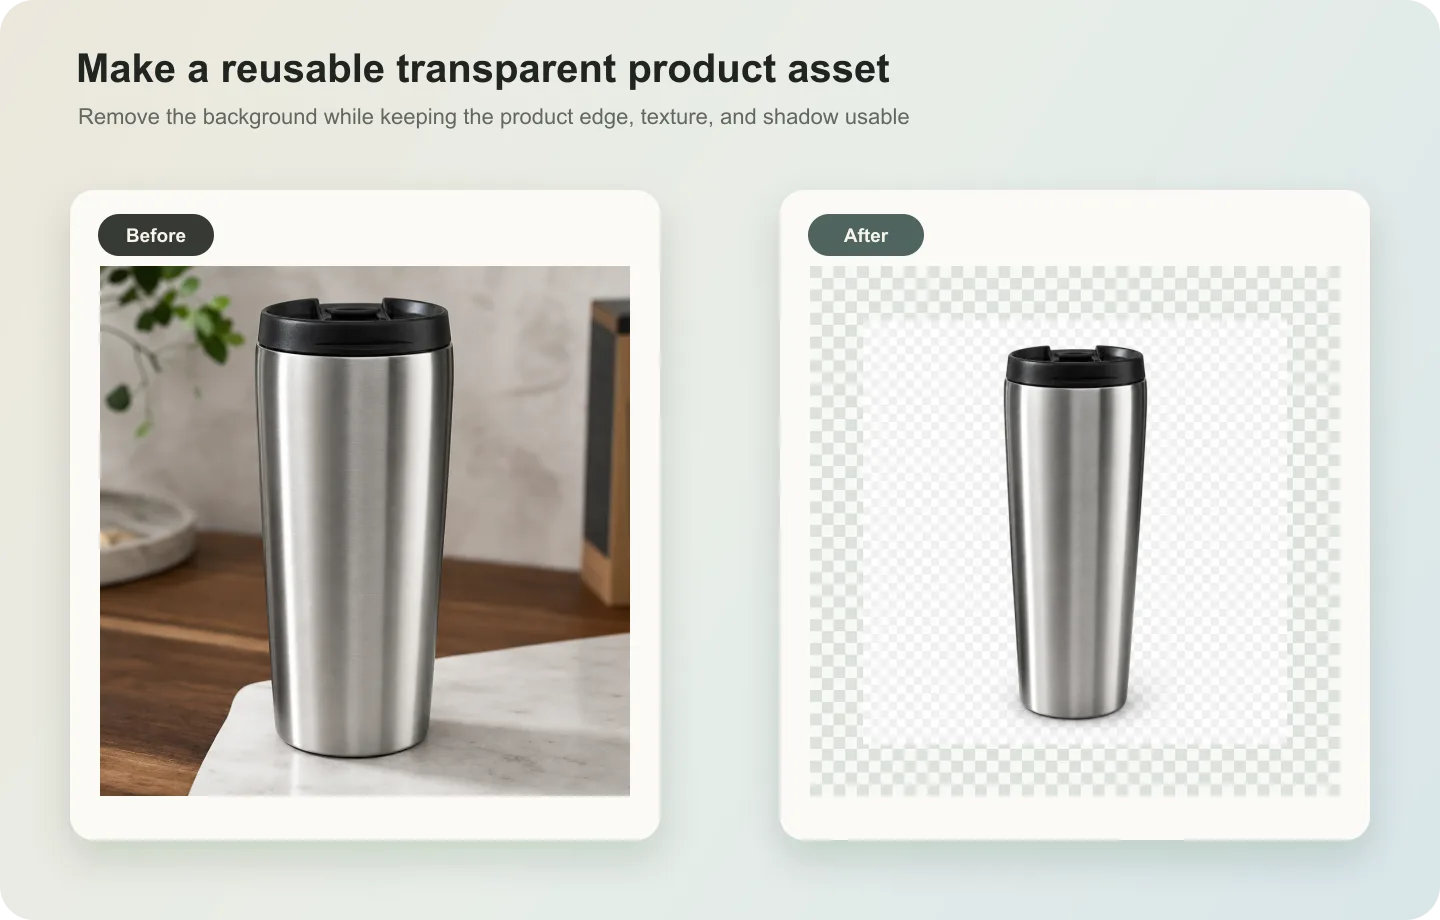
Use Remove BG as a one-click tool: upload the product image, run the automatic background remover, then download the transparent PNG or continue editing. It does not require a prompt or brush mask.
1. Upload or choose the product image. 2. Run the tool according to its interaction model: one-click tools generate directly; Erase-style tools need a brush mask first. 3. Zoom in to check edges, text, material, shadow, and product scale before downloading or continuing the edit.
FAQ
Why does edge fringing appear after background removal?
The cutout keeps pixels from the old background around the product edge. Those pixels become visible when the product is placed on a new color.
Should I make every edge sharp?
No. Hard products need clean edges; fabric, fur, mesh, and glass may need softer natural edges.
How do I check if the edge is fixed?
Place the cutout on white, black, and saturated backgrounds. Fringing usually appears on contrast tests.
Keep exploring
Continue the story
More practical guidance on product accuracy, composition, and conversion-ready visuals.
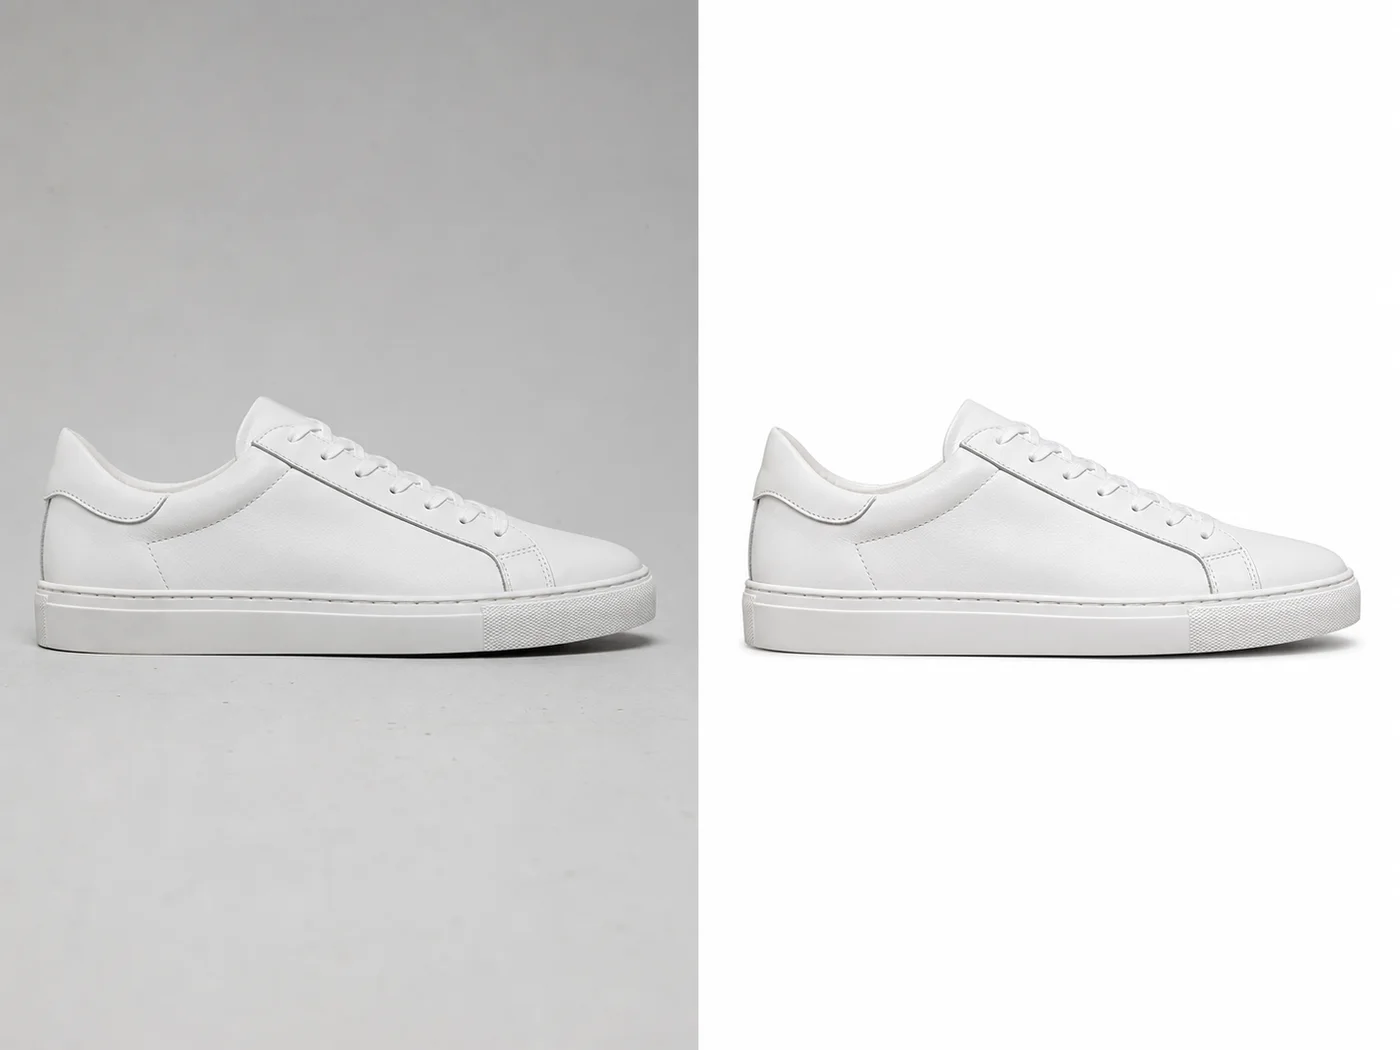
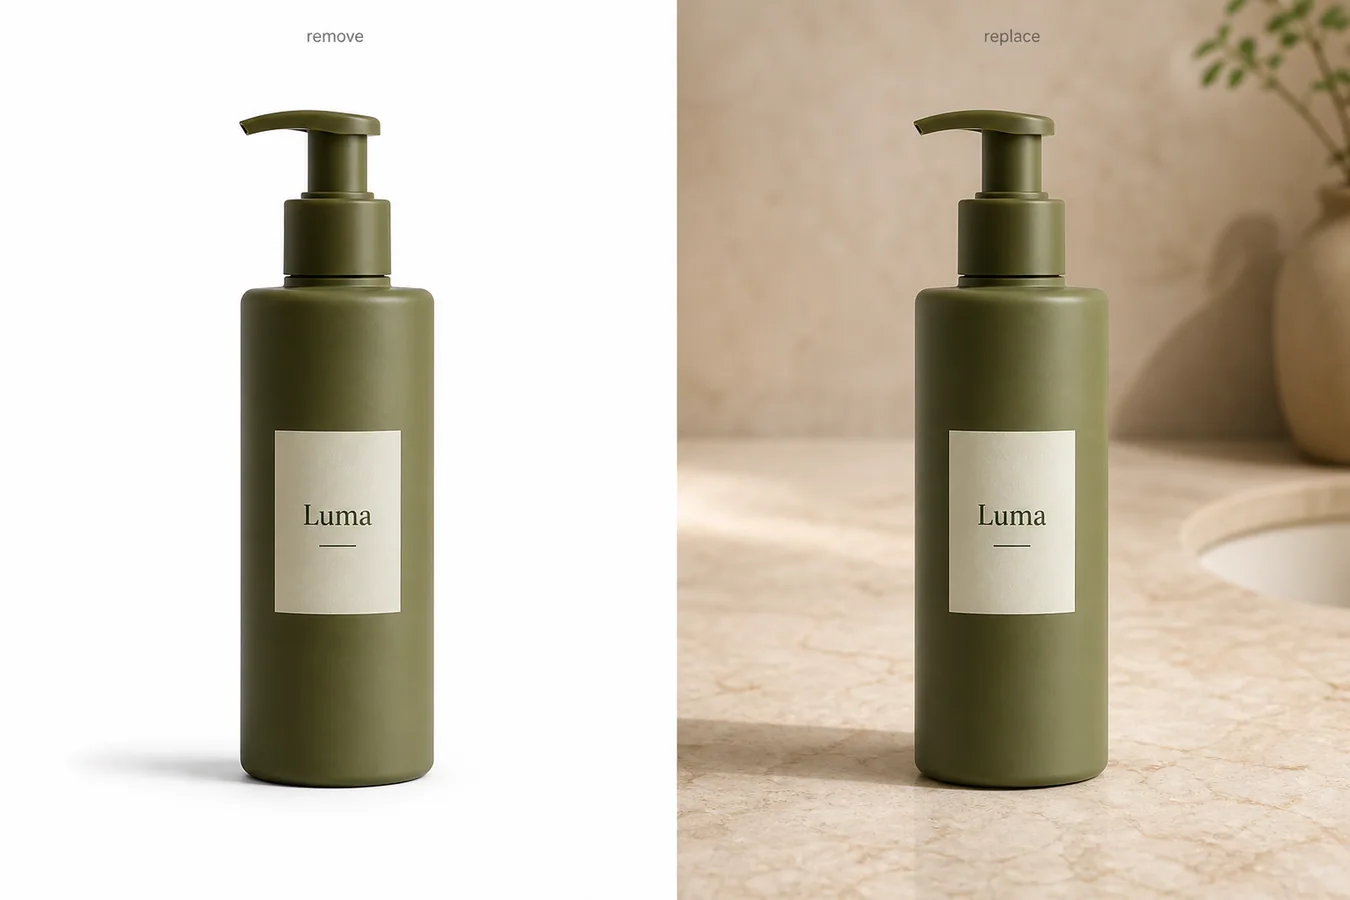
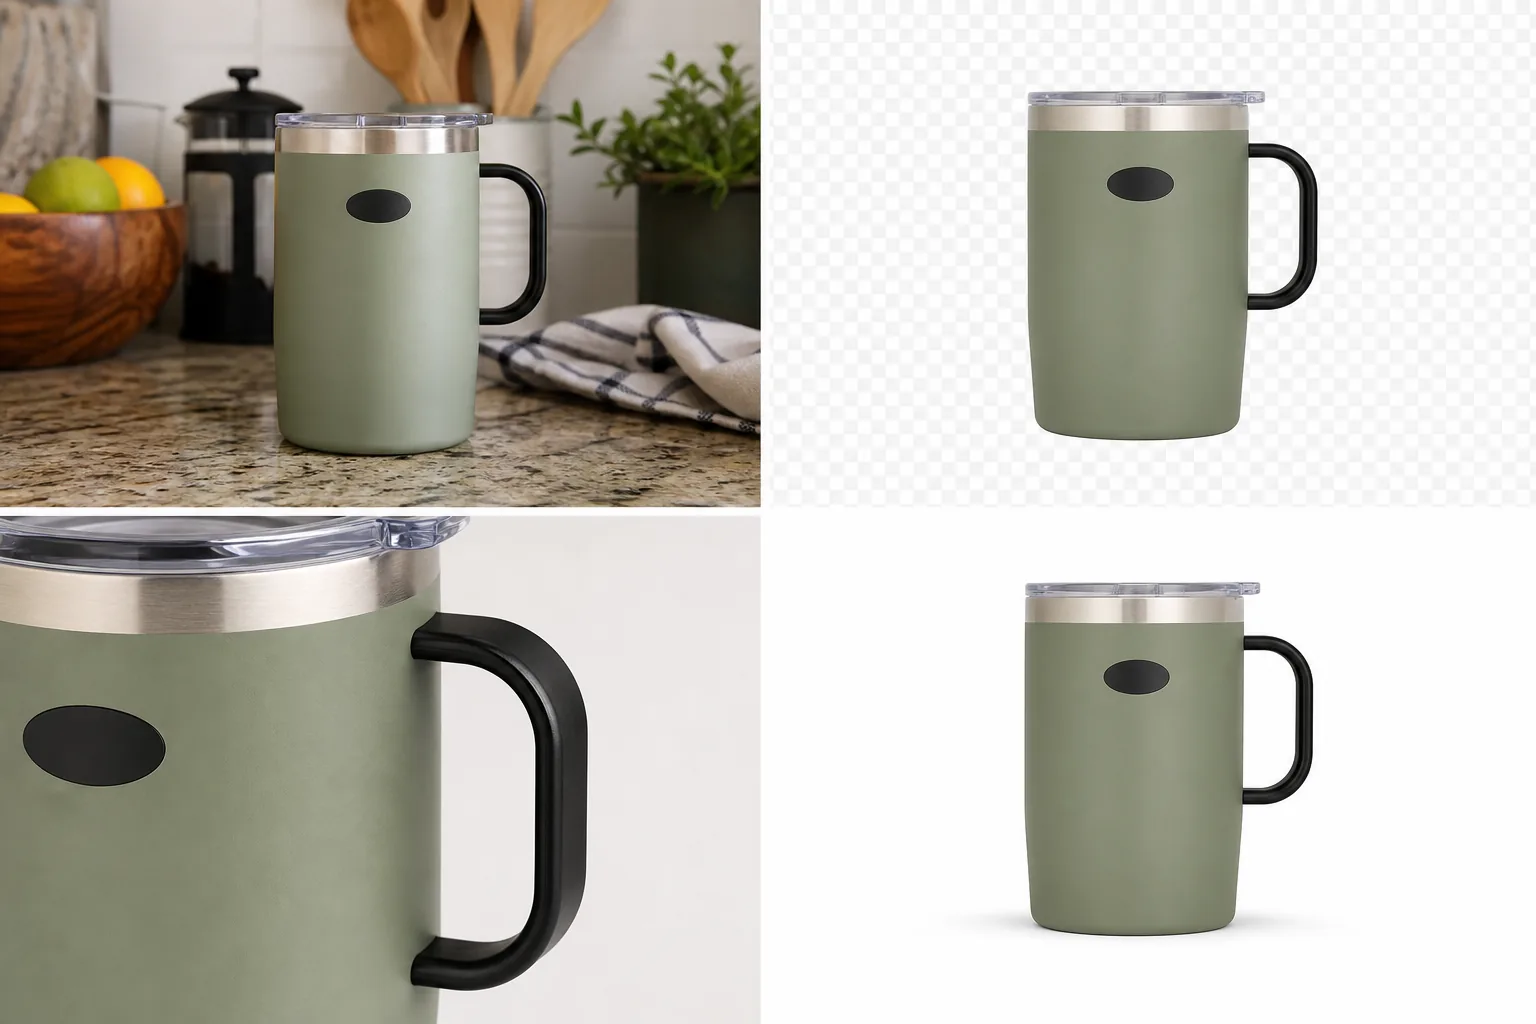
Put it into practice
Take the next step in KrafLayer
Choose a generation or editing workflow that matches what you just learned.