Image generation
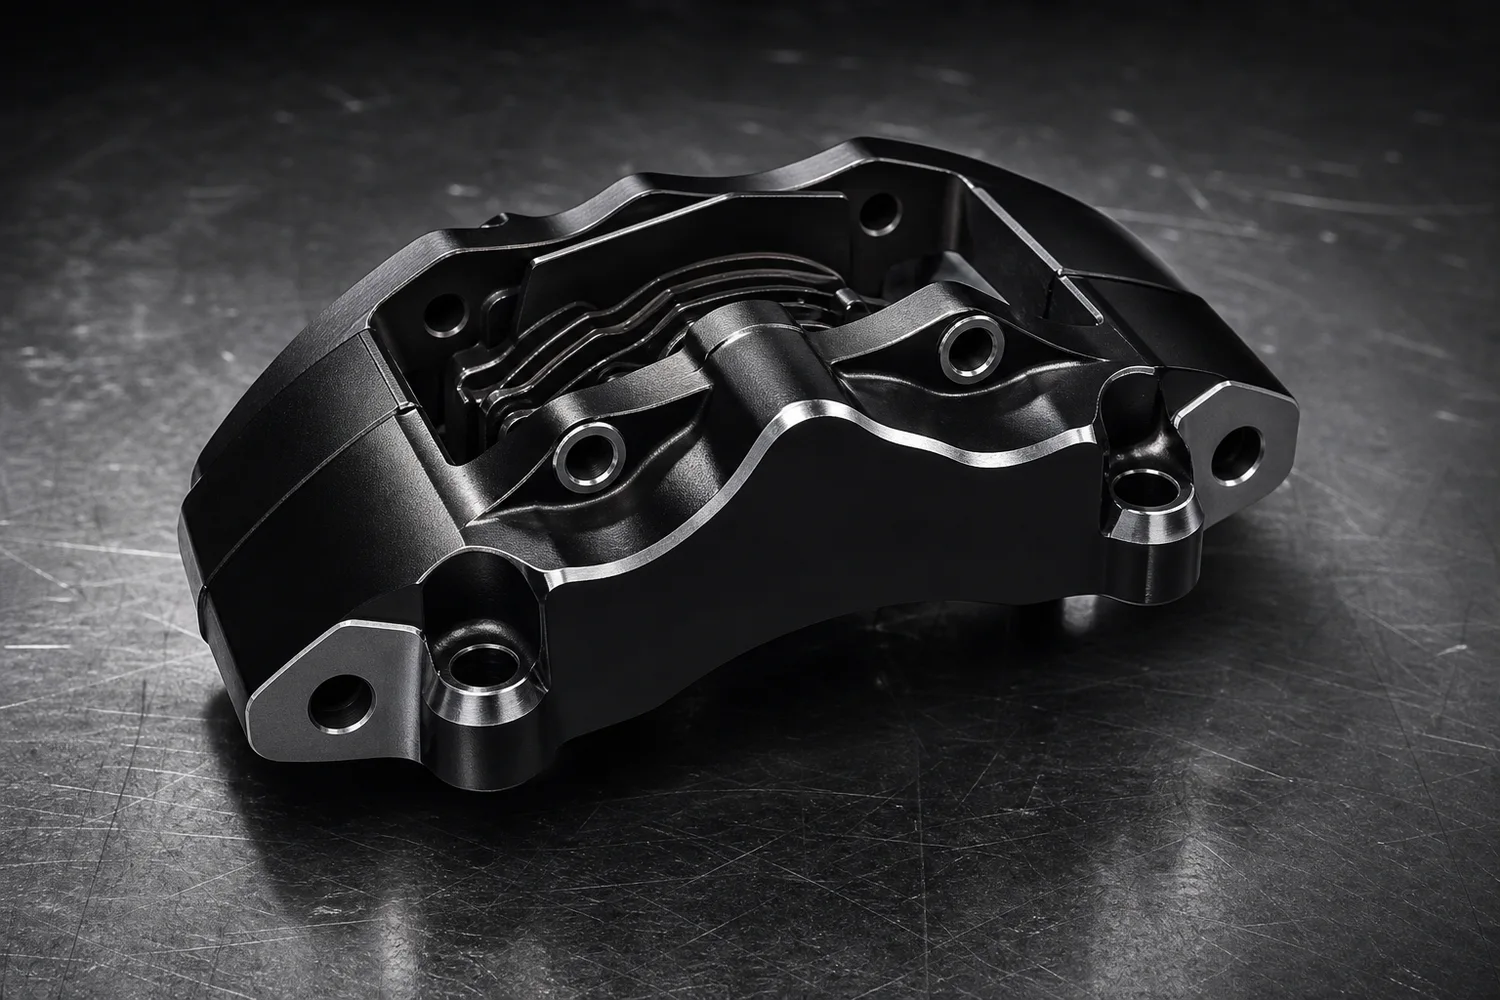
How to Create Heavy Metal Lighting for Auto Parts Product Images with AI
TL;DR
An auto-parts image workflow for heavy metal lighting: create industrial visuals while preserving machining, mounting holes, coating, geometry, and part identity. Includes how to do it in KrafLayer.
TL;DR
For Create Heavy Metal Lighting for Auto Parts Product Images, use KrafLayer for controlled local changes or reference-guided edits. Use Mask Edit for a local change with a short instruction, or Reference Image Editor when the result needs a visual example. The finished image should still prove that shape, material, labels, color, scale, and accessories still match the source SKU.
Heavy metal lighting can make auto parts look strong and engineered, but it must not change fit geometry. For parts, accuracy is not aesthetic; it is functional.
What must stay accurate
Preserve mounting holes, edge shape, bolt positions, machining marks, coating, part number area, thickness, and scale. Industrial lighting can emphasize metal, but it cannot move a hole or smooth a functional edge.
Workflow
1. Use the clearest part reference. 2. Define the use: catalog image, ad, listing support image, or launch graphic. 3. Add hard rim light, dark surface, and controlled reflections. 4. Keep geometry readable. 5. Compare every functional detail with the original.
Where KrafLayer Fits
When you apply this Create Heavy Metal Lighting for Auto Parts Product Images workflow in KrafLayer, the tool choice matters: use Mask Edit for a local change with a short instruction, or Reference Image Editor when the result needs a visual example. After generation, judge the image by the channel it serves — listing images, detail pages, or ad assets — and check that shape, material, labels, color, scale, and accessories still match the source SKU.
Prompt to use in KrafLayer
~~~text Use the uploaded auto part as the exact reference. Create an industrial heavy-metal ecommerce product image with controlled hard light, strong edge highlights, dark technical background, and realistic metal reflections. Preserve mounting holes, machined edges, coating, part geometry, thickness, printed markings, scale, and fit-related details. Do not change hole positions, smooth functional edges, invent part numbers, or redesign the part. ~~~
FAQ
Can stylized lighting be used for technical parts?
Yes, if geometry remains readable. Keep clean catalog images available for fit verification.
Why do AI auto parts look wrong?
AI often treats holes and edges as decorative. Lock functional geometry and reject outputs that change fit points.
Should I include sparks or smoke?
Usually no. They can make ads look dramatic but often distract from part accuracy.
Keep exploring
Continue the story
More practical guidance on product accuracy, composition, and conversion-ready visuals.




Put it into practice
Take the next step in KrafLayer
Choose a generation or editing workflow that matches what you just learned.