Edit tools
How to Use Local Inpainting to Retouch Product Detail Images with AI
TL;DR
A local inpainting workflow for product detail retouching: repair small flaws, preserve surrounding material, protect labels, and avoid full-image regeneration. Includes how to do it in KrafLayer.
TL;DR
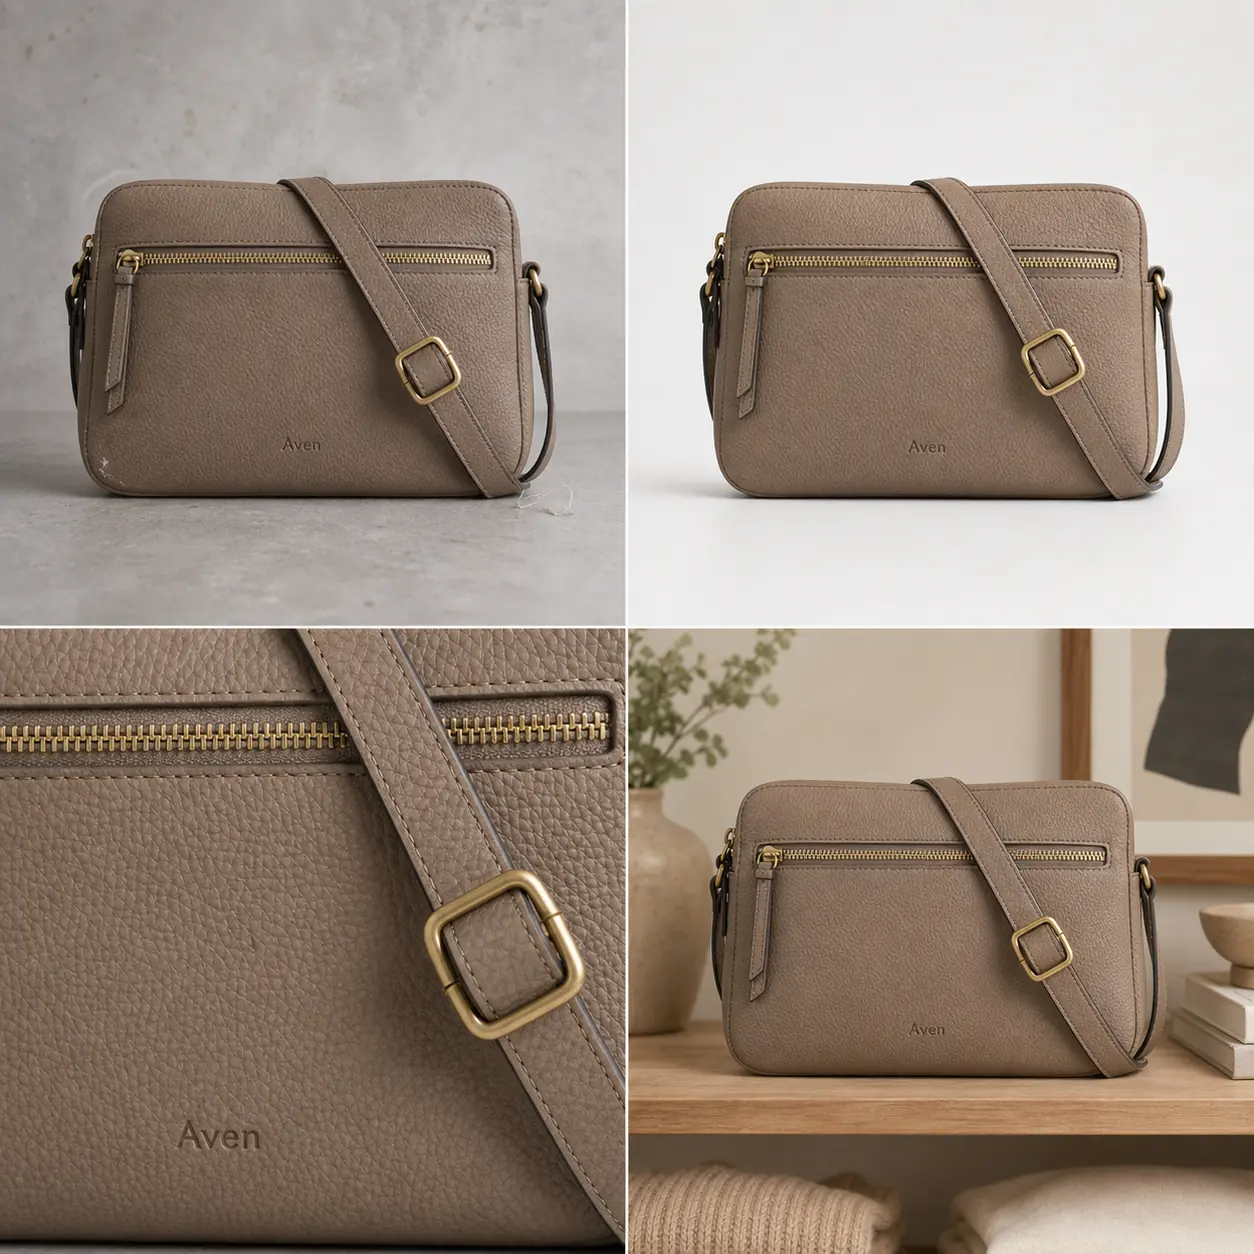
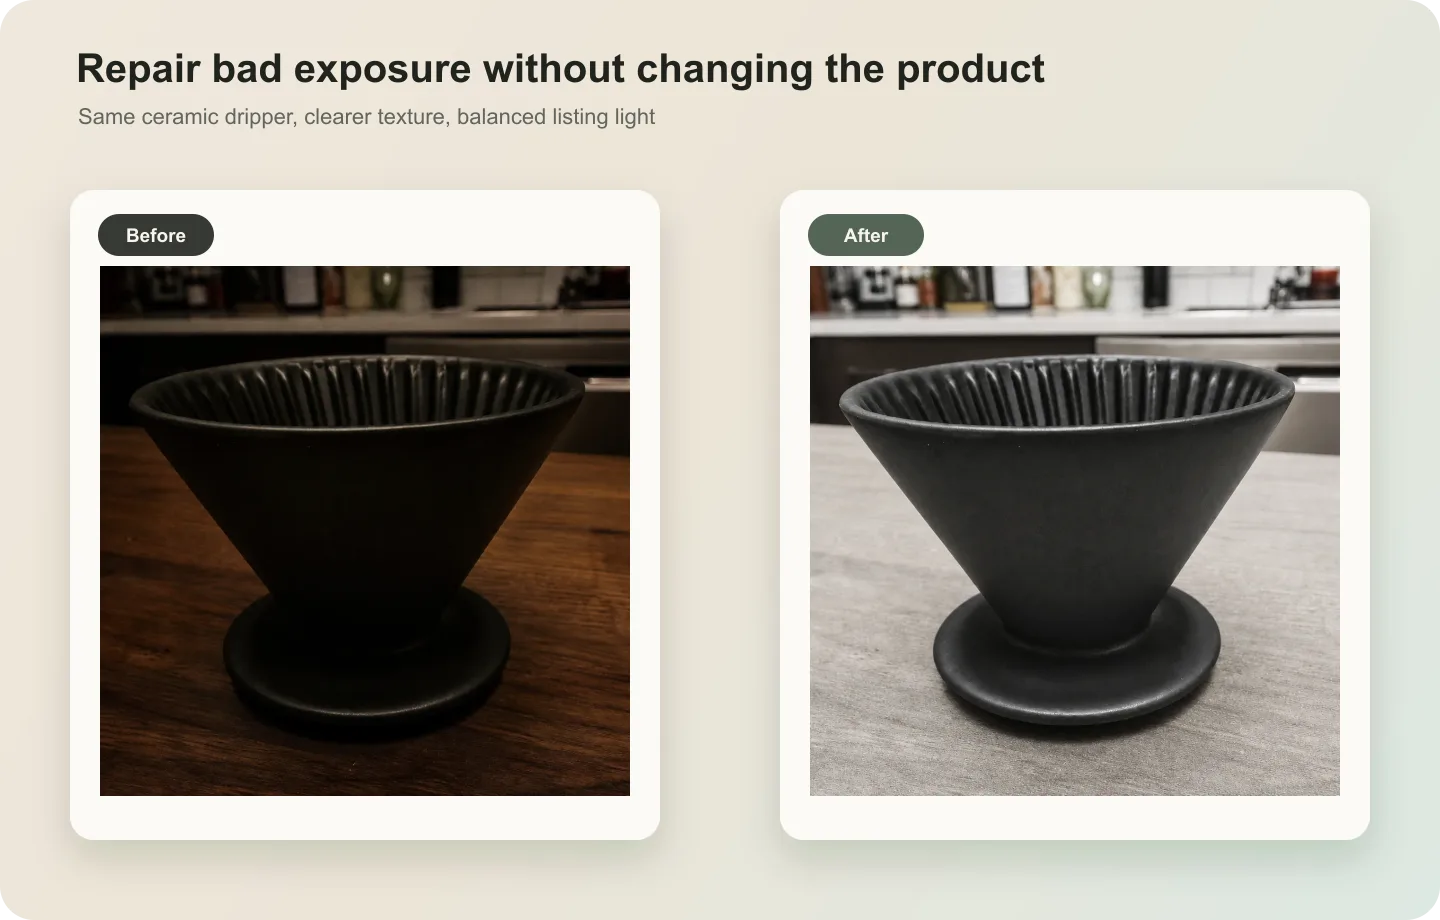
For Use Local Inpainting to Retouch Product Detail Images, use KrafLayer for controlled local changes or reference-guided edits. Use Mask Edit for a local change with a short instruction, or Reference Image Editor when the result needs a visual example. The finished image should still prove that shape, material, labels, color, scale, and accessories still match the source SKU.
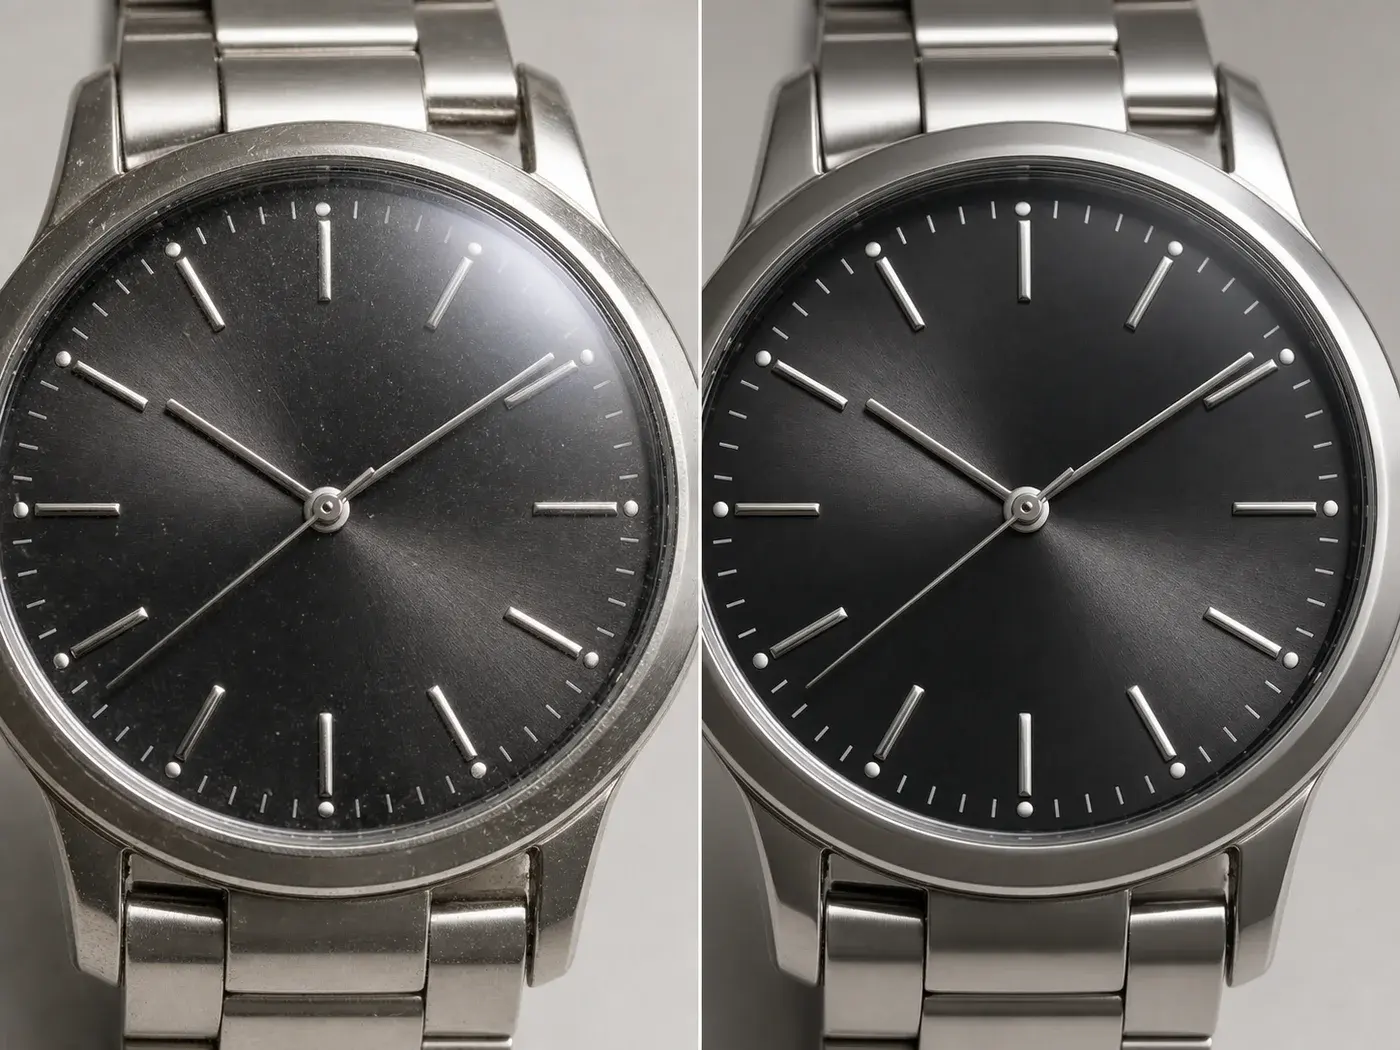
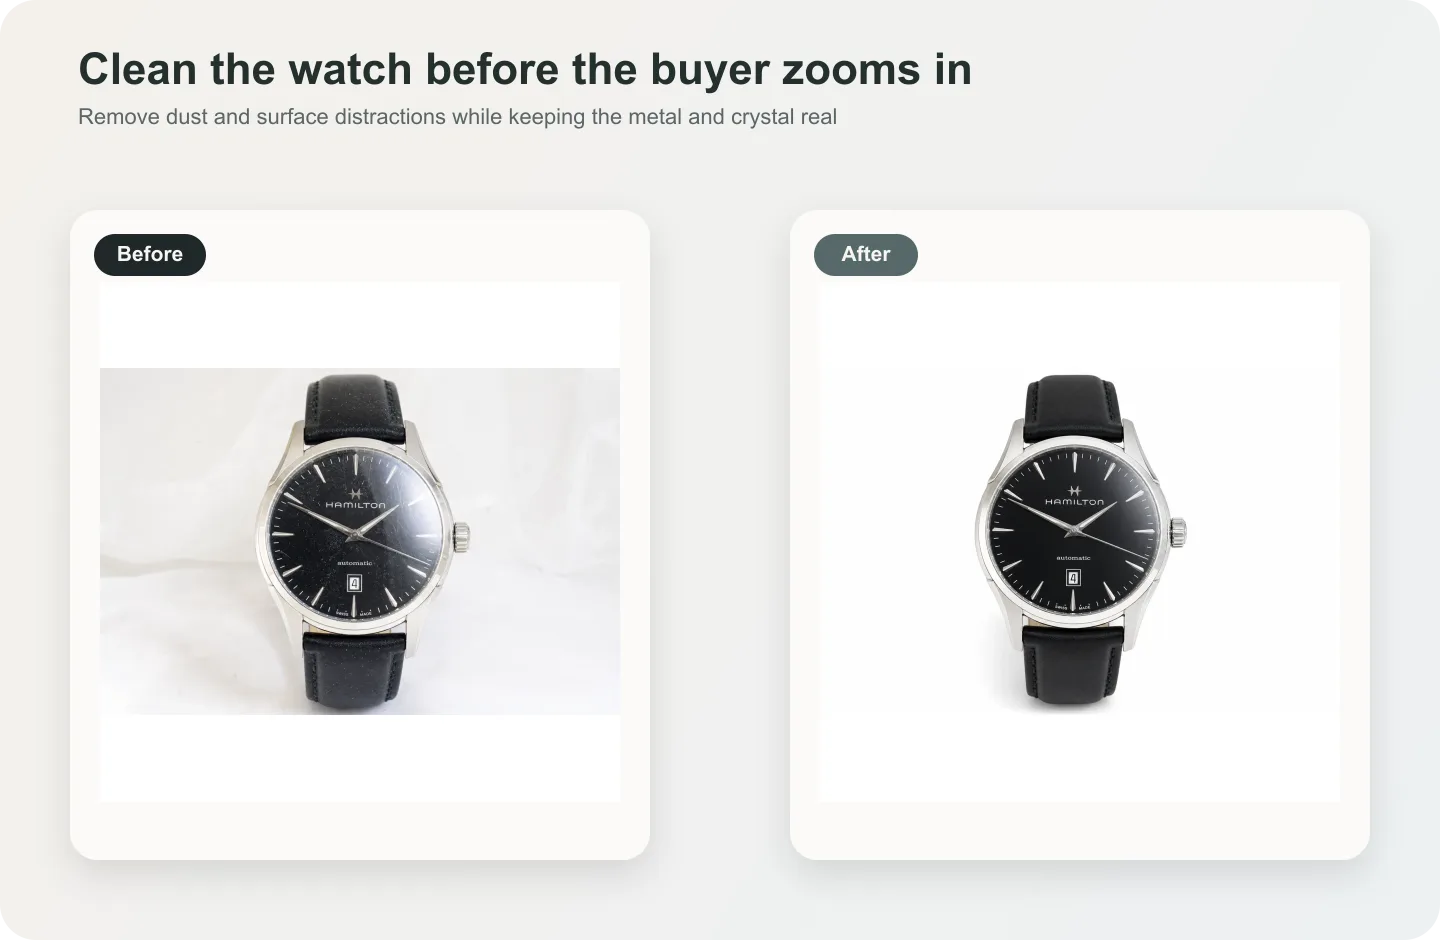
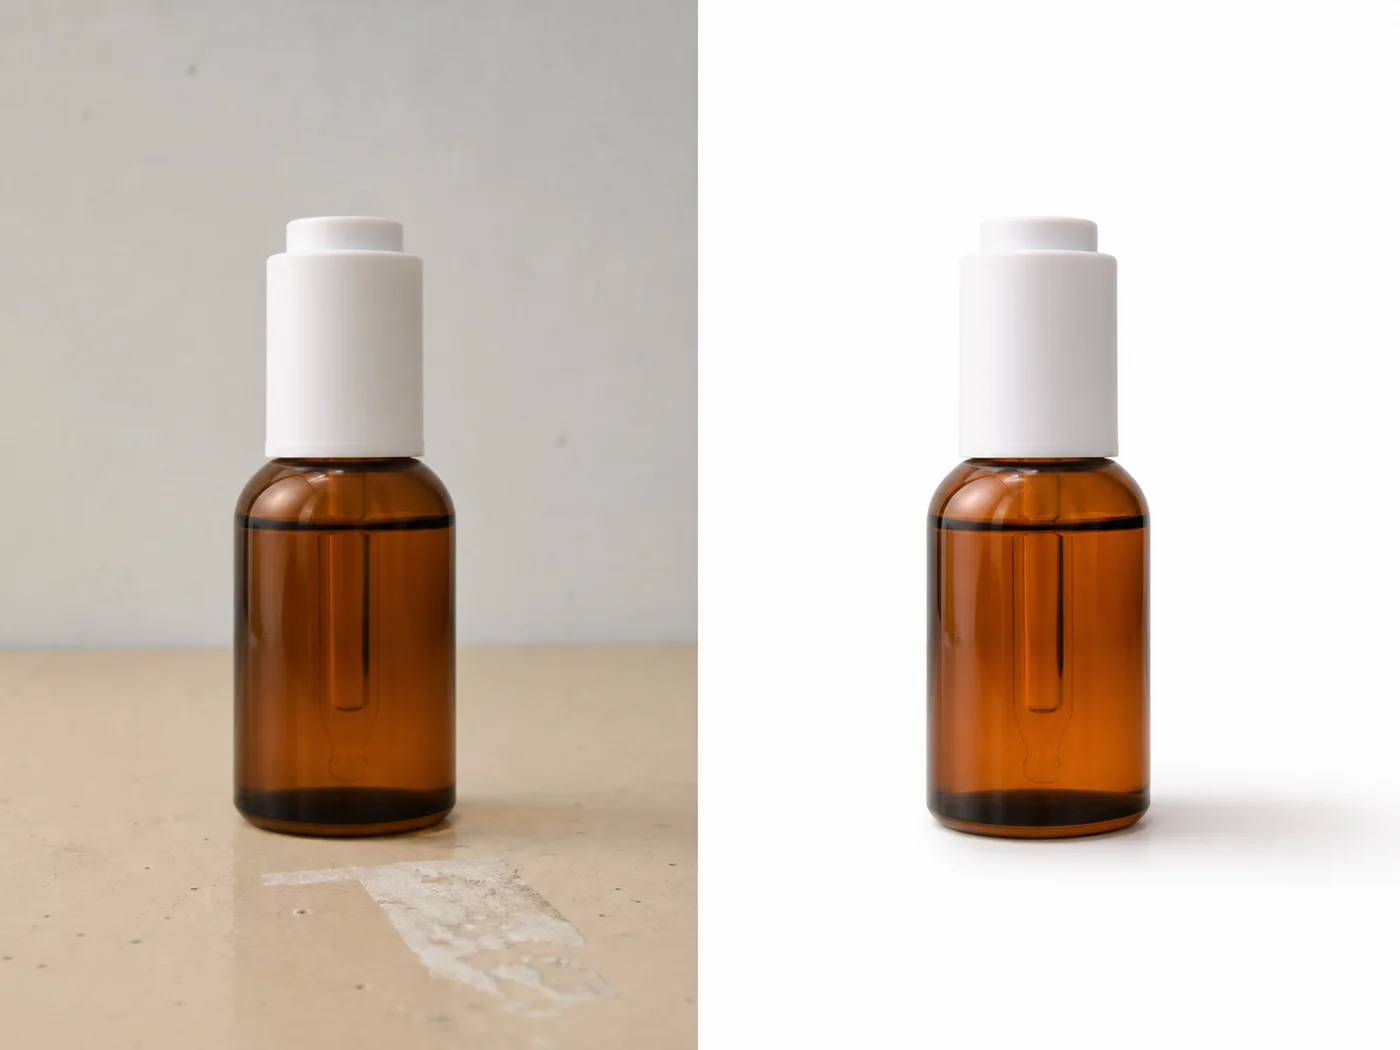
Local inpainting is the safest AI editing method when only one part of a product detail image is wrong. Instead of regenerating the whole photo, you repair a scratch, glare spot, dust mark, label blemish, or background flaw in a controlled area.
Use it when the product is mostly correct and the edit area is small. The smaller the repair, the easier it is to preserve product truth.
When local inpainting is better
Use local inpainting for dust, scratches, glare, wrinkles, small stains, background marks, edge cleanup, or label corrections. Avoid it when the entire product angle, lighting, or composition is wrong.
The key is to describe what should stay unchanged around the repair. AI needs a boundary.
Workflow
1. Select only the flaw and a small margin around it. 2. Describe the surface that should continue through the repaired area. 3. Protect nearby text, edges, seams, reflections, and shadows. 4. Generate a conservative repair first. 5. Review at full size before exporting.
Where KrafLayer Fits
When you apply this Use Local Inpainting to Retouch Product Detail Images workflow in KrafLayer, the tool choice matters: use Mask Edit for a local change with a short instruction, or Reference Image Editor when the result needs a visual example. After generation, judge the image by the channel it serves — detail-page modules — and check that shape, material, labels, color, scale, and accessories still match the source SKU.
Prompt to use in KrafLayer
~~~text Use the uploaded product detail image as the exact reference. Repair only the selected area with local inpainting. Match the surrounding material, texture, color, light, reflection, and shadow. Preserve nearby product edges, label text, logo, seams, hardware, and scale. Do not regenerate the whole image, change the product design, invent text, or smooth unrelated areas. ~~~
FAQ
Why is local inpainting safer than full image editing?
It limits the edit area, so fewer product details can drift. That makes it better for ecommerce images where accuracy matters.
What if the repair touches text?
Be cautious. AI text repair is unreliable. If exact text matters, use a real label reference or add final text manually.
How large should the selected area be?
Large enough to include the flaw, but not so large that AI has to reinterpret the product. Tight selections usually produce more trustworthy edits.
Keep exploring
Continue the story
More practical guidance on product accuracy, composition, and conversion-ready visuals.
Put it into practice
Take the next step in KrafLayer
Choose a generation or editing workflow that matches what you just learned.