Edit tools
How to Remove Reflections from Glass Skincare Packaging with AI
TL;DR
A careful AI retouching workflow for reducing harsh reflections on glass skincare bottles while preserving label readability, glass texture, liquid depth, and premium packaging cues. Includes how to do it in KrafLayer.
TL;DR
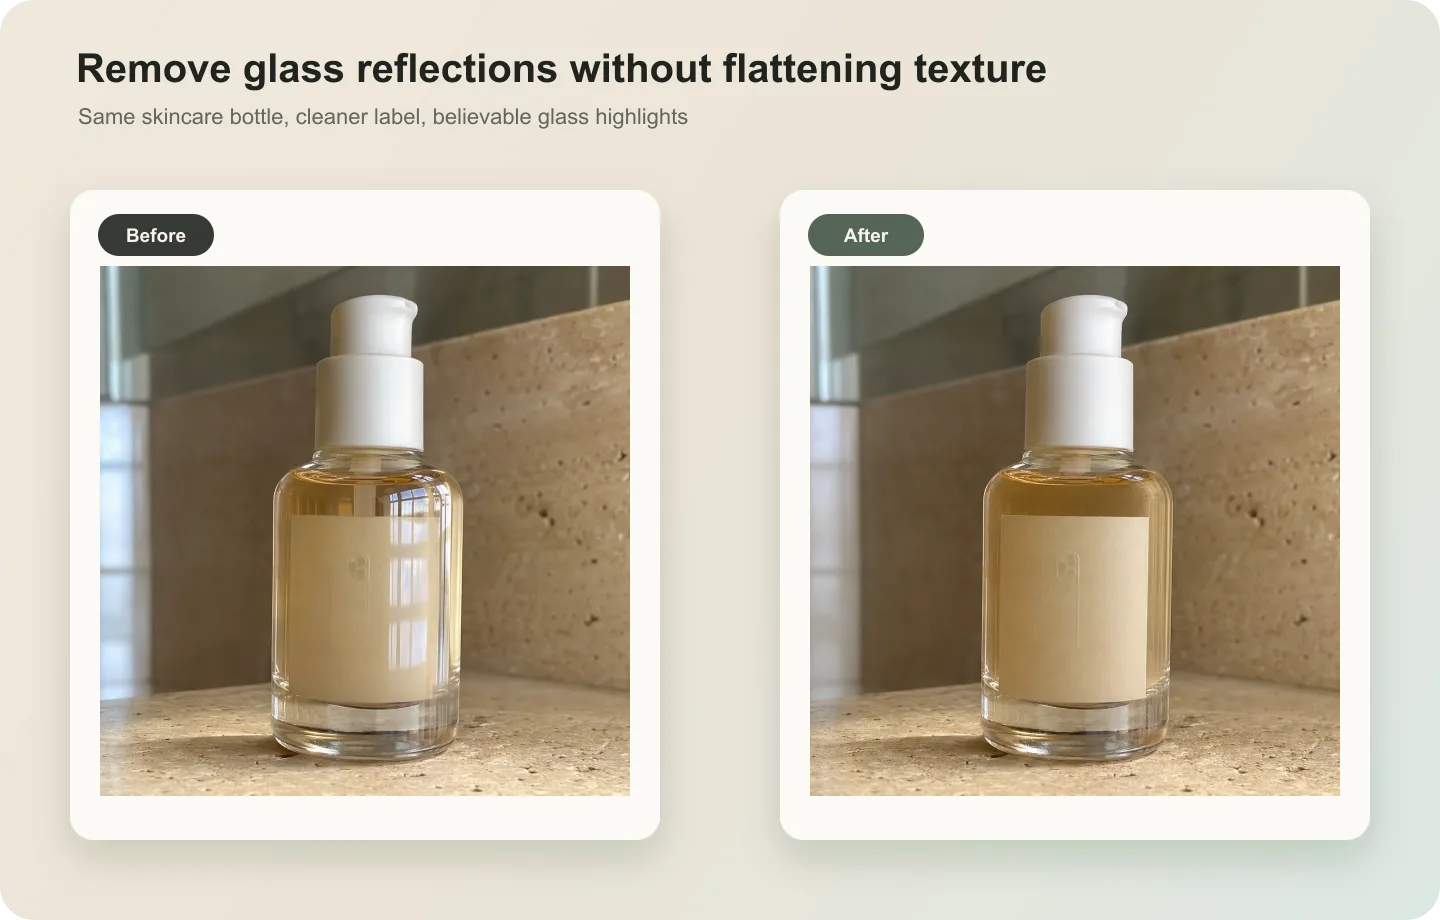
For Remove Reflections from Glass Skincare Packaging, KrafLayer works best as a local cleanup tool: brush only the unwanted area in Erase and let the model fill from the surrounding pixels. Avoid regenerating the whole image; the result is only useful if the bottle shape, label, shade, texture, and packaging proportions stay believable.
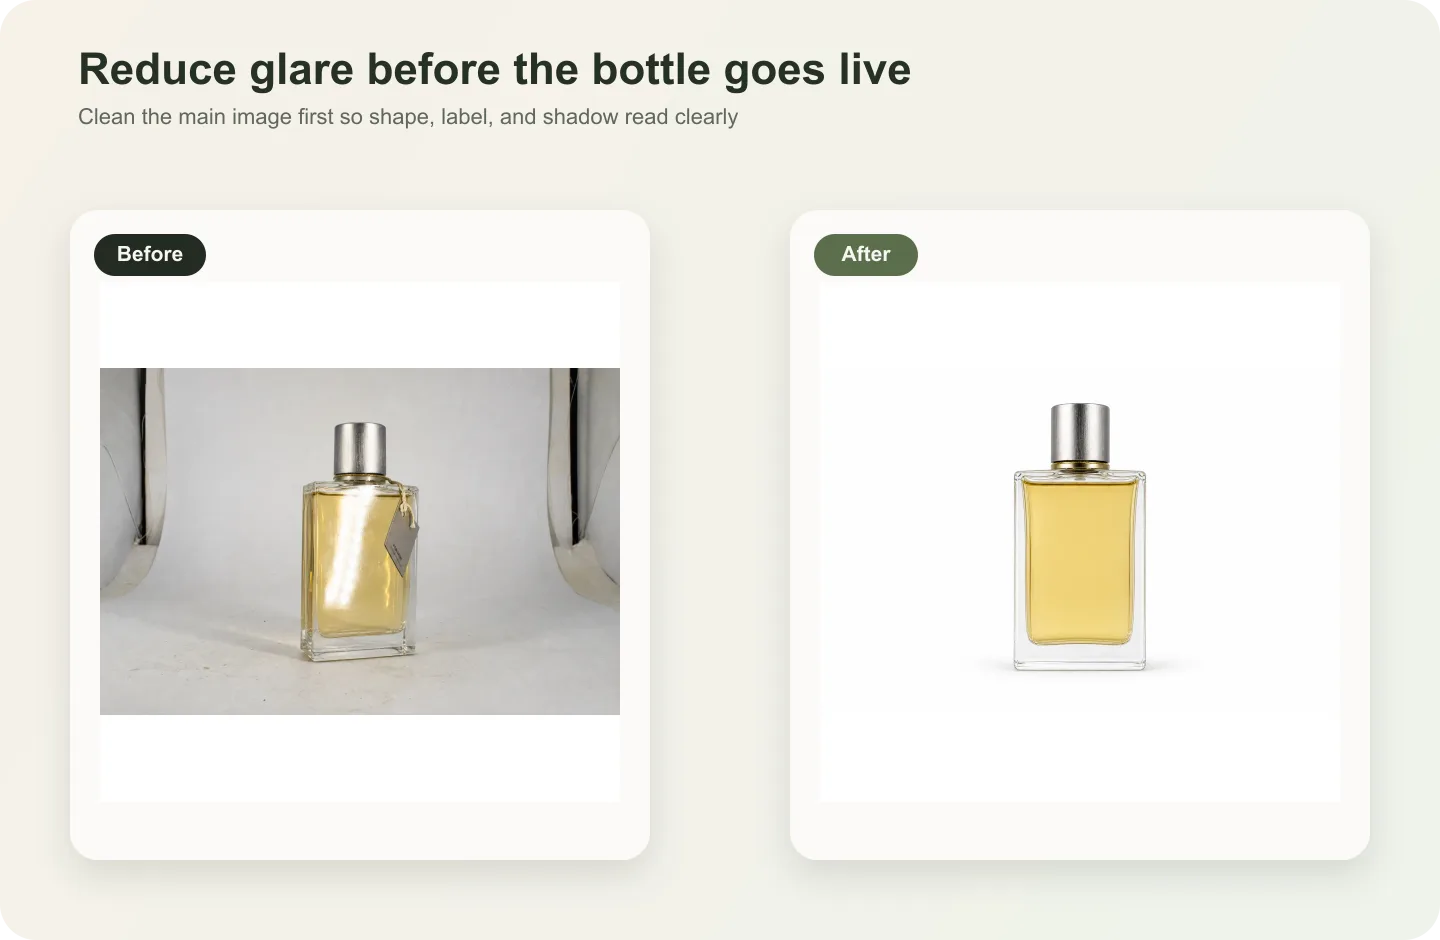
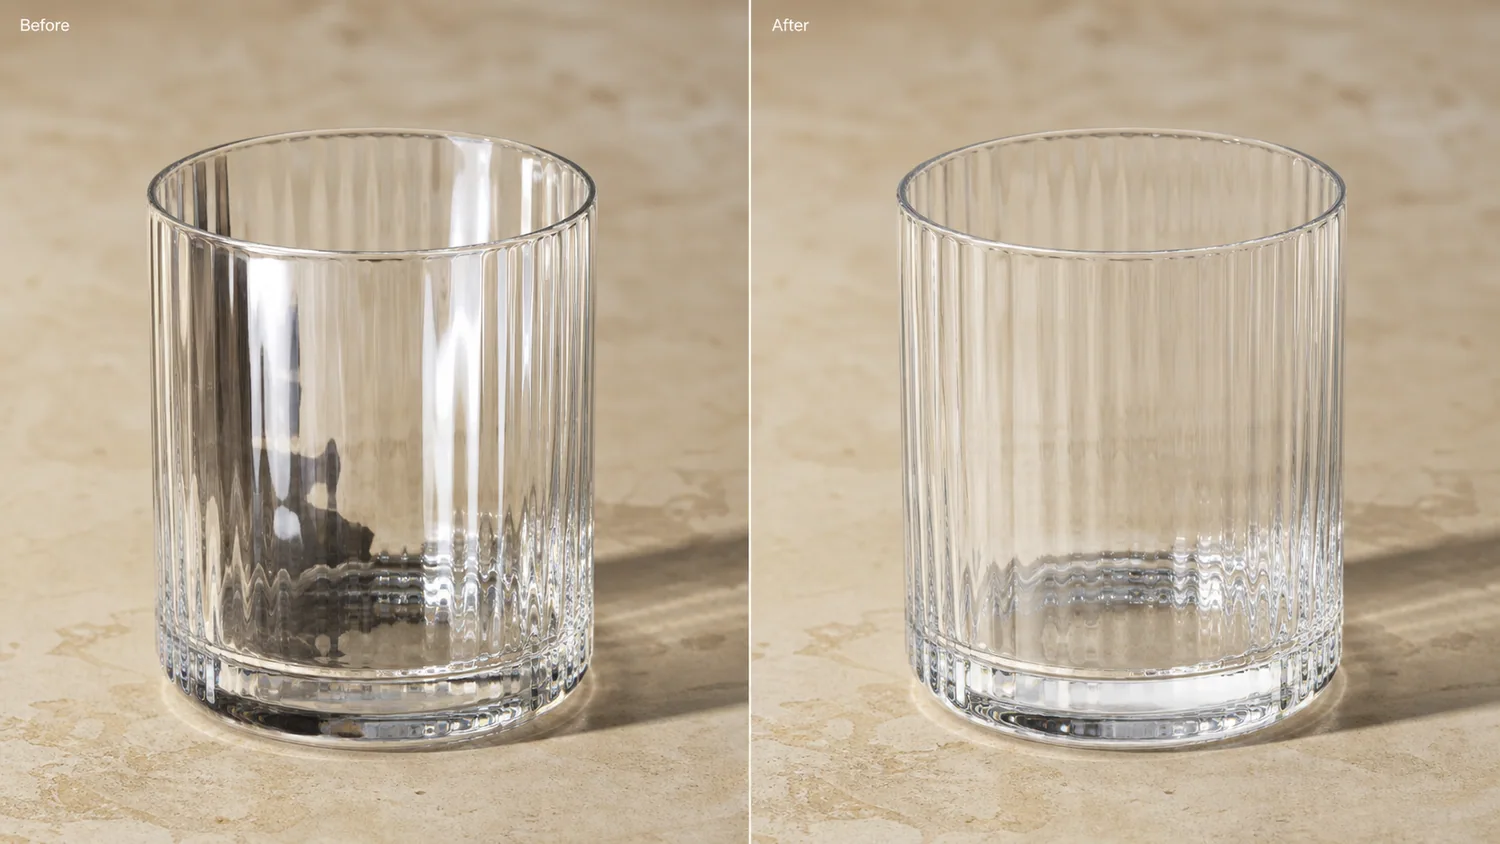
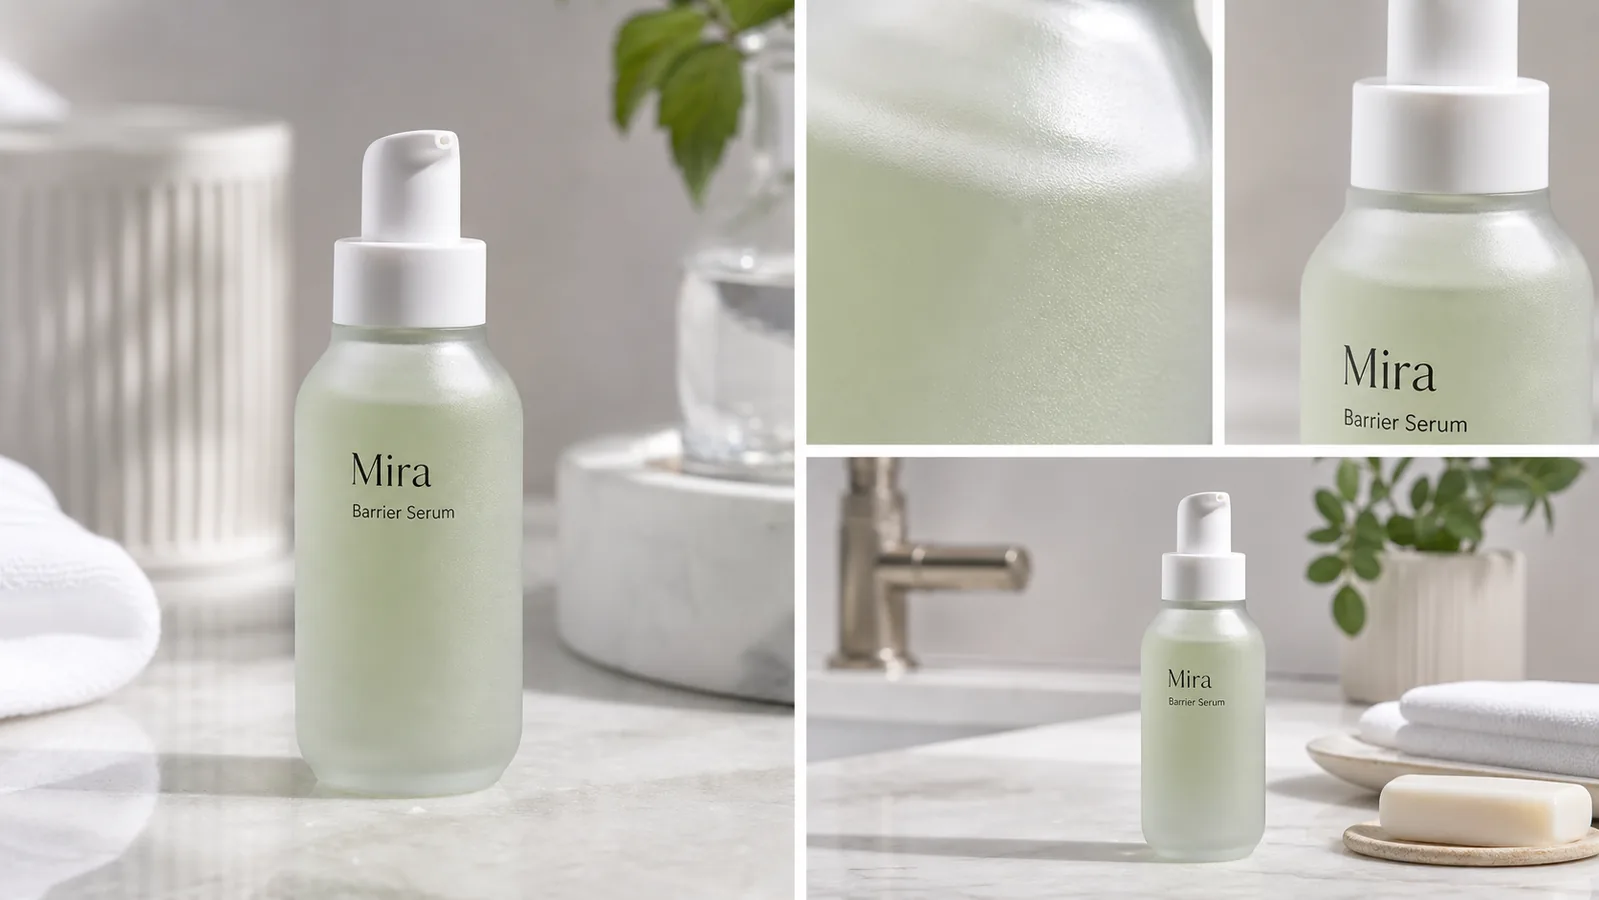
Glass skincare packaging needs some reflection. Without highlights, a serum bottle looks flat and fake. The goal is not to erase every shine; it is to reduce harsh glare that hides the label, breaks the bottle shape, or makes the product look cheap.
Use this workflow when a skincare photo has a strong white streak, messy studio reflection, phone reflection, or window glare across the label or bottle shoulder. Keep the glass believable while making the product easier to read.
What to remove and what to keep
Remove glare that blocks label text, cuts across the product shape, or creates a distracting white patch. Keep soft edge highlights, bottle curvature, cap reflections, liquid depth, and subtle shine that proves the packaging is glass.
For beauty ecommerce, material truth matters. A glass bottle should not become matte plastic just because the reflection cleanup was too aggressive.
Workflow
1. Identify the reflection problem: label glare, cap glare, bottle-edge glare, or background reflection. 2. Edit only the problem area first instead of regenerating the whole bottle. 3. Preserve label text, logo position, cap shape, bottle shoulders, liquid color, and glass thickness. 4. Rebuild a softer highlight that follows the bottle curve. 5. Check the product at mobile product-card size and detail-page size.
Where KrafLayer Fits
When you apply this Remove Reflections from Glass Skincare Packaging workflow in KrafLayer, the tool choice matters: brush only the unwanted area in Erase and let the model fill from the surrounding pixels. After generation, judge the image by the channel it serves — detail-page modules — and check that the bottle shape, label, shade, texture, and packaging proportions stay believable.
Steps in KrafLayer
Use Erase with a brush mask: paint only the distracting object, sticker, hand, dust, or reflection area, then run the fill. There is no free-form prompt; mask accuracy controls the result.
1. Upload or choose the product image. 2. Run the tool according to its interaction model: one-click tools generate directly; Erase-style tools need a brush mask first. 3. Zoom in to check edges, text, material, shadow, and product scale before downloading or continuing the edit.
Summary
Reflection cleanup for glass skincare packaging is a balance. Remove the glare that hurts conversion, but keep the controlled highlights that make the product feel premium and real.
FAQ
Should glass product photos have reflections?
Yes. Reflections describe shape and material. The problem is not reflection itself; the problem is uncontrolled glare that hides labels or distracts from the product.
Can AI fix unreadable label text behind glare?
It can improve visibility when enough original text remains, but it should not invent label copy. If the text is fully hidden, use a cleaner reference or add final label text manually from the real packaging file.
Why does the bottle look plastic after editing?
The prompt probably asked to remove too much shine. Ask for softer, controlled reflections instead of no reflections.
Keep exploring
Continue the story
More practical guidance on product accuracy, composition, and conversion-ready visuals.
Put it into practice
Take the next step in KrafLayer
Choose a generation or editing workflow that matches what you just learned.