Edit tools
How to Remove Draft Marks and Clutter from Owned Product Photos with AI
TL;DR
A safe cleanup workflow for owned product photos: remove draft marks, desk clutter, and temporary labels while preserving product truth and avoiding misuse. Includes how to do it in KrafLayer.
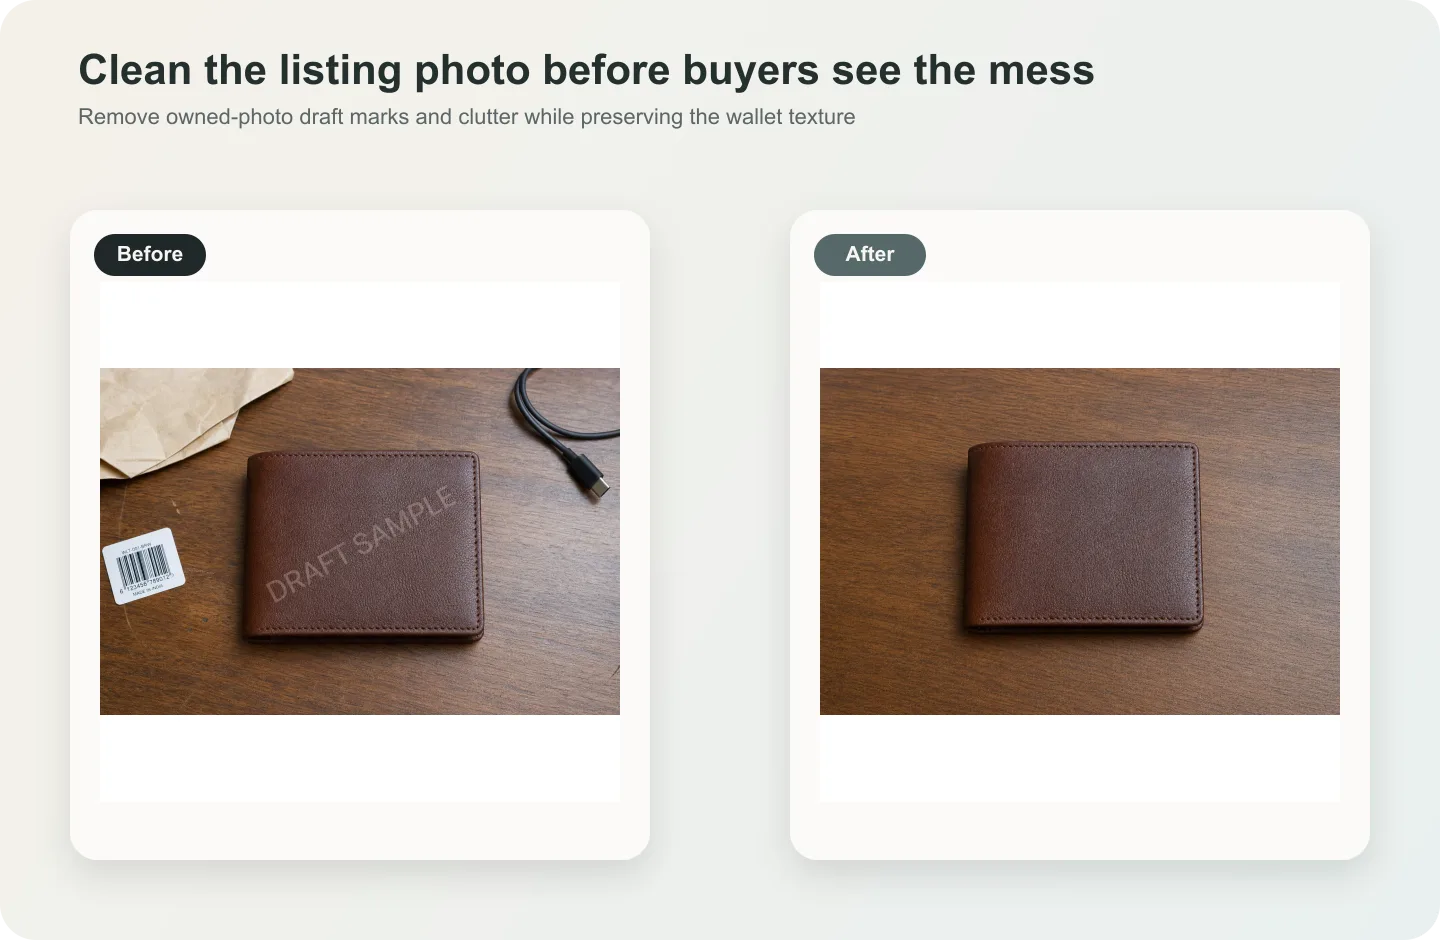
TL;DR
For Remove Draft Marks and Clutter from Owned Product Photos, KrafLayer works best as a local cleanup tool: brush only the unwanted area in Erase and let the model fill from the surrounding pixels. Avoid regenerating the whole image; the result is only useful if shape, material, labels, color, scale, and accessories still match the source SKU.
Removing draft marks and clutter is appropriate when you own the product photo or have permission to edit it. The goal is to clean a working image for ecommerce use, not to remove someone else’s watermark or misrepresent content rights.
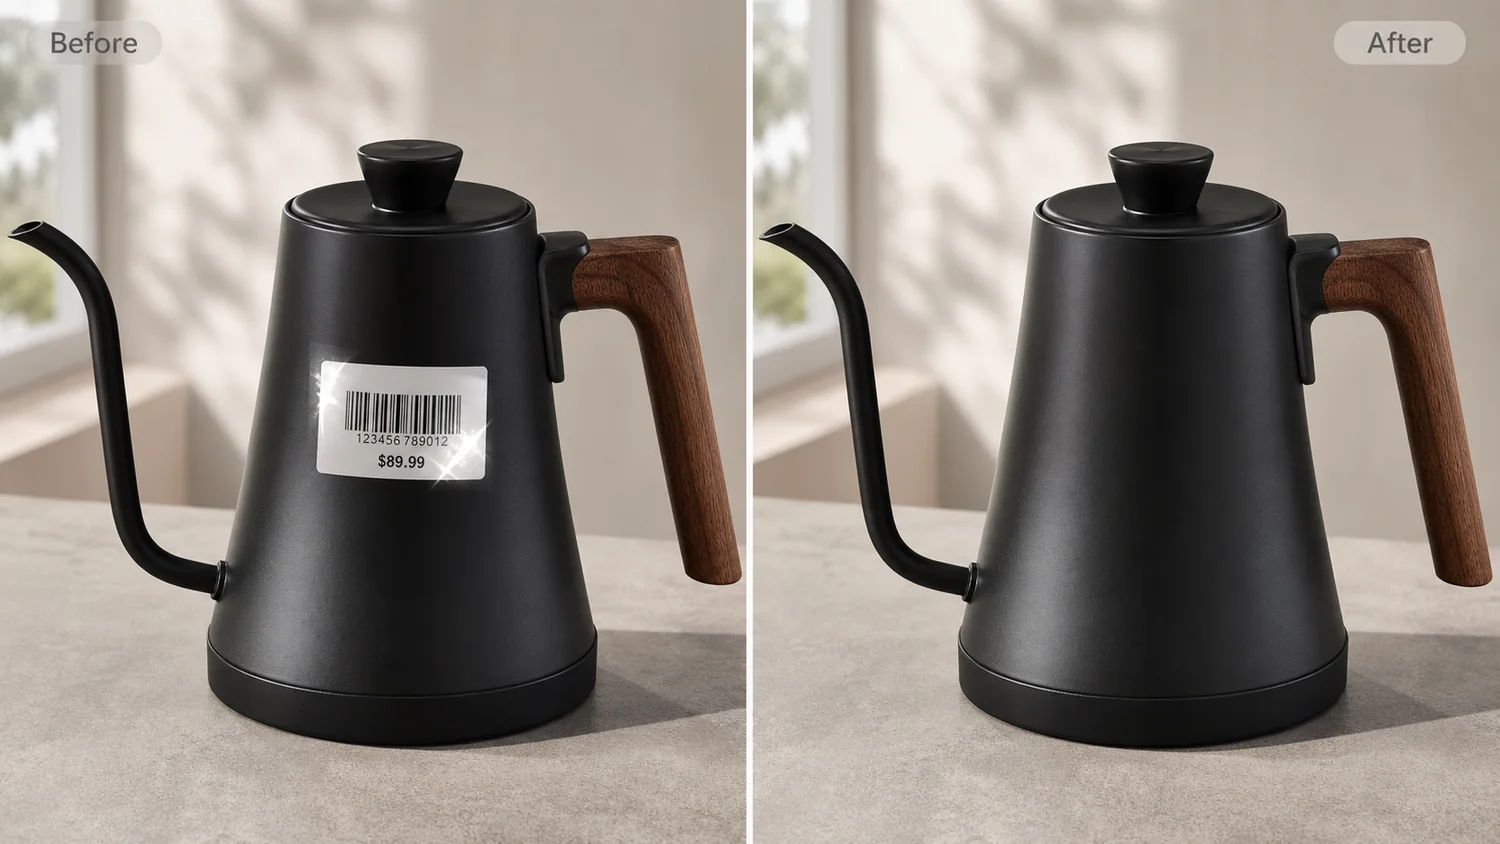
Use this workflow for internal draft labels, desk clutter, packaging scraps, temporary stickers, editing notes, and setup objects that distract from the product.
What to remove
Remove temporary production marks, not product facts. A removable draft stamp, setup note, table clutter, or accidental object can go. Brand labels, real packaging text, serial numbers, and required safety marks should stay unless you are replacing them with verified artwork.
Workflow
1. Confirm you have the right to edit and publish the image. 2. Select the draft mark or clutter tightly. 3. Tell AI what should replace it: product surface, table, background, or shadow. 4. Protect product labels, material, color, edge, and contact shadow. 5. Compare the cleaned image against the original product before publishing.
Where KrafLayer Fits
When you apply this Remove Draft Marks and Clutter from Owned Product Photos workflow in KrafLayer, the tool choice matters: brush only the unwanted area in Erase and let the model fill from the surrounding pixels. After generation, judge the image by the channel it serves — listing images, detail pages, or ad assets — and check that shape, material, labels, color, scale, and accessories still match the source SKU.
Steps in KrafLayer
Use Erase with a brush mask: paint only the distracting object, sticker, hand, dust, or reflection area, then run the fill. There is no free-form prompt; mask accuracy controls the result.
1. Upload or choose the product image. 2. Run the tool according to its interaction model: one-click tools generate directly; Erase-style tools need a brush mask first. 3. Zoom in to check edges, text, material, shadow, and product scale before downloading or continuing the edit.
FAQ
Can I remove watermarks from any image?
No. Only remove marks from images you own or have permission to edit. Do not remove third-party watermarks or rights notices.
What if a draft mark covers real label text?
Use verified packaging artwork or another reference. AI should not guess commercial label text.
Why does the cleaned area look smudged?
The selection may be too broad or the replacement surface was not specified. Use a smaller selection and describe the surface behind the mark.
Keep exploring
Continue the story
More practical guidance on product accuracy, composition, and conversion-ready visuals.
Put it into practice
Take the next step in KrafLayer
Choose a generation or editing workflow that matches what you just learned.