Edit tools
White Background Product Photo Maker: Cutouts, Shadows, and Cleanup
TL;DR
Use a white background product photo maker to create cutouts, preserve natural shadow, and prepare clean ecommerce main images.
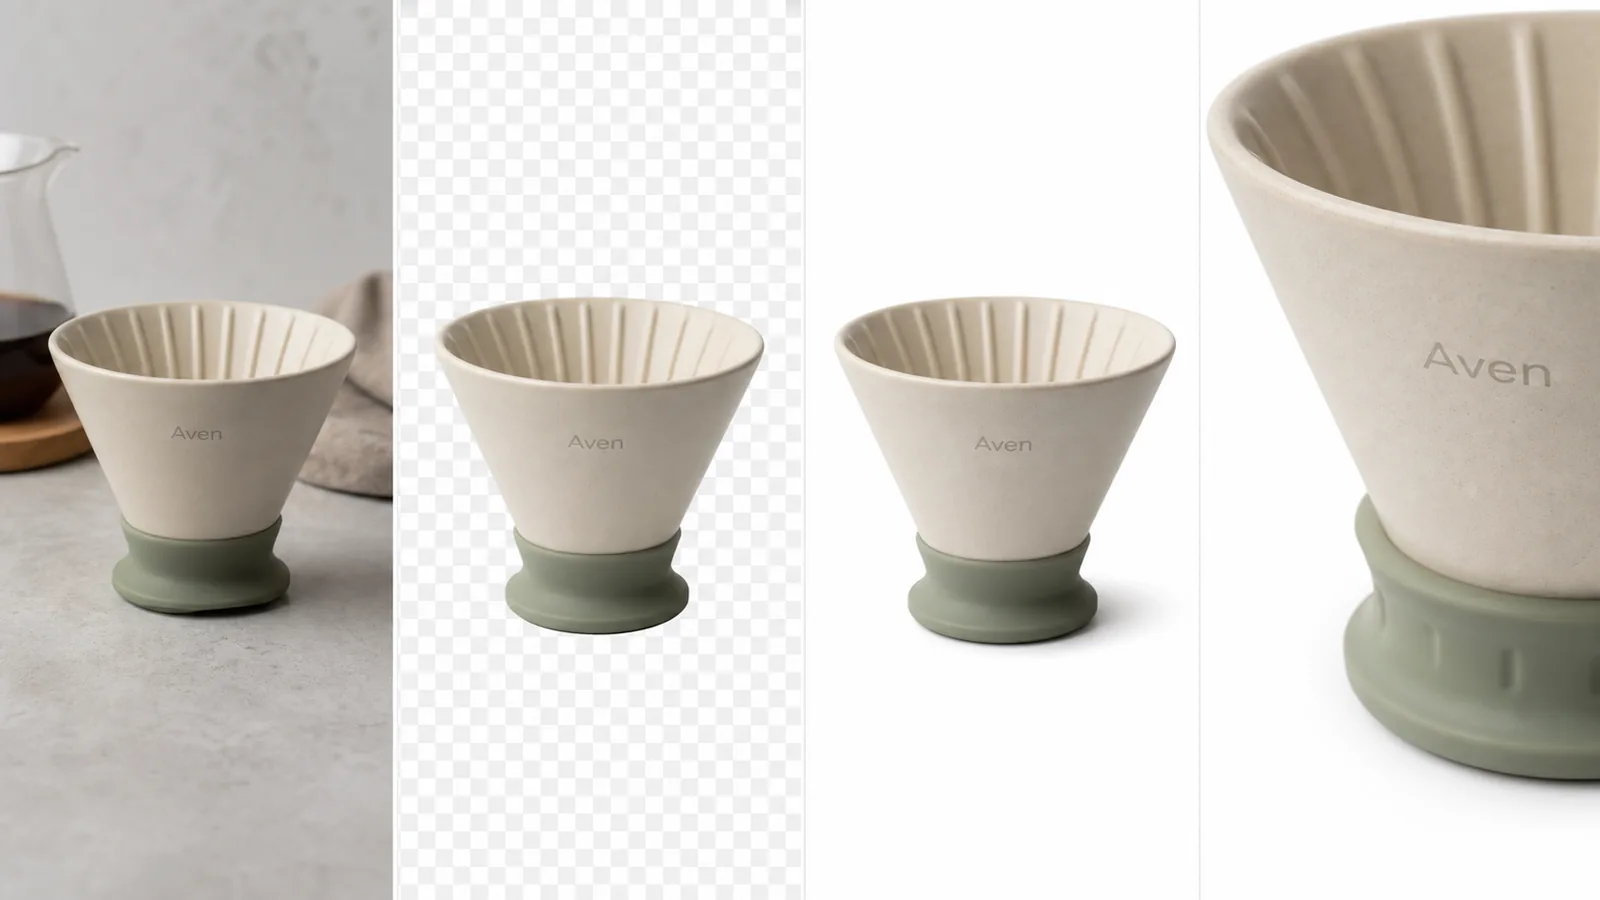
A white background product photo maker is useful only when it keeps the product believable. The right workflow is: isolate the product, check the edge, place it on white, add or preserve a natural contact shadow, then clean only the distractions that stop the image from working as an ecommerce main image.
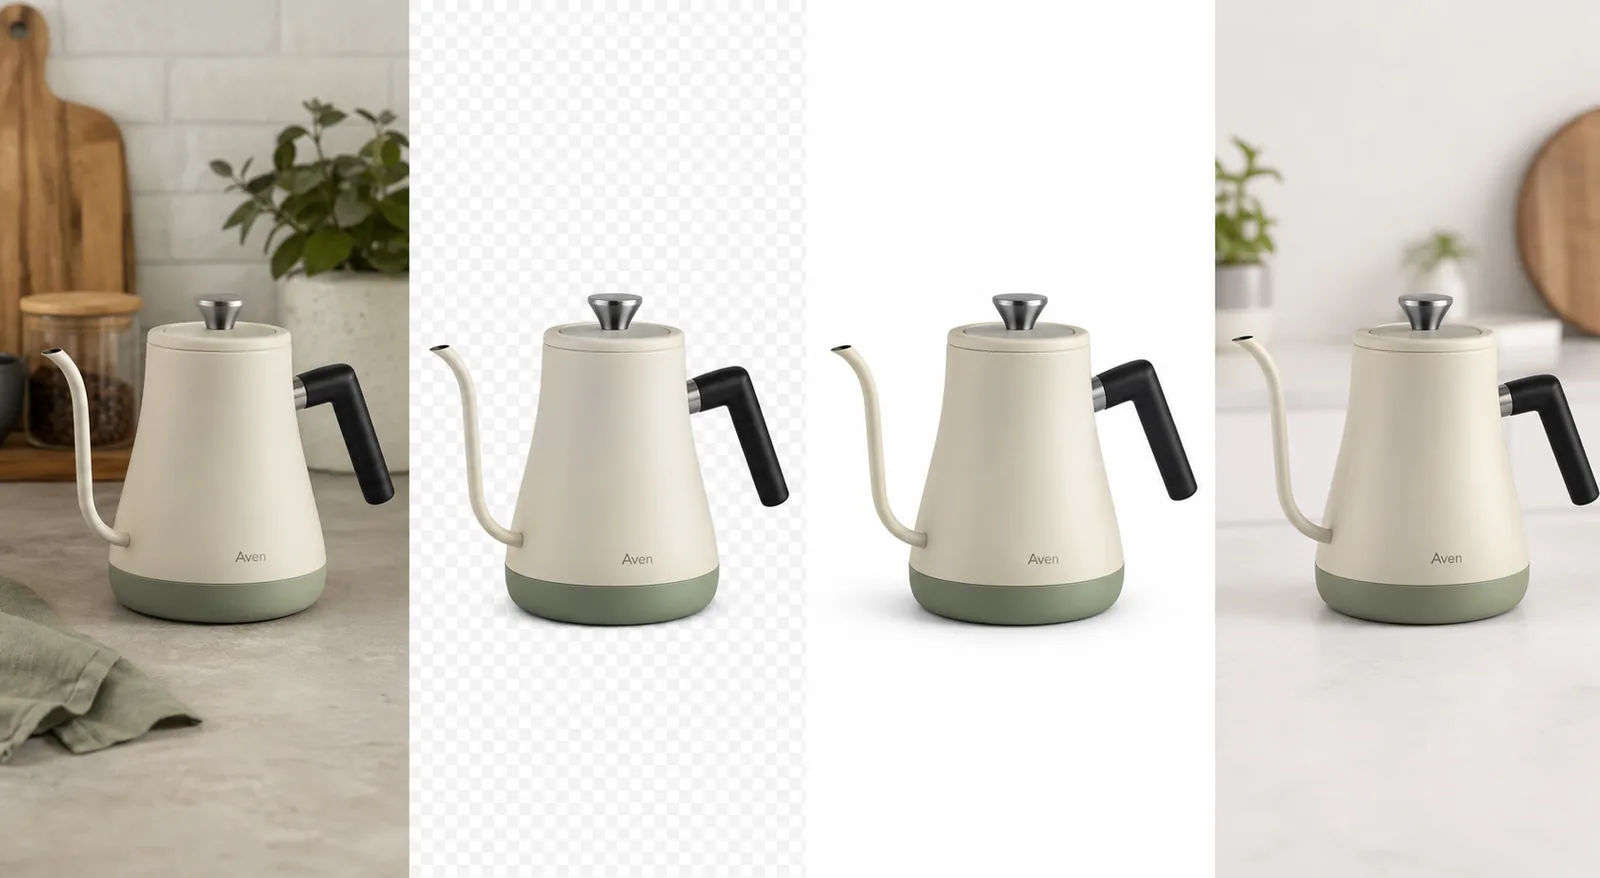
In KrafLayer, that starts with the [AI background remover](/tools/ai-background-remover). Remove BG is a one-click tool, so you do not write a prompt or paint a mask for the cutout step. The important judgment comes after the cutout: does the white-background product photo still show the real product clearly?
White Background Product Photo Maker Rule
Make the product obvious before you make the background perfect. A white-background product photo should answer one buyer question immediately: what exactly is being sold?
For the Aven ceramic dripper example, the protected product facts are:
- cream speckled ceramic body
- sage green silicone base
- fluted inner cone
- small invented Aven wordmark
- slightly tapered shape
- soft matte material
- realistic base shadow
If a tool changes those details, the image is not ready even if the background is pure white. A clean background cannot compensate for a changed product.
Start With A Cutout, Not A Redesign
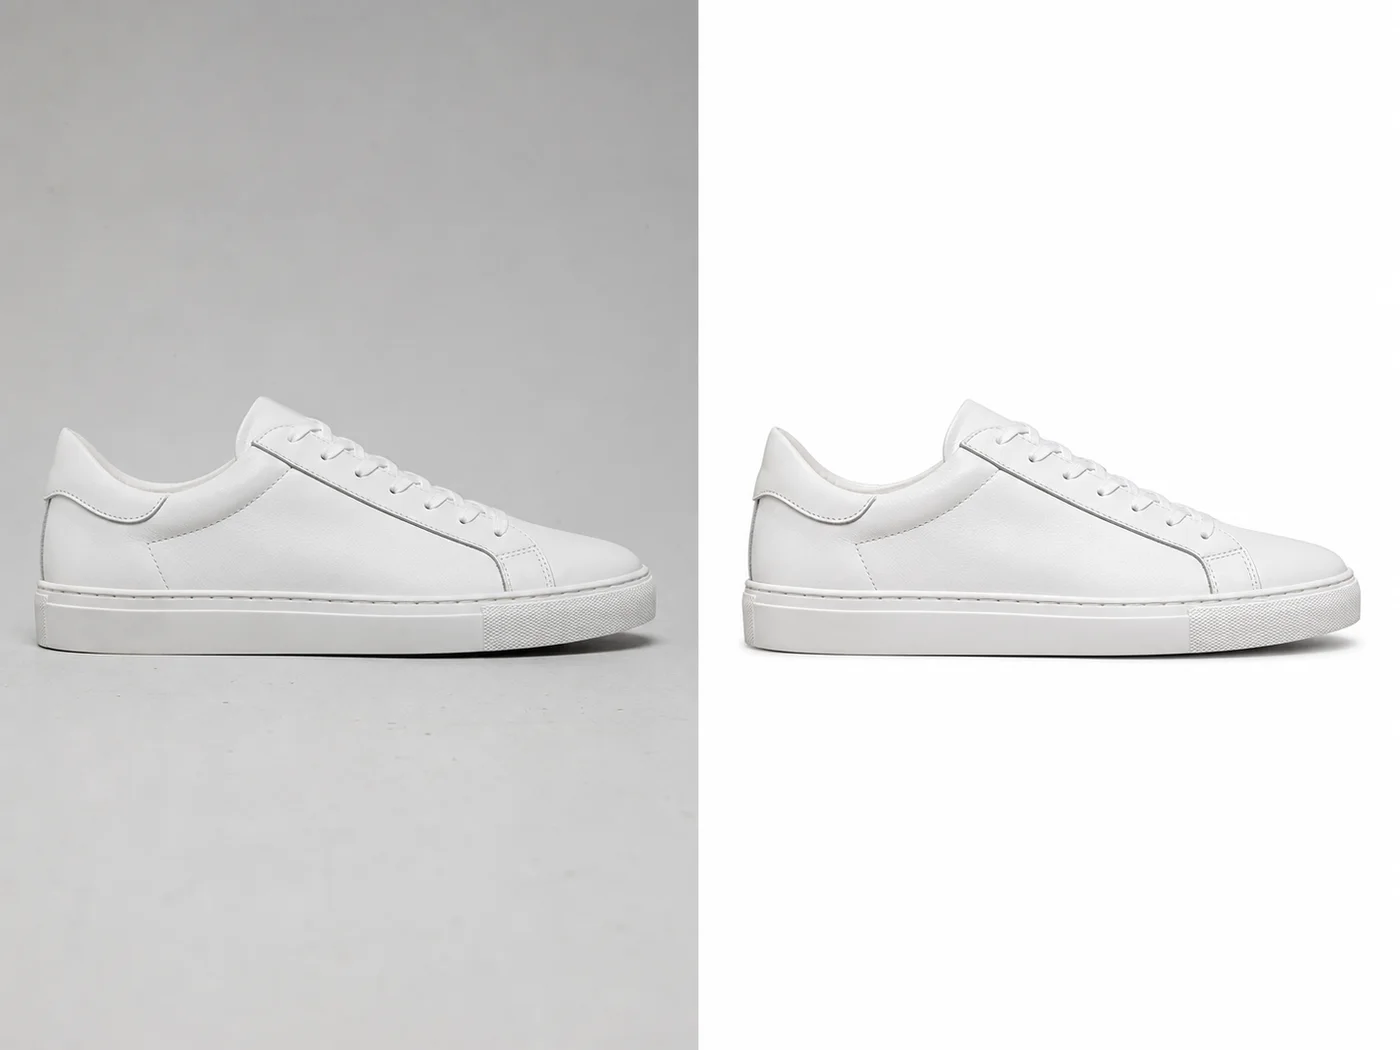
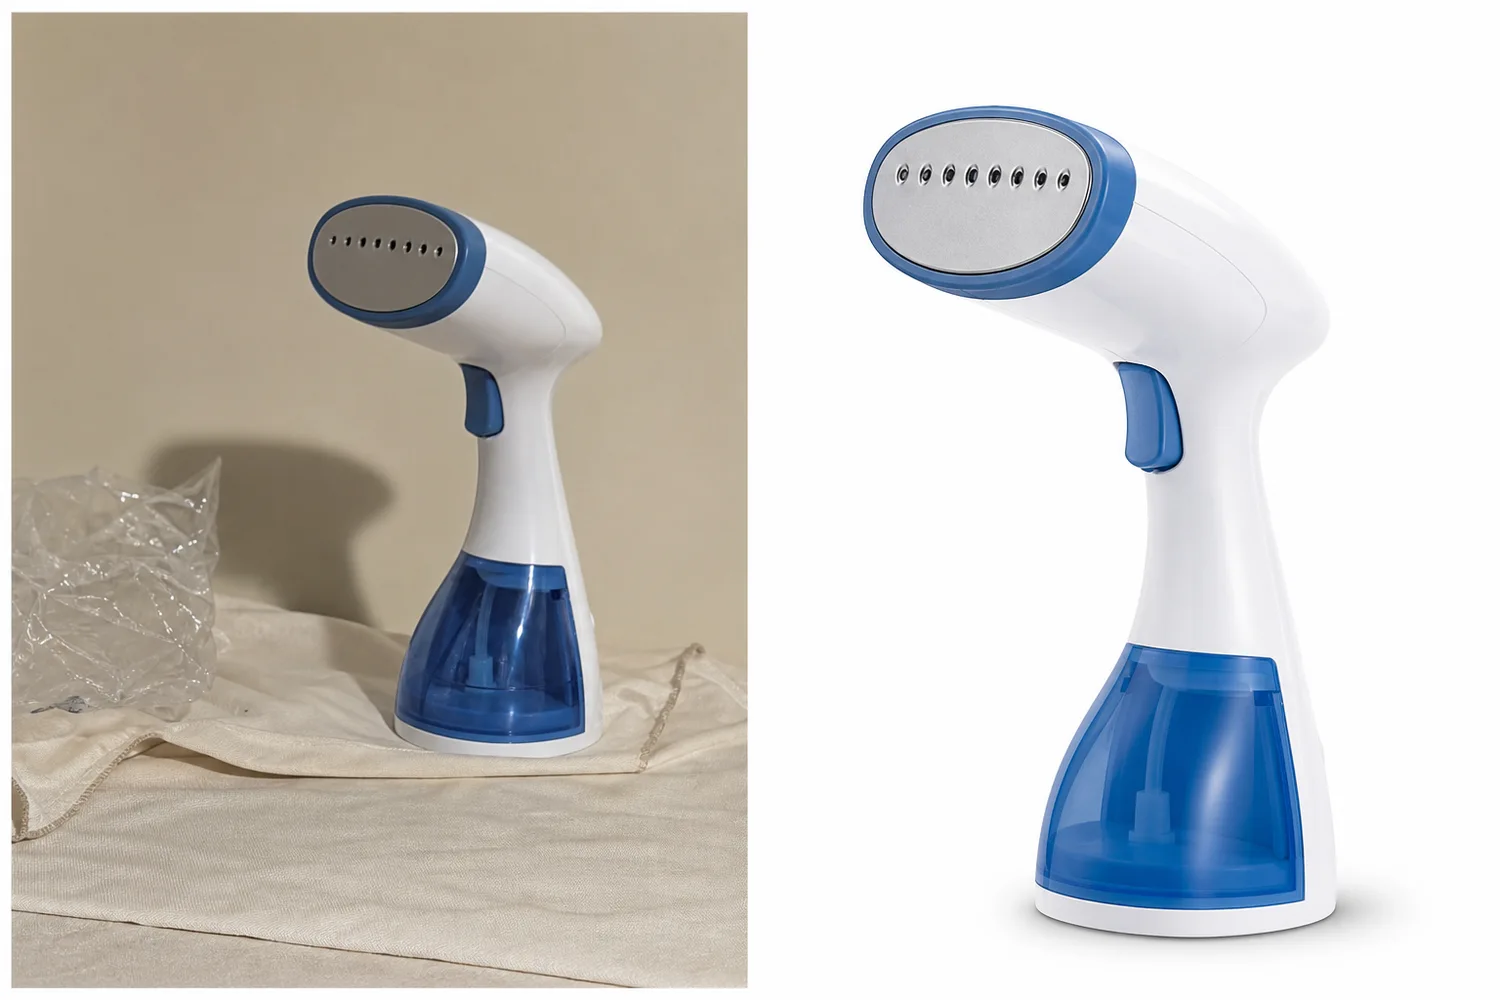
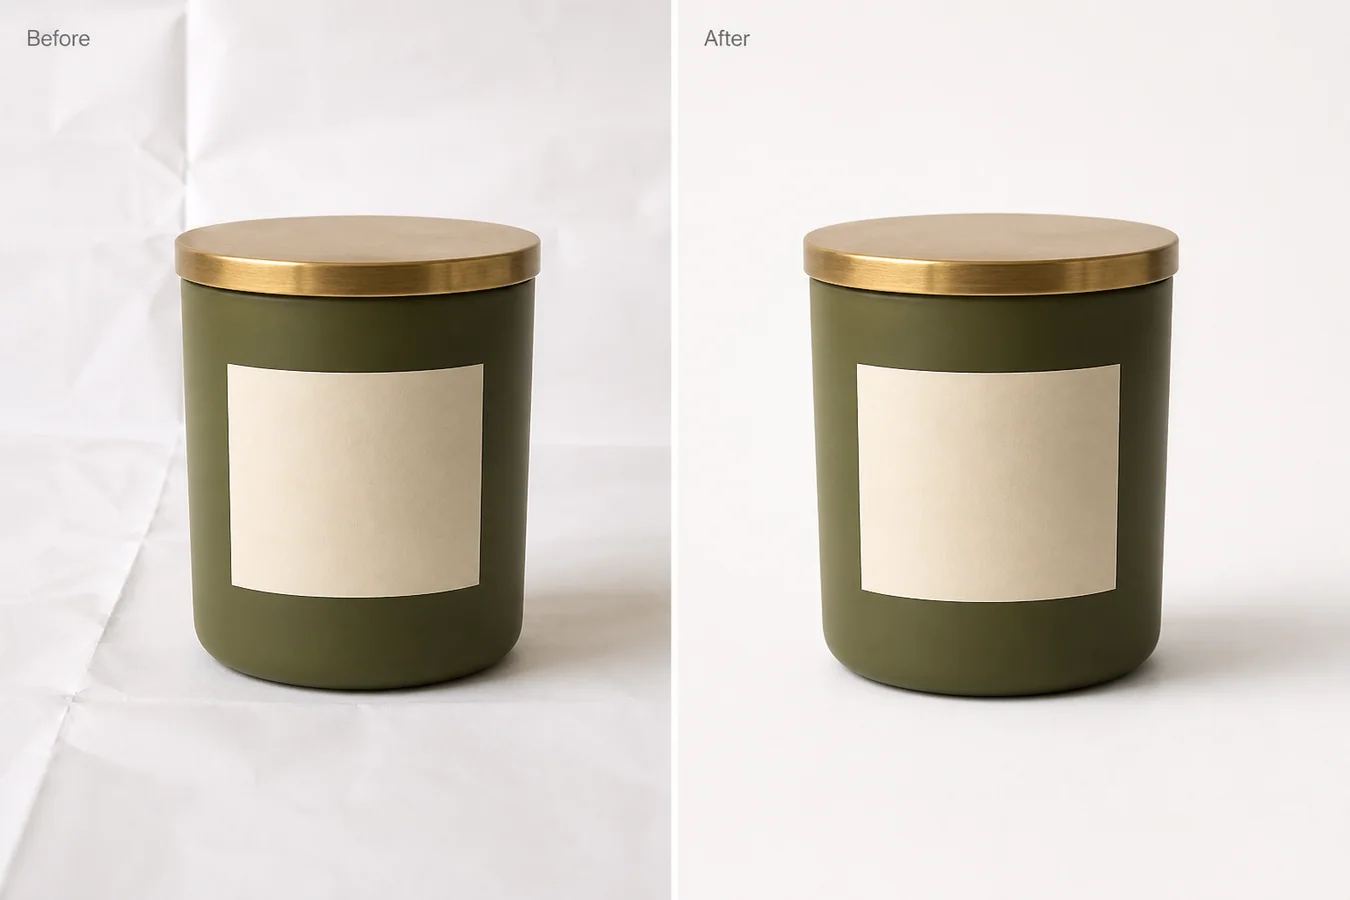
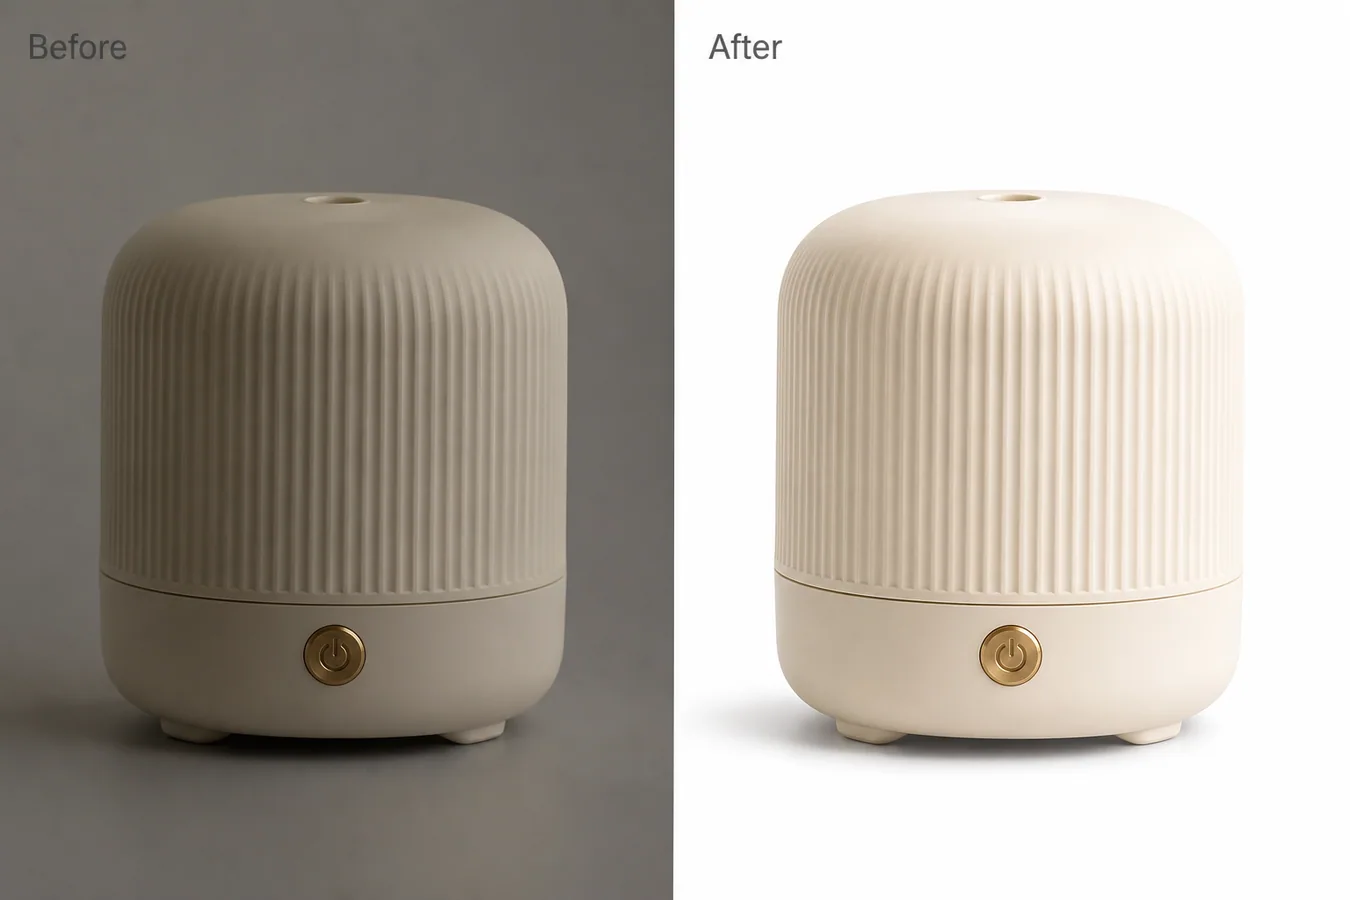
Use a product cutout when the source photo already shows the right item but the setting is wrong. The original image might have a kitchen counter, a gray wall, table clutter, uneven fabric, or another object behind the product. Background removal should separate the product from that scene while leaving the product itself alone.
A good cutout should preserve:
- thin edges, handles, straps, rims, cords, feet, and spouts
- transparent or reflective material boundaries
- fabric texture, ceramic grain, metal highlights, or glass thickness
- package marks, labels, caps, seams, hardware, and color blocking
- product scale and angle
That is why a white background product photo maker should be judged at the edge, not just at the center of the image.
Add White Without Making The Product Float
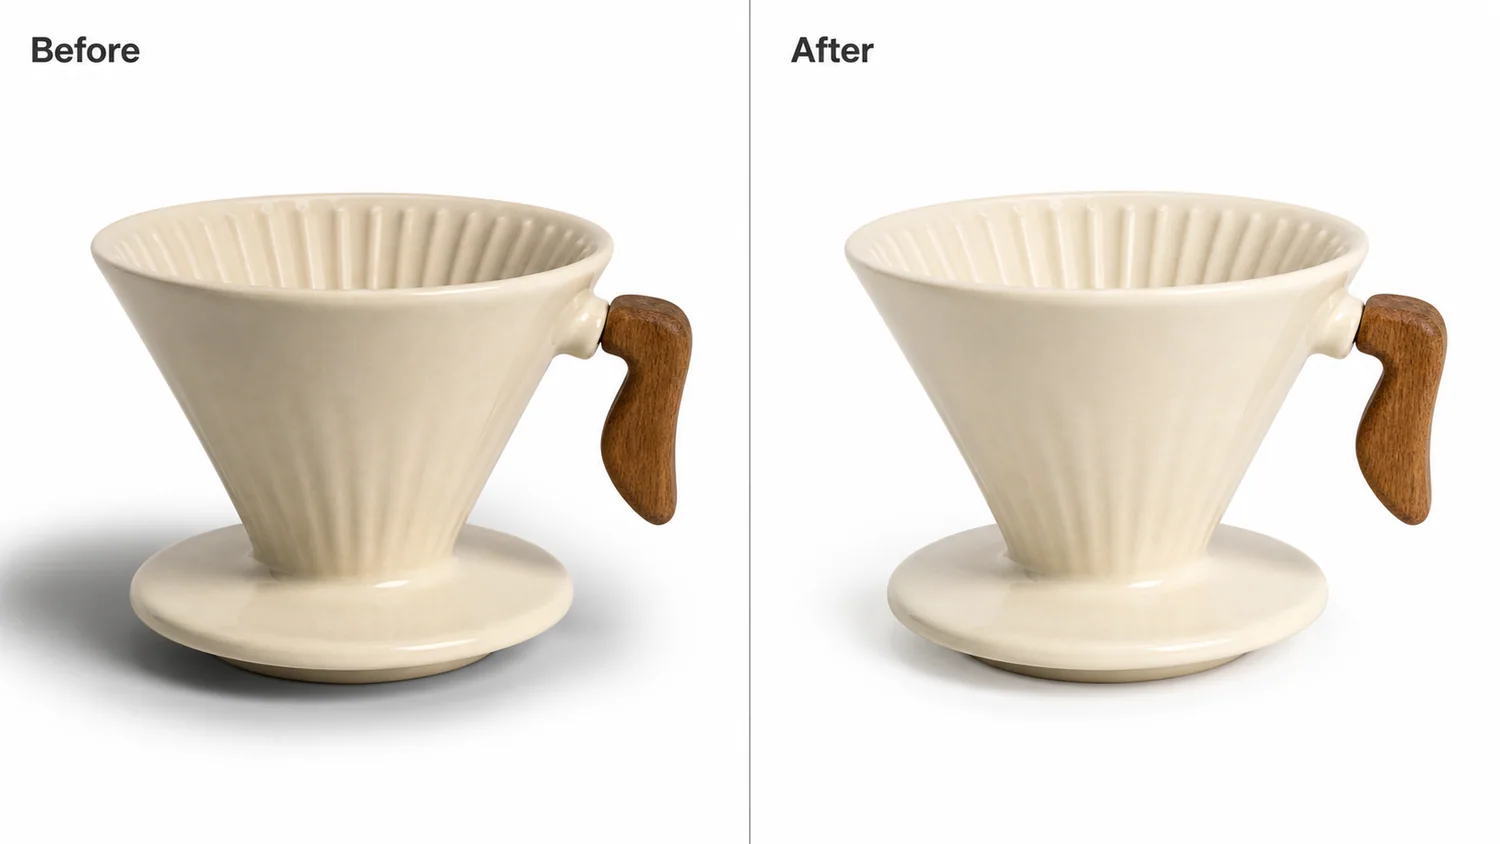
The most common white-background failure is a floating product. The cutout looks technically clean, but the base has no contact shadow, so the item feels pasted onto the page.
Use this practical rule:
- Keep a soft contact shadow when the product sits on a surface.
- Remove colored spill or halo from the old background.
- Keep the product large enough for thumbnail recognition.
- Leave enough white margin for cropping across store and marketplace layouts.
- Avoid adding platform logos, fake badges, review stars, discounts, certifications, QR codes, barcodes, or unsupported claims.
For marketplace pages such as [Amazon product photos](/marketplace-product-images/amazon-product-photos), use white-background editing as preparation, not as a compliance guarantee. Current marketplace requirements still need review before upload. For [Shopify product images](/marketplace-product-images/shopify-product-images), the same cutout can help keep gallery ratios and collection thumbnails consistent.
Steps In KrafLayer
Use this workflow when the target is a white-background product photo:
- Upload the product photo.
- Run Remove BG in KrafLayer. The cutout step is one-click and automated.
- Inspect the transparent PNG product image around the hardest edges.
- Place the approved cutout on white or near-white.
- Keep or rebuild a natural product shadow under the object.
- Use the [product photo editor](/product-photo-editor) only for narrow cleanup, such as small dust, edge marks, or resolution issues.
- Export a main image, then adapt crop and margin for store, marketplace, or ad use.
Do not use a white background product photo maker to hide product problems. If the product color, shape, label, material, or scale is wrong, fix that before creating variants.
When To Use Cutouts, Shadows, And Cleanup
Use a cutout when the original background is the problem. Use shadow control when the product looks pasted onto white. Use cleanup when small defects distract from the product but do not define the SKU.
That order matters because each step has a different risk:
- Cutout risk: clipped edges or leftover background halo.
- Shadow risk: floating product or fake heavy shadow.
- Cleanup risk: removing real product details by accident.
- Upscale risk: sharpening texture while also exaggerating noise or label artifacts.
- Replacement risk: turning a simple listing image into an over-styled scene.
For a main listing image, restraint usually wins. The product should dominate the frame, the white background should stay quiet, and the buyer should not wonder whether the product shape changed.
What To Check Before Publishing
Before a white-background product photo goes live, zoom in and check:
- Is the product edge clean against white?
- Did the background remover keep all holes, handles, spouts, and thin parts?
- Does the material still look like ceramic, leather, glass, fabric, metal, or plastic as intended?
- Is the contact shadow natural for the product weight?
- Does the crop leave enough margin for square and vertical placements?
- Is the product readable in a small collection thumbnail?
- Are there any fake marks, unsupported claims, or platform-style elements in the image?
If the answer is no, revise the source or rerun the edit. It is better to make one reliable white-background product photo than to scale a flawed cutout across every channel.
FAQ
What is a white background product photo maker?
A white background product photo maker turns an existing product photo into a clean ecommerce image on white or near-white. The useful version does more than erase the background: it keeps product edges, material, color, scale, label placement, and natural contact shadow believable.
Should I use a transparent PNG first?
Yes, when you need reusable ecommerce assets. A transparent PNG product image lets you approve the cutout once, then place it on white for a main image, use it in a Shopify gallery, or adapt it for ads without repeating the background-removal step.
Does KrafLayer Remove BG need a prompt?
No. KrafLayer Remove BG is a one-click automated product background remover. It does not need a prompt or mask. Use prompts for background replacement or masked edits, not for the basic cutout step.
Do white-background product photos guarantee marketplace approval?
No. A white background can help prepare a clean main image, but each marketplace has its own current requirements. Treat the image as an asset that still needs channel review, especially around crop, margin, logos, text, badges, and unsupported claims.
When is background replacement better than white background?
Choose background replacement when the final image needs context, such as a kitchen counter, boutique shelf, desk scene, or seasonal campaign setup. Choose white background when the buyer needs a clean main image, product grid, or reusable cutout-first workflow.
Conclusion
A white background product photo maker should create a trustworthy ecommerce asset, not just a blank backdrop. Start with a real product photo, isolate the item, inspect the transparent PNG edge, keep a natural product shadow, and only clean what blocks the image from working as a main image. KrafLayer helps sellers move through that workflow quickly with one-click background removal and focused product-photo editing, while keeping the final product truth check where it belongs: before the image goes live.
Keep exploring
Continue the story
More practical guidance on product accuracy, composition, and conversion-ready visuals.
Put it into practice
Take the next step in KrafLayer
Choose a generation or editing workflow that matches what you just learned.